Dieses Blog durchsuchen

Posts mit dem Label pebeo werden angezeigt. Alle Posts anzeigen

Mittwoch, 16. Oktober 2019

Floral vintage clock

 Ciao! 😊 


Some time ago they gave me fifty glass watch bases... Today I want to tell you how I decorated one of them!

First of all I've put about four layers of white gesso to prime everything.

After a quick dry with my heat tool I've die cutted some branches using Tim Holtz's cutting dies and my Big Shot machine.

After glued down everything using the white glue I've started putting some liquid watercolors trying to create shadows and stains.

At this point it was time to add numbers and, since I didn't have a big die, I decided to print them on mixed media paper and to fussy cut. 

To give a similar vintage look I've also covered them up with enamel accents.

To merge the composition, as a final touch, I've decided to to dry brush everything using white gesso.


Hope you liked it and got inspired... See you super soon for a new blog post!


Michela

Samstag, 28. September 2019

Once upon a time there was 5 tiny houses...

 Ciao! 😊 


As you know in August I've received a Surprise Package from the shop so my actual blog posts are mainly about using the amazing products I've found inside the box! 

If you are curious to see what I found inside here is a video opening...


Otherwise, here's project #06

I was very undecided whether to publish this "tutorial" and in the end I decided to make a list of used products and leave a very-long-video to let you see what I did. 

I was very intrigued and scared by these MDF houses ... They were born as an unconventional photo album but I wanted to do something different...

Wanna see what I've created in about 4 hours of work (excluding the part where I've inserted photos and quotes from Christina Perri's "Arms")? Here's the video!


Used products (random order):


I've also created a shorter/flip through version where you can see only the final result... (It was litteraly impossibile to show you only few details!!!)


Hope you liked it and got inspired... See you super soon for a new blog post!


Michela
s

Sonntag, 15. September 2019

Home is where the heart is

 Ciao! 😊 


As you know a couple of weeks ago I've received a Surprise Package from the shop so my upcoming blog posts will be all about using the amazing products I've found inside the box! 

If you are curious to see what I found inside here is a video opening...


Otherwise, let's start with project #05


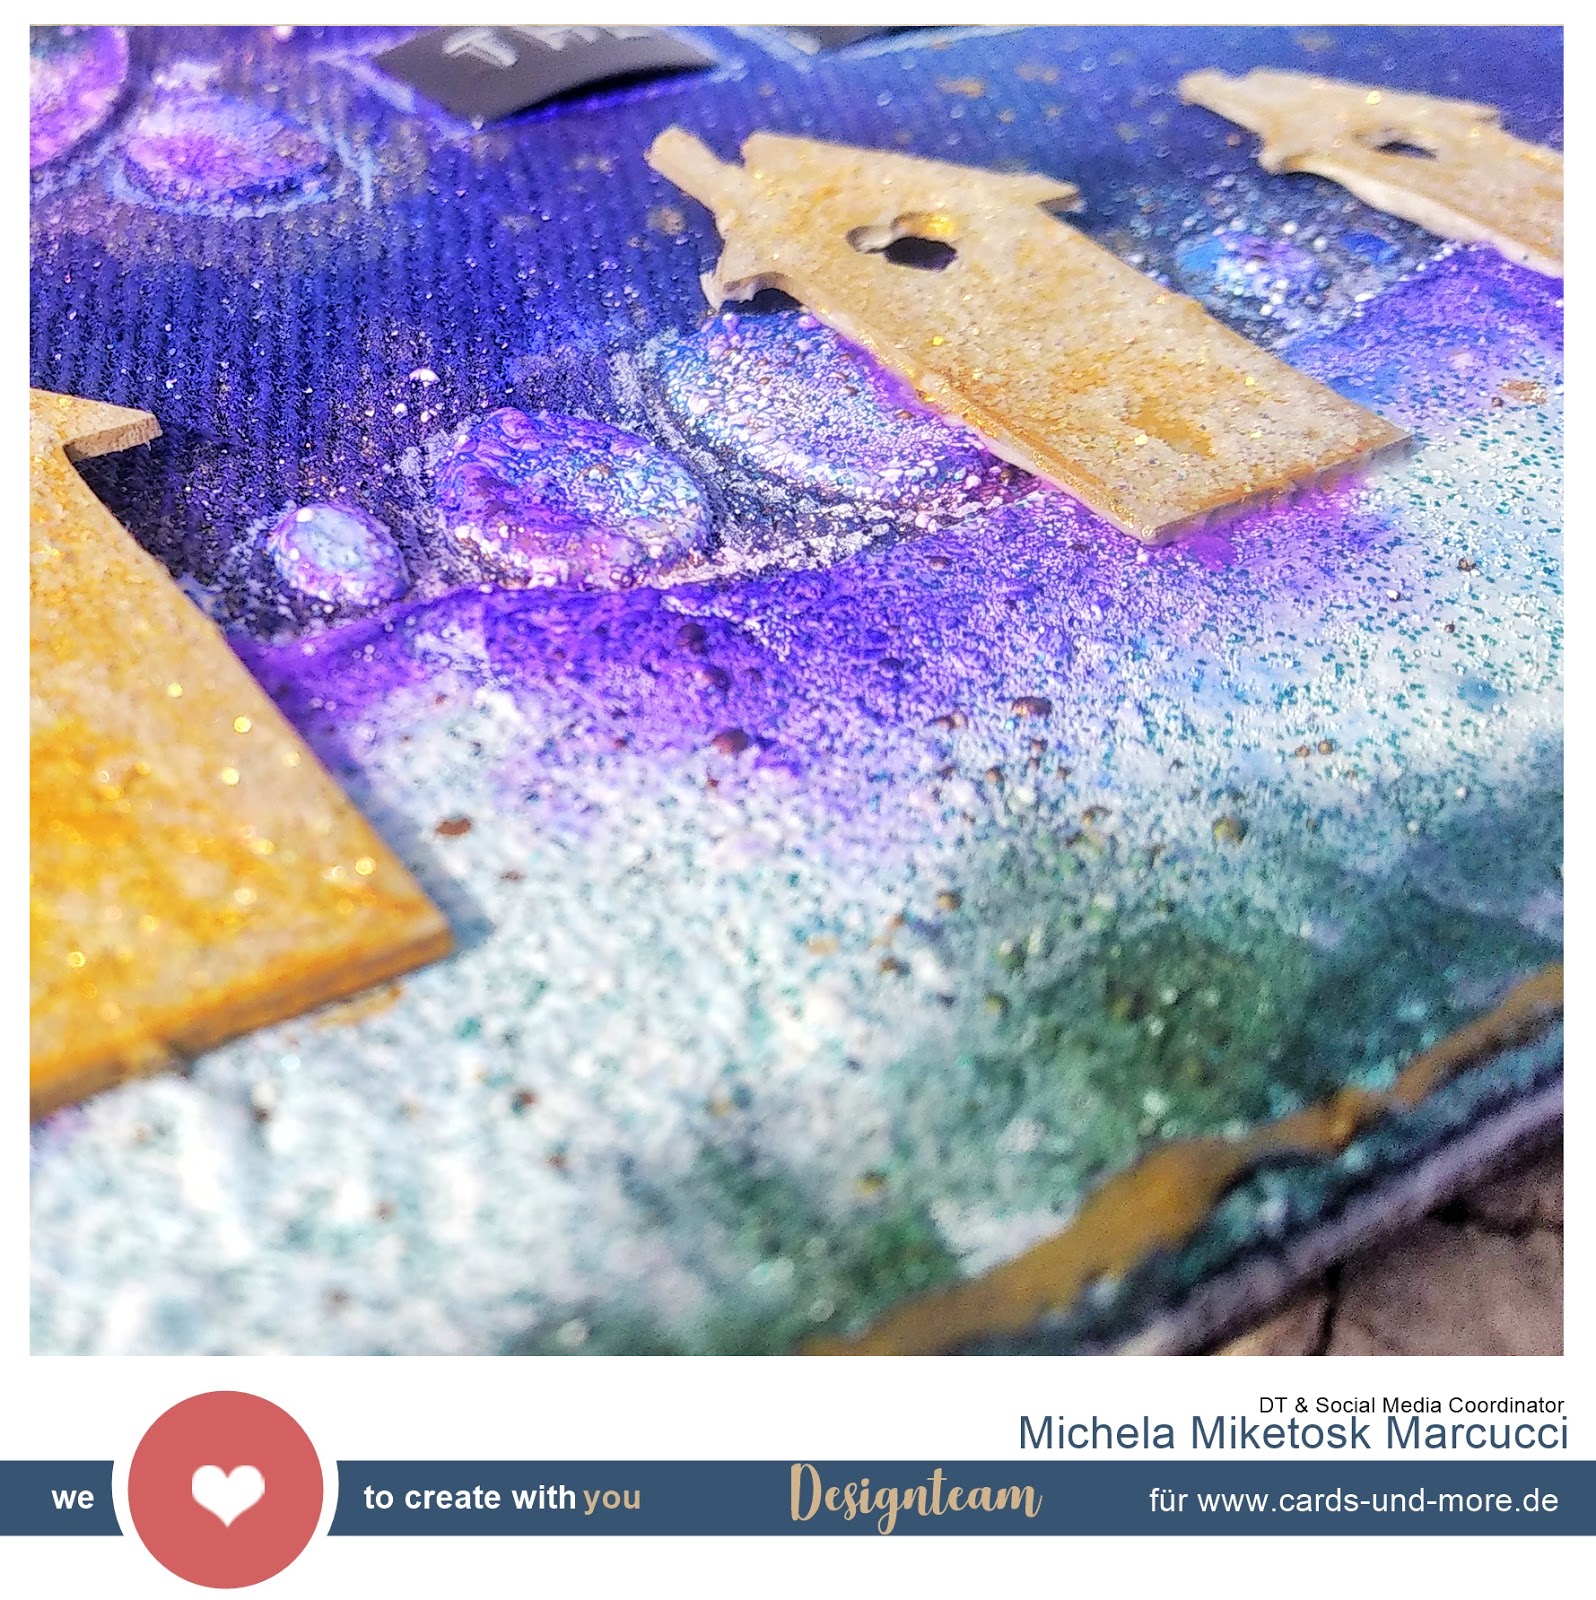
First of all I've glued down Dutch Doobadoo Dutch Fabric Art - Jeans A5 Medium on a canvas board and I've primed it using clear gesso.

I've also also covered four houses from Dutch Doobadoo Dutch Greyboard Art A5 Houses.

With Pronty Crafts - Mask Stencil - Bubble and Stampendous Fran-tage Embossing Enamels (shabby blue) I've created a sort of scene with hills and sun, both abstract.


After glued down house over the hills I've started coloring the jeans/sky with liquid watercolors trying to create shadows and contrasts and, as soon as it all dried up I covered the tiny little houses with Stickles glitterglue.

It was now time to add a quote so, using Dymo I created the sentence: "home is where the heart is" and I attached it on my canvas emphasizing the border with a white gel pen.

To merge the composition I've decided to create an irregular border all around the canvas in the same tone as the housesand in this way the project has ended!


Hope you liked it and got inspired... See you super soon for a new blog post!


Michela
s

Samstag, 31. August 2019

You color my life

 Ciao! 😊 


As you know a couple of weeks ago I've received a Surprise Package from the shop so my upcoming blog posts will be all about using the amazing products I've found inside the box! 

If you are curious to see what I found inside here is a video opening...


Otherwise, let's start with project #03


First of all I've add a coat of white gesso over my base, the Dutch Doobadoo Dutch MDF Art - Painter Palette 3mm. After that, with Pronty Crafts - Mask Stencil - Bubble and heavy gesso, I've created another point of interest.

At this point I've started die cutting some elements to use on my project using a water media paper. I've die cutted also a photo using a rectangular shape.

It was now to the funny part: coloring! Using my beloved watercolors I've played around combining splashes and stains tacniques.

With Tim Holtz Distress Oxide Spray Mermaid Lagoon I've started plashing also the leaves and the word I've previously die cutted but, as I wanted they stand out more than the background, I've decided to cover them up with Stampendous Fran-tage Embossing Enamels. I've choosed shabby blue for the leaves and shabby pink for the word (The result was now AMAZING, I'm in love with this kind of embossing powders!)

Using 3d foam I've created different levels to give more dimension while I was ensembling the composition. I've also decided to tie Prima Resin Keys around the palette using string.


Just a few touches of Stickles glitter glue and white gesso (dry brushing over the string) and the project for today is finished!


Hope you liked it and got inspired... See you super soon for a new blog post!


Michela

Montag, 17. Juni 2019

Altered Photo Frame

 Ciao! 😊 


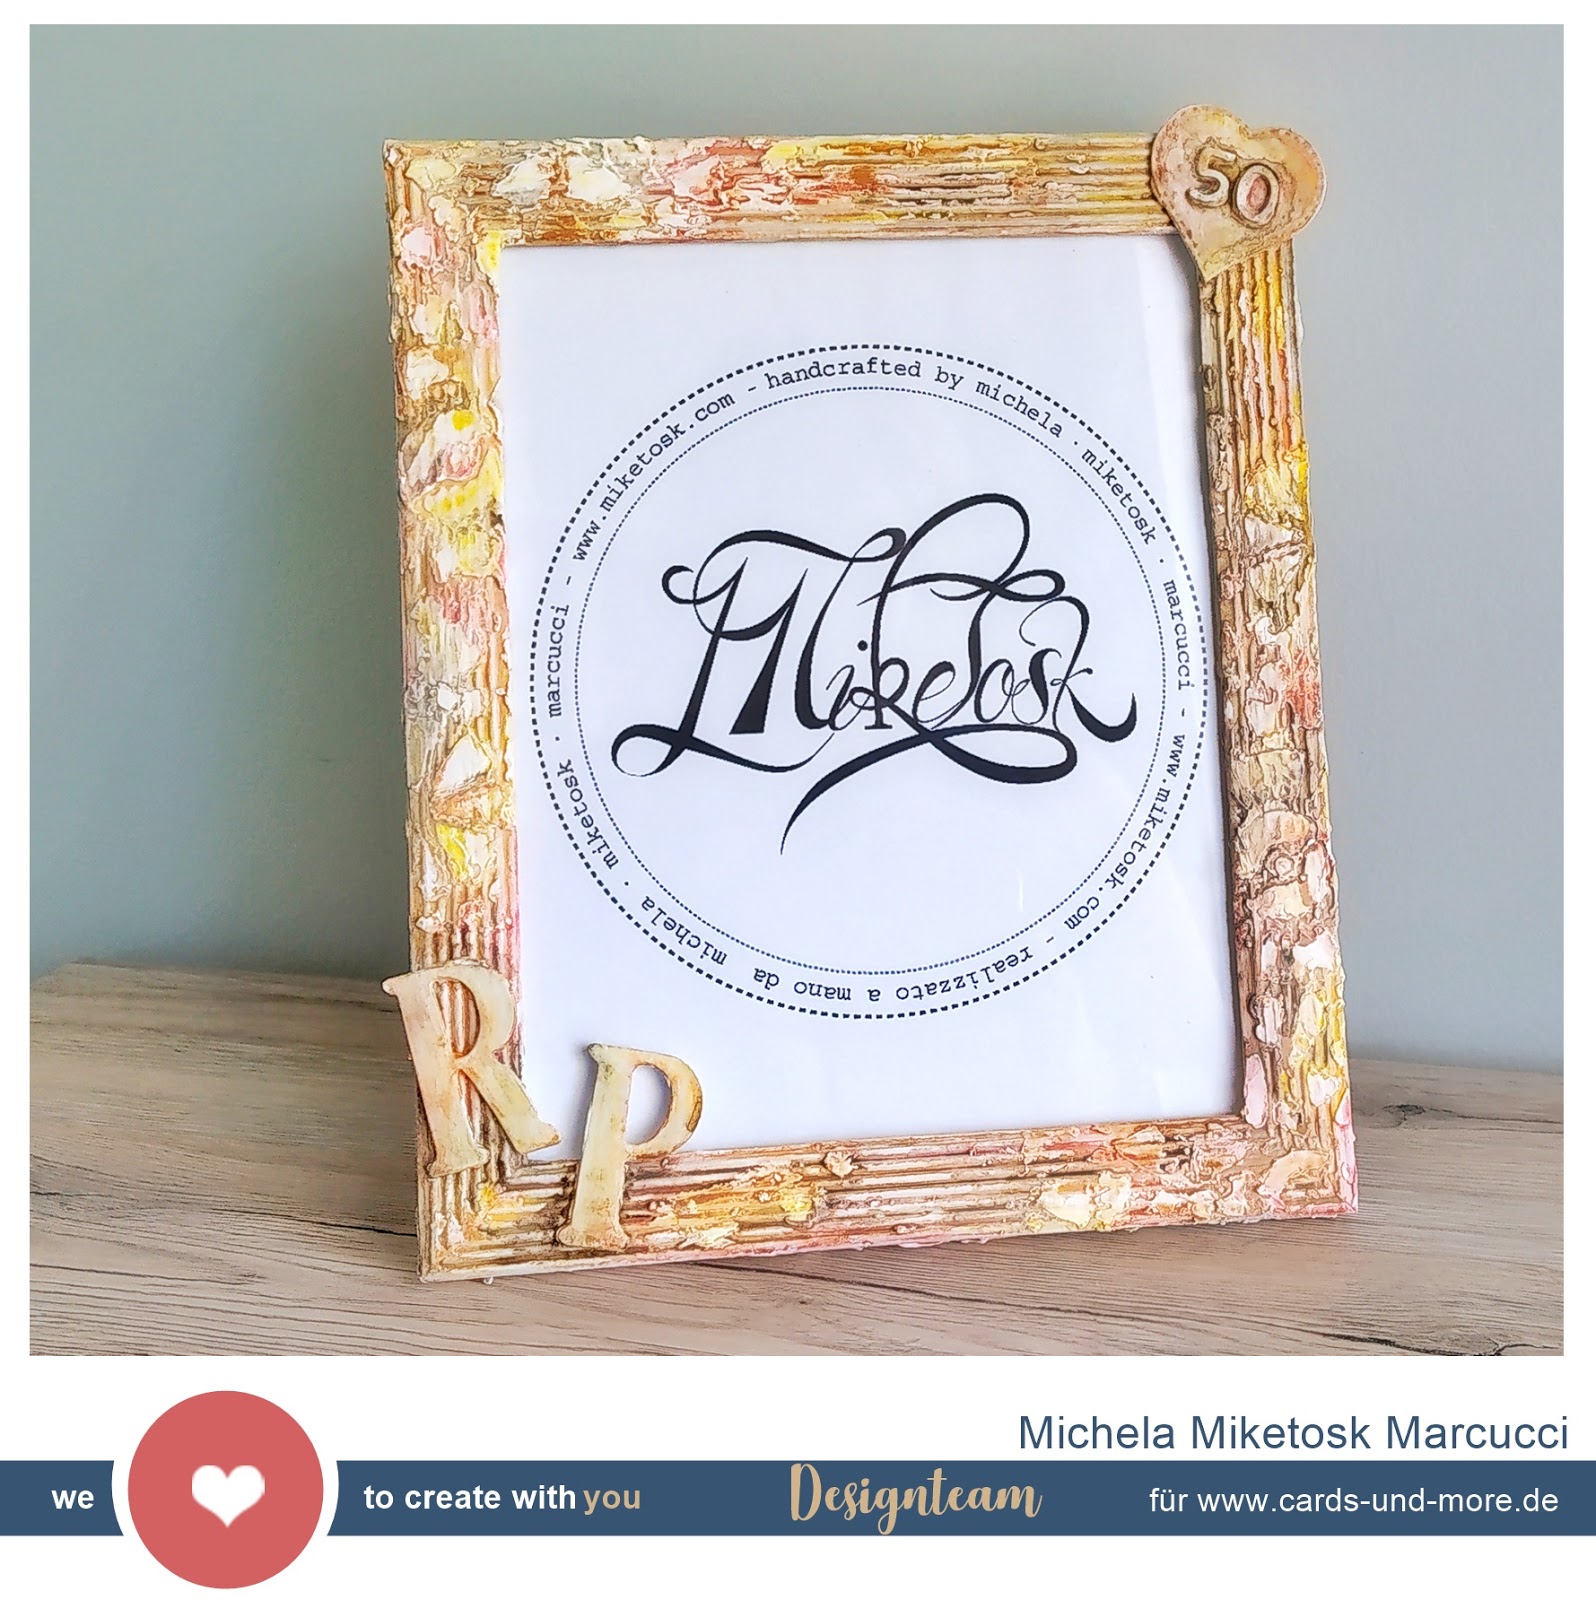
In the last weeks I had so many commissions for photo frames so I've decided to share with you how I created them! This time the gift was for a couple, Riccardo and Paola, that are going to celebrate their 50th wedding anniversary.

I've started with a coat of White Gesso to prime my base and, than I've decide to glue down a corrugated cardboard with Tacky Glue to give more interest to it.
In the meantime that I was waiting to everything to naturally dry I've die cutted couples of hearts, numbers 5 & 0 and letters P & R using my beloved Joy! Crafts Kraft Paper.

At this point it was time to ensemble everything on the frame and add another two coats of White Gesso.

Paying a bit of attentions, with a stencil and heavy gesso I created another layer of interest.

And now the funniest part! With my Pebeo watercolors I've started to color everything giving the stain look I letteraly ADORE, layer after layer dryng sometime with my heat gun.

And here we are! Final touches were to stamp my name with Stazon Jet Black and to add a coat of with gesso to the back to give a more orderly appearance.


Hope you liked it and got inspired... See you super soon for a new blog post!


Michela

Samstag, 13. April 2019

Buon compleanno papà!


Ciao! 😊

Today is my dad birthday so I've decided to realize a card for him!

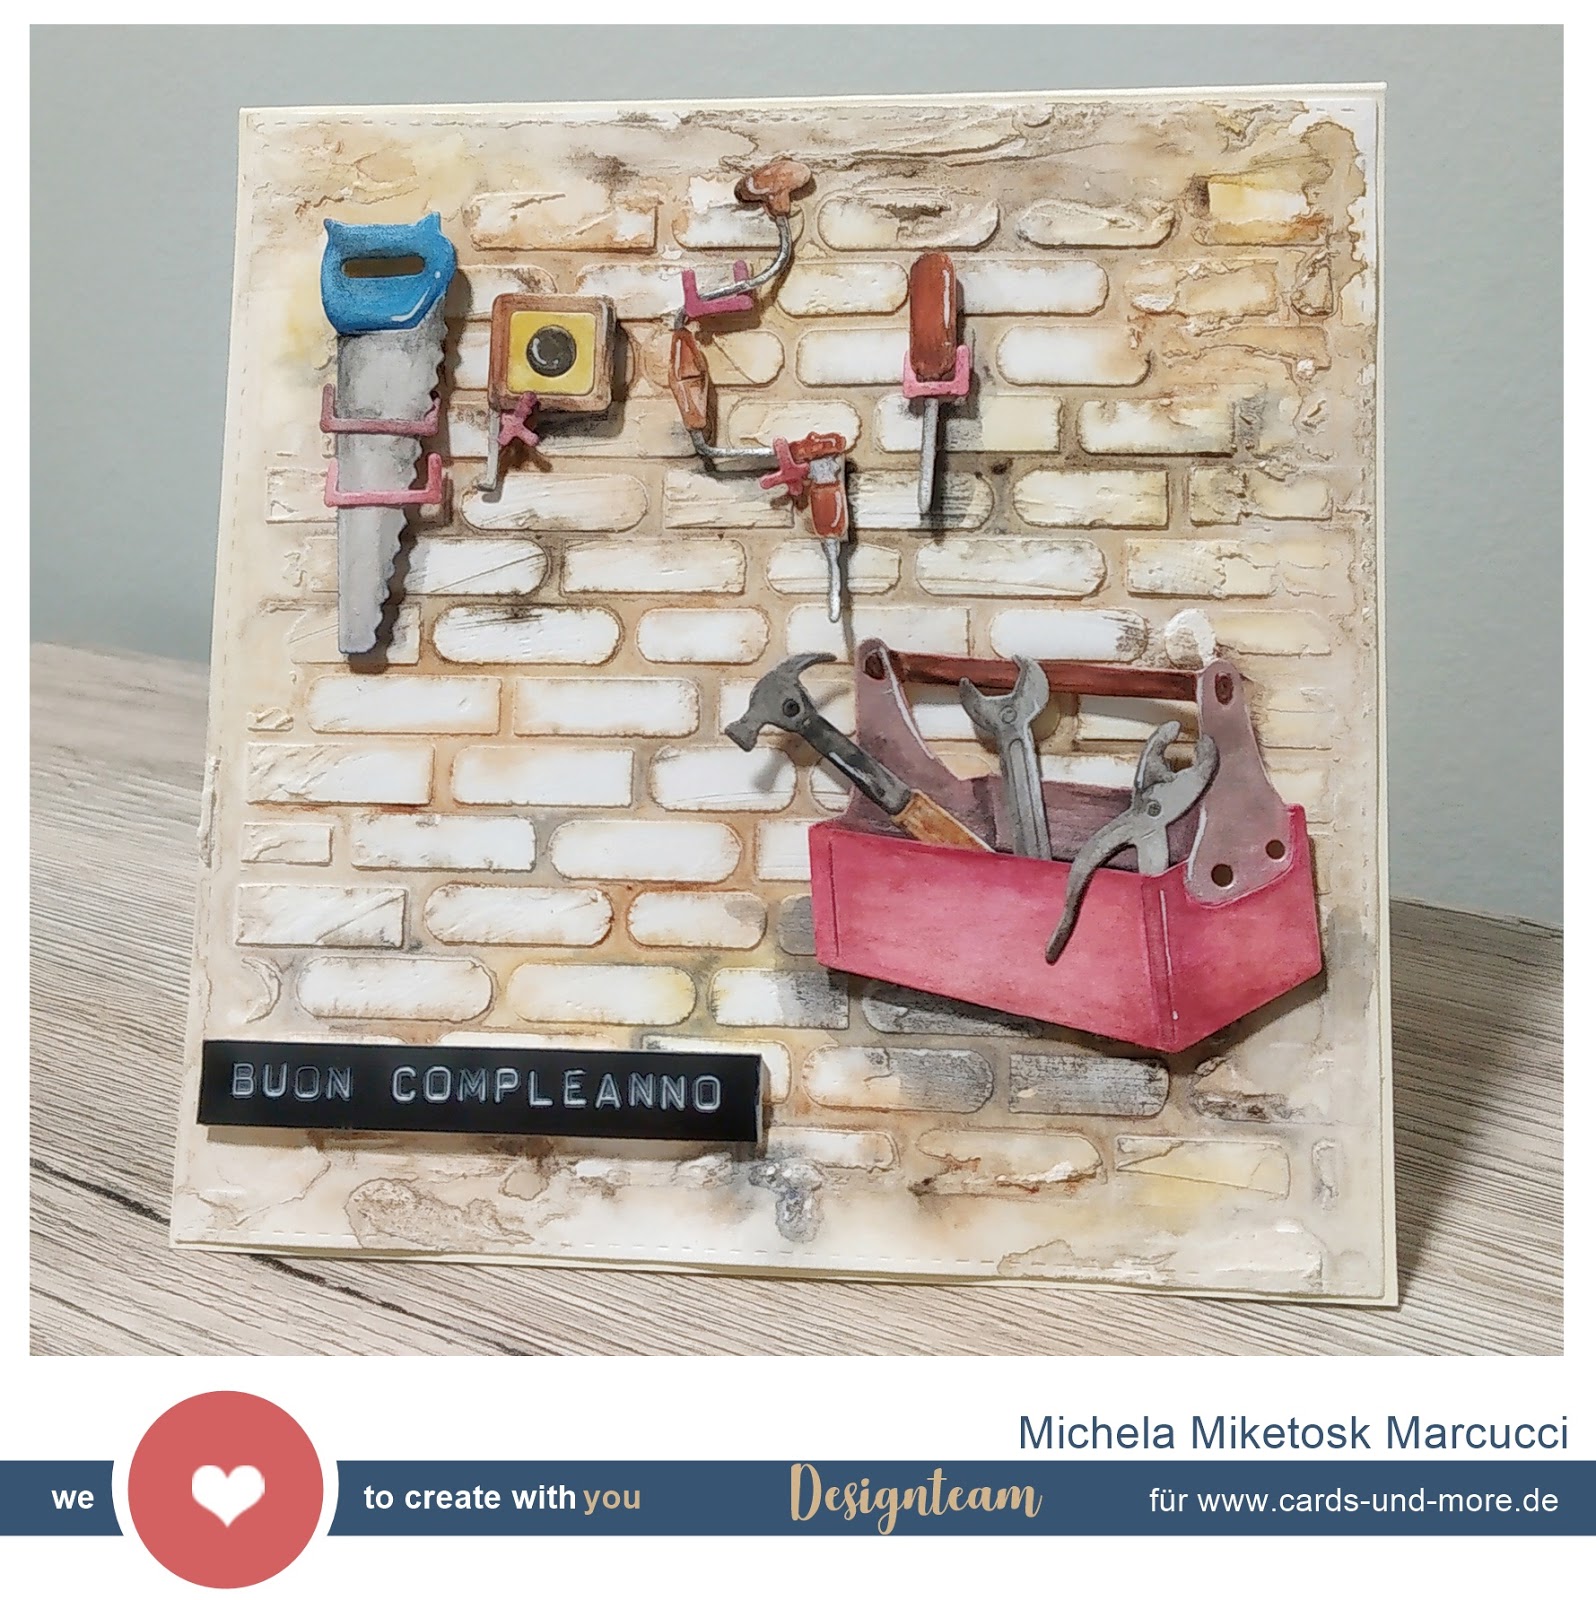
First of all I've created a wall background using a stencil and heavy gesso and in the meanwhile that I was waiting for everything to dry I've die cutted a toolbox and some stuff to put  inside.


You know I'm impatient so I've speed up the drying process using my heat gun and then I've finally started to color all my elements using Pebeo Watercolors

At this point I've assembled everything using 3D foam pads to give a dimensional look.

As a final touch I've also put some shine accents with my beloved Wink Of Stella and positioned an italian title which means "Happy Birthday".


Hope you liked it and got inspired... See you super soon for a new blog post!


Michela

Sonntag, 17. März 2019

BLOOM YOUR MIND


Ciao! 😊

This is my very first post for Cards und More Shop Blog and I'm either nervous and excited about this new adventure called Design Team!

Today I want to show you a junk journal page I've realized a couple of days ago.

First of all I've put some page together using Tacky Glue to have a thicker base to work with. 
While I was waiting for everything to get dry I choose some images from magazines and then I've started to glue them.

When my first layer was done I've decided to put a coat of transparent gesso to seal everything and start to create some textures.

With some flowerish stencil and heavy gesso I've tried to create a sort of frame all around the page to enfatize the girl flowers crown and, then, I've also added some dots in the right bottom corner.

As soon ad the gesso dried I've applied some masking tape (I'm a bit obsessed, in every project I do I have to use it) where where I imagined to put the title and drywall tape around the pages to create even more interest.


At this point I've tought that was time to add mediums so I added some white gesso around the elements to connect them and then I've started to play with my Pebeo Watercolors and Faber Castell Gelatos.

The final touches was the date impressed with Stazon Jet Black ink and the title, made with Dymo label, "BLOOM YOUR MIND".


For this time is everything, I hope you enjoy my first project here and look forward to the next one! 

Michela


Challenge #67 - Anything Goes

Hallo liebe Cards und More Freunde, wir haben heute wieder eine neue Challenge für Euch. Dieses Mal gibt es ein Board für euch, das euch zur...