Dieses Blog durchsuchen

Posts mit dem Label Cards Und More Secret Package werden angezeigt. Alle Posts anzeigen

Samstag, 28. September 2019

Once upon a time there was 5 tiny houses...

 Ciao! 😊 


As you know in August I've received a Surprise Package from the shop so my actual blog posts are mainly about using the amazing products I've found inside the box! 

If you are curious to see what I found inside here is a video opening...


Otherwise, here's project #06

I was very undecided whether to publish this "tutorial" and in the end I decided to make a list of used products and leave a very-long-video to let you see what I did. 

I was very intrigued and scared by these MDF houses ... They were born as an unconventional photo album but I wanted to do something different...

Wanna see what I've created in about 4 hours of work (excluding the part where I've inserted photos and quotes from Christina Perri's "Arms")? Here's the video!


Used products (random order):


I've also created a shorter/flip through version where you can see only the final result... (It was litteraly impossibile to show you only few details!!!)


Hope you liked it and got inspired... See you super soon for a new blog post!


Michela
s

Sonntag, 15. September 2019

Home is where the heart is

 Ciao! 😊 


As you know a couple of weeks ago I've received a Surprise Package from the shop so my upcoming blog posts will be all about using the amazing products I've found inside the box! 

If you are curious to see what I found inside here is a video opening...


Otherwise, let's start with project #05


First of all I've glued down Dutch Doobadoo Dutch Fabric Art - Jeans A5 Medium on a canvas board and I've primed it using clear gesso.

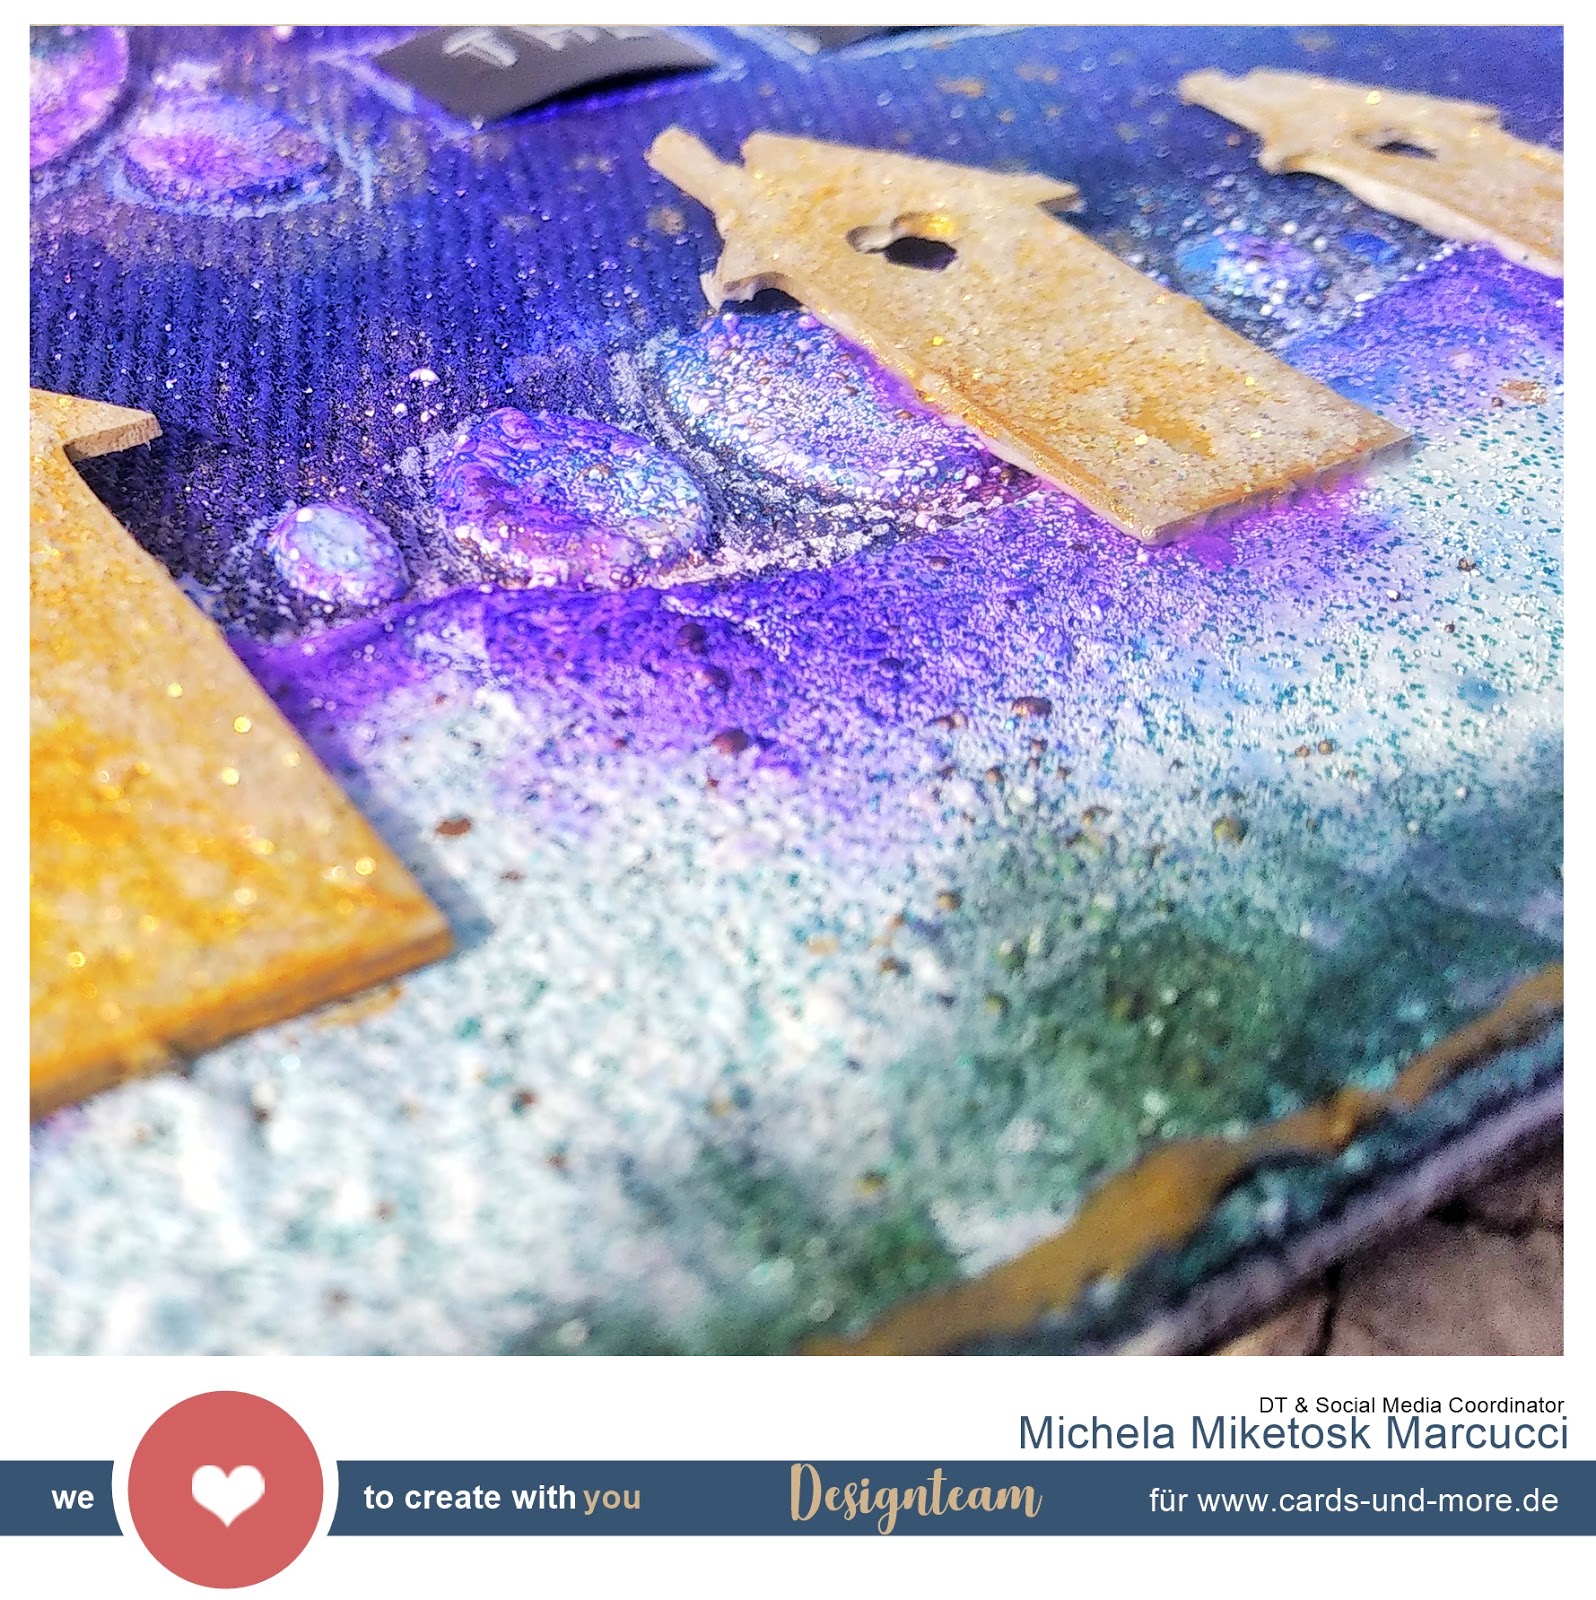
I've also also covered four houses from Dutch Doobadoo Dutch Greyboard Art A5 Houses.

With Pronty Crafts - Mask Stencil - Bubble and Stampendous Fran-tage Embossing Enamels (shabby blue) I've created a sort of scene with hills and sun, both abstract.


After glued down house over the hills I've started coloring the jeans/sky with liquid watercolors trying to create shadows and contrasts and, as soon as it all dried up I covered the tiny little houses with Stickles glitterglue.

It was now time to add a quote so, using Dymo I created the sentence: "home is where the heart is" and I attached it on my canvas emphasizing the border with a white gel pen.

To merge the composition I've decided to create an irregular border all around the canvas in the same tone as the housesand in this way the project has ended!


Hope you liked it and got inspired... See you super soon for a new blog post!


Michela
s

Dienstag, 3. September 2019

We dream in colors borrowed from the sea

 Ciao! 😊 


As you know a couple of weeks ago I've received a Surprise Package from the shop so my upcoming blog posts will be all about using the amazing products I've found inside the box! 

If you are curious to see what I found inside here is a video opening...


Otherwise, let's start with project #04


Using water media paper and Dutch Doobadoo Dutch Shape Art - Diamond I've cutted a base and a sort of frame (as we use to do on shaker cards.

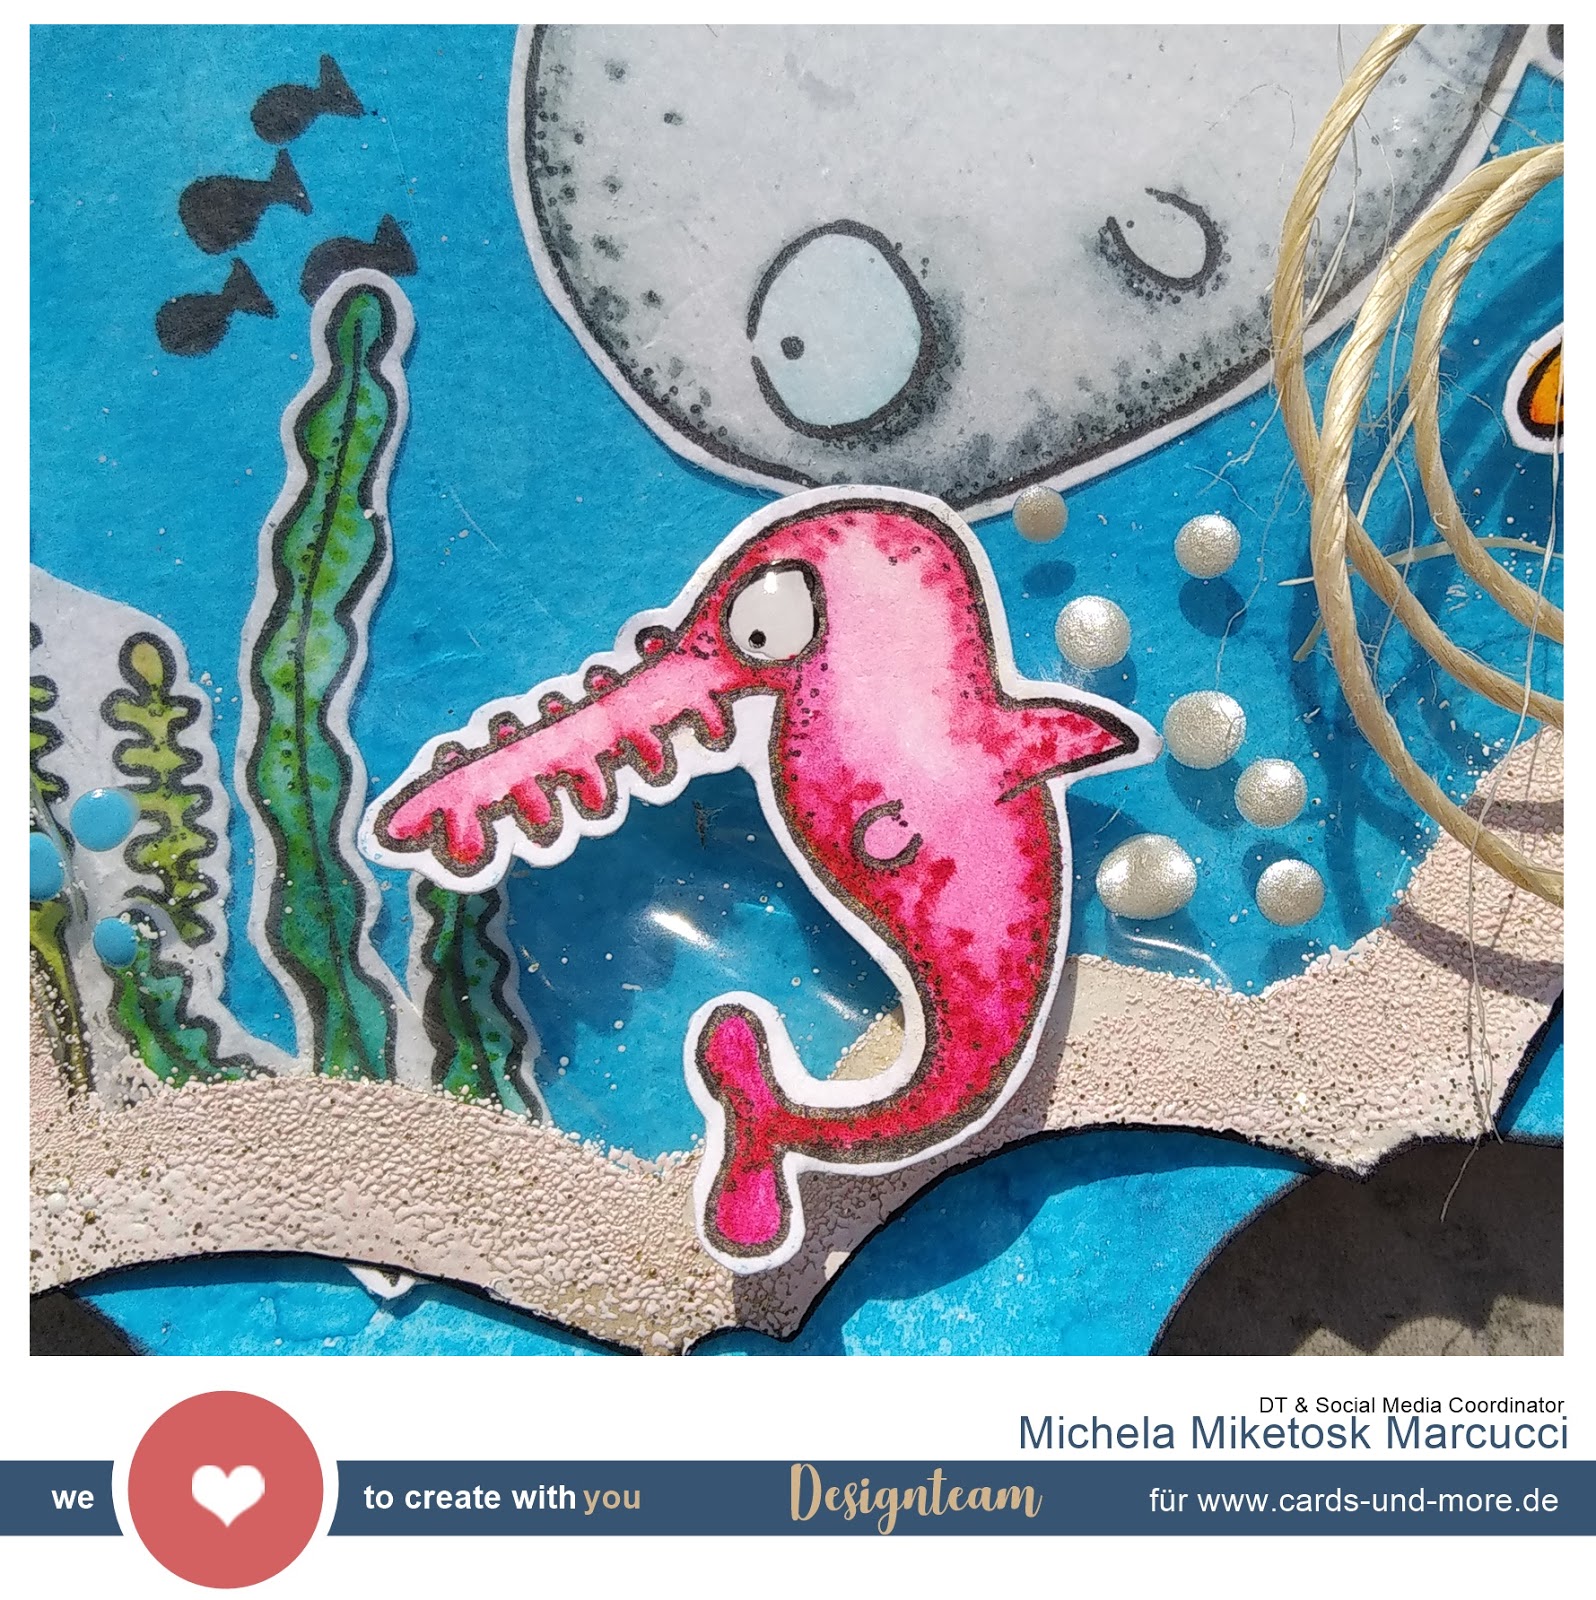
I covered up the first one using Tim Holtz Distress Oxide Spray Mermaid Lagoon (cellophane tecnique) and the last one with Stampendous Fran-tage Embossing Enamels (shabby pink). I've also enfatized the borders with a black marker.

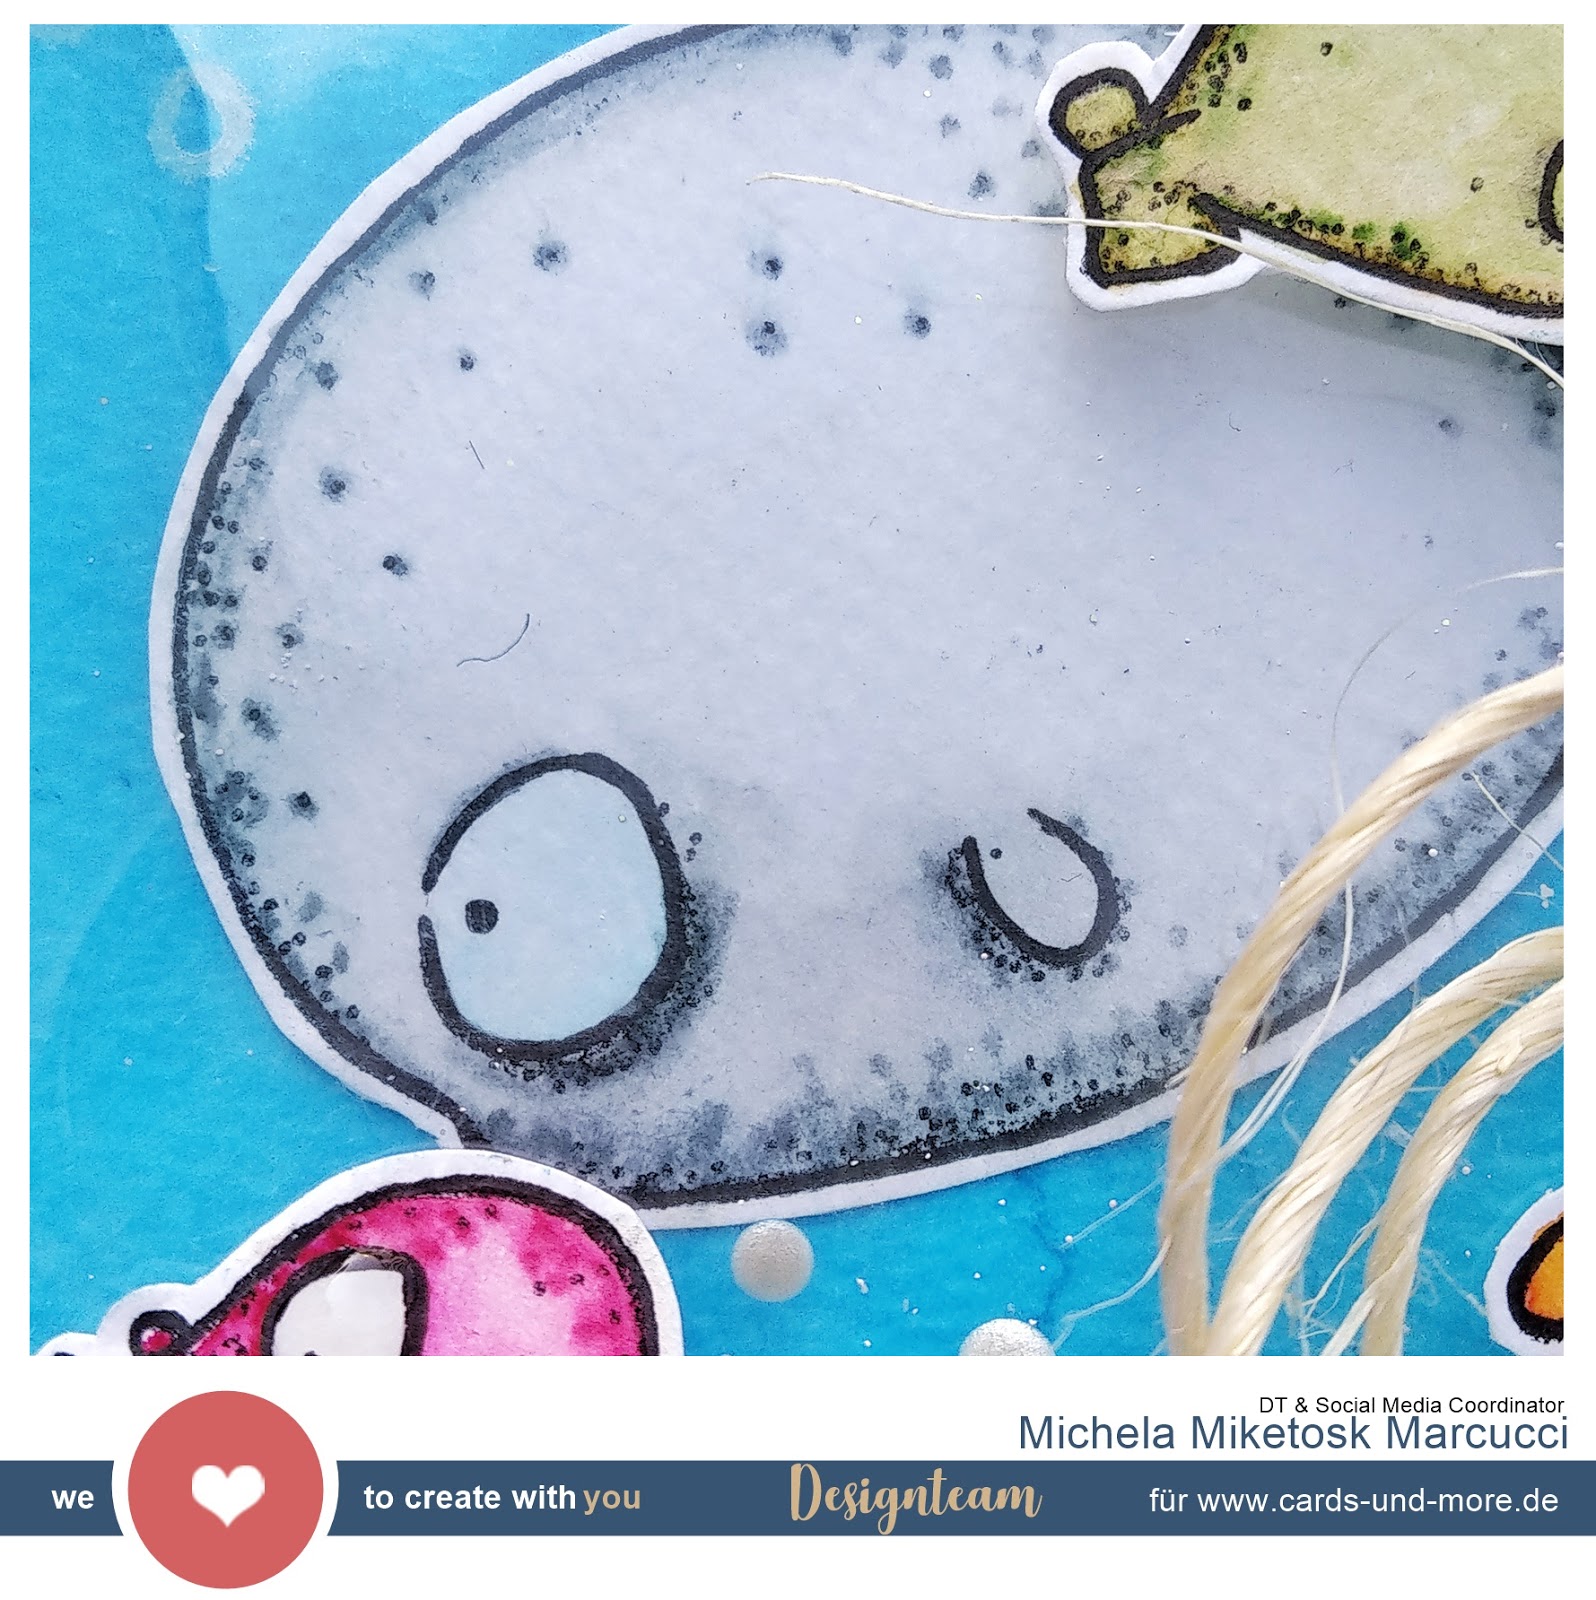
On the same water media paper I've stamped some elements from Craft Emotions - Clearstamps A6 - Ocean 1 Carla Creaties using StazOn Jet Black. After some coloring using water markers I've fussy cutted them all and started to choose how to compose the little scene.


I glued an acetate sheet behind the frame using white glue and, then, I warmed it up using my heat tool.  My idea was to create a sort of waves effect.


First of all I've add a coat of white gesso over my base, the Dutch Doobadoo Dutch MDF Art - Painter Palette 3mm. After that, with Pronty Crafts - Mask Stencil - Bubble and heavy gesso, I've created another point of interest.

At this point I've started die cutting some elements to use on my project using a water media paper. I've die cutted also a photo using a rectangular shape.

Using 3d foam and white glue I've attached all the elements creating different levels to give more dimension and interest. I added some bubbles near the whale using the same stampset and white ink.

I've also decided to add some color drops and a string (you know how I love to use it!).


At this point my hyper colored project was finished!


Hope you liked it and got inspired... See you super soon for a new blog post!


Michela
s

Samstag, 31. August 2019

You color my life

 Ciao! 😊 


As you know a couple of weeks ago I've received a Surprise Package from the shop so my upcoming blog posts will be all about using the amazing products I've found inside the box! 

If you are curious to see what I found inside here is a video opening...


Otherwise, let's start with project #03


First of all I've add a coat of white gesso over my base, the Dutch Doobadoo Dutch MDF Art - Painter Palette 3mm. After that, with Pronty Crafts - Mask Stencil - Bubble and heavy gesso, I've created another point of interest.

At this point I've started die cutting some elements to use on my project using a water media paper. I've die cutted also a photo using a rectangular shape.

It was now to the funny part: coloring! Using my beloved watercolors I've played around combining splashes and stains tacniques.

With Tim Holtz Distress Oxide Spray Mermaid Lagoon I've started plashing also the leaves and the word I've previously die cutted but, as I wanted they stand out more than the background, I've decided to cover them up with Stampendous Fran-tage Embossing Enamels. I've choosed shabby blue for the leaves and shabby pink for the word (The result was now AMAZING, I'm in love with this kind of embossing powders!)

Using 3d foam I've created different levels to give more dimension while I was ensembling the composition. I've also decided to tie Prima Resin Keys around the palette using string.


Just a few touches of Stickles glitter glue and white gesso (dry brushing over the string) and the project for today is finished!


Hope you liked it and got inspired... See you super soon for a new blog post!


Michela

Freitag, 23. August 2019

But I'm Only Human...

 Ciao! 😊 


A couple of days ago I've received a Surprise Package from the shop so my upcoming blog posts will be all about using the amazing products I've found inside the box! 

If you are curious to see what I found inside here is a video opening...


Otherwise, let's start with project #02! 


This time I was in art-journal-mood so I've began covering two pages with a coat of clear gesso and, while it was drying, I've started to choose some stuff to use. 

Using a blending tool and Distress Oxide Fired Brick I've created a background, and over it, I've started creating layers of interest using lift and splashes tecnique. With Pronty Crafts - Mask Stencil - Bubble (it's going to be my all-time-most-used stencil!) and the same ink I've realized a sort of line crossing along the two pages of the art journal and, at the end, I've added even more color touches with Distress Oxide Ink - Candied Apple.

At this point I've started creating my main focal point. I traced a silhouette on watercolor paper using Dutch Doobadoo Dress up Doll and then, I've colored it with black gesso and attached on the journal using white glue.

As you probably know I love to add quotes on my page so, this time, I've choosed to print some parts of Christina Perri's Human. After a quick cut I've enfatized the borders with a black marker and started attaching them on the journal.

As a final touches I've sprayed some water and black watercolor all around to create a more "merged" look.


Date stamped... and the project for today is finished!


Hope you liked it and got inspired... See you super soon for a new blog post!


Michela

Samstag, 17. August 2019

Love You To The Moon And Back

 Ciao! 😊 


A couple of days ago I've received a Surprise Package from the shop so my upcoming blog posts will be all about using the amazing products I've found inside the box! 

If you are curious to see what I found inside here is a video opening...


Otherwise, let's start with project #01! 


First of all I've traced and cutted two bases with Dutch Doobadoo Dutch Shape Art - Rectangle. The biggest/lower one using craft paper, the smaller/upper one with water media paper.

With a distress tool and white gesso (dry brushing) I've emphasized the borders of craft paper and, then, hot embossed a Metallic Gold Rich Pale Super Fine sentence "Love you to the moon and back" (from Jane's Doodles "To The Moon" stamp set) using my heat tool.

At this point I've started to build a watercolors galaxy lookalike background and color some elements from the same stampset that I had previously stamped with Stazon Jet Black.

While everything was drying I've choosed a picture to use as a focal paint and started playing around creating a compositions! Using 3d foam I've created different levels to give more dimension.


Just a few touches of Ranger Glossy Accents to "give more something"... and the project for today is finished!


Hope you liked it and got inspired... See you super soon for a new blog post!


Michela

Challenge #67 - Anything Goes

Hallo liebe Cards und More Freunde, wir haben heute wieder eine neue Challenge für Euch. Dieses Mal gibt es ein Board für euch, das euch zur...