Dieses Blog durchsuchen

Posts mit dem Label DT Michela werden angezeigt. Alle Posts anzeigen

Donnerstag, 30. September 2021

Experimenting gel printing on fabric


 Ciao! 😊 


A few months ago I bought, from the Cards Und More shop, a tool I wanted for a long time: the Gel Press! I didn't have enough time to test it immediately but, in the last period, I'm starting to use it assiduously, experimenting with mediums and materials of all kinds.

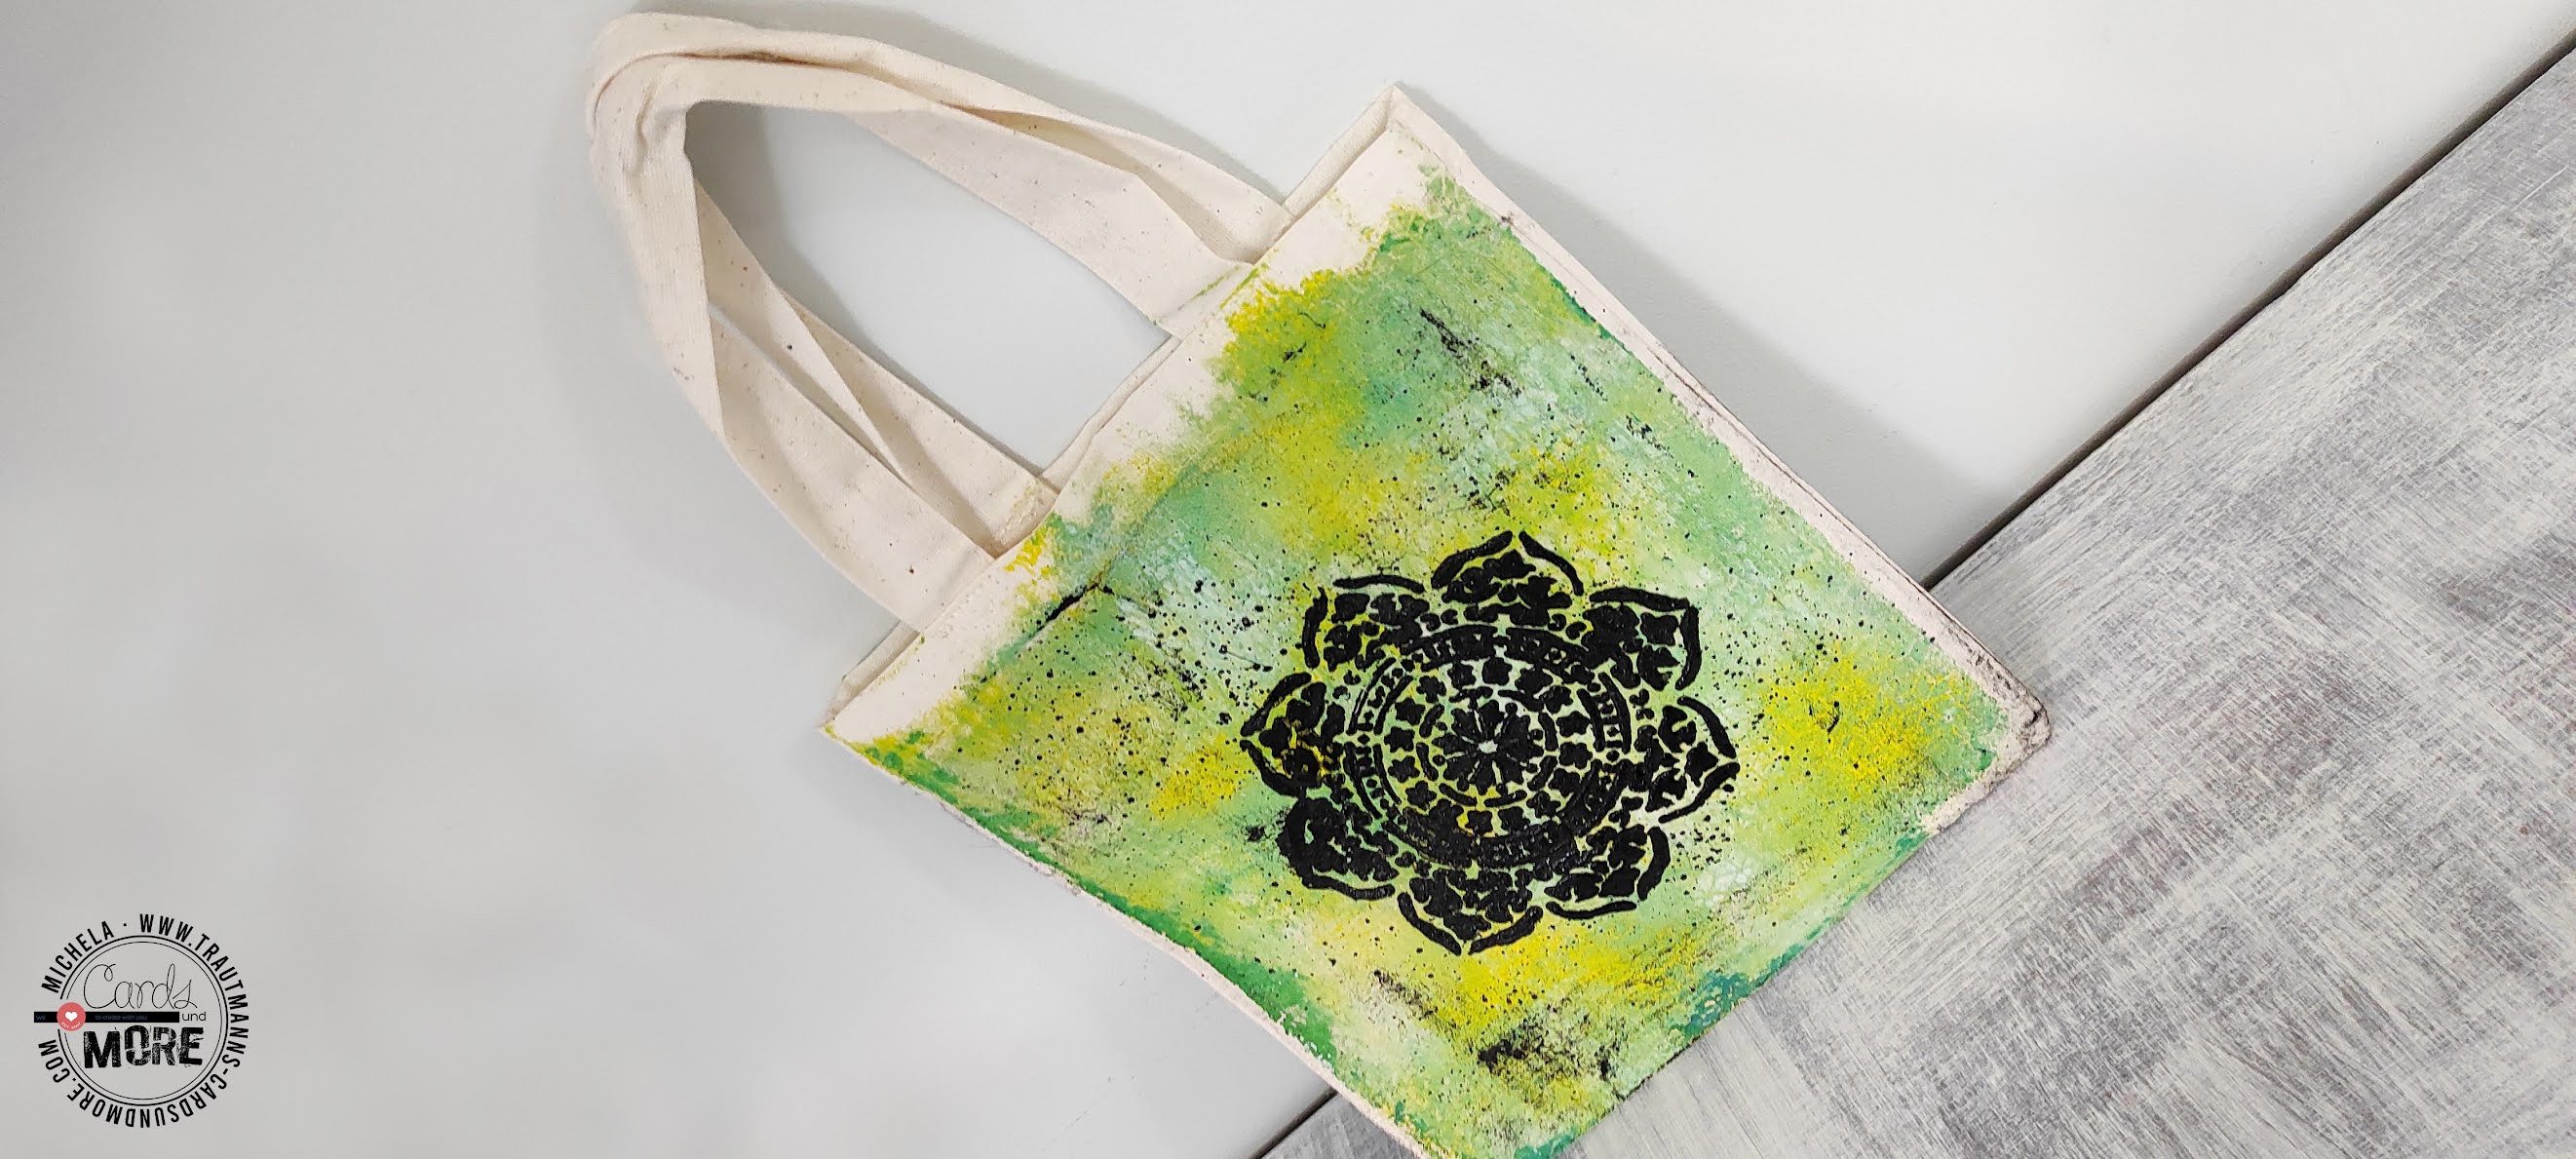
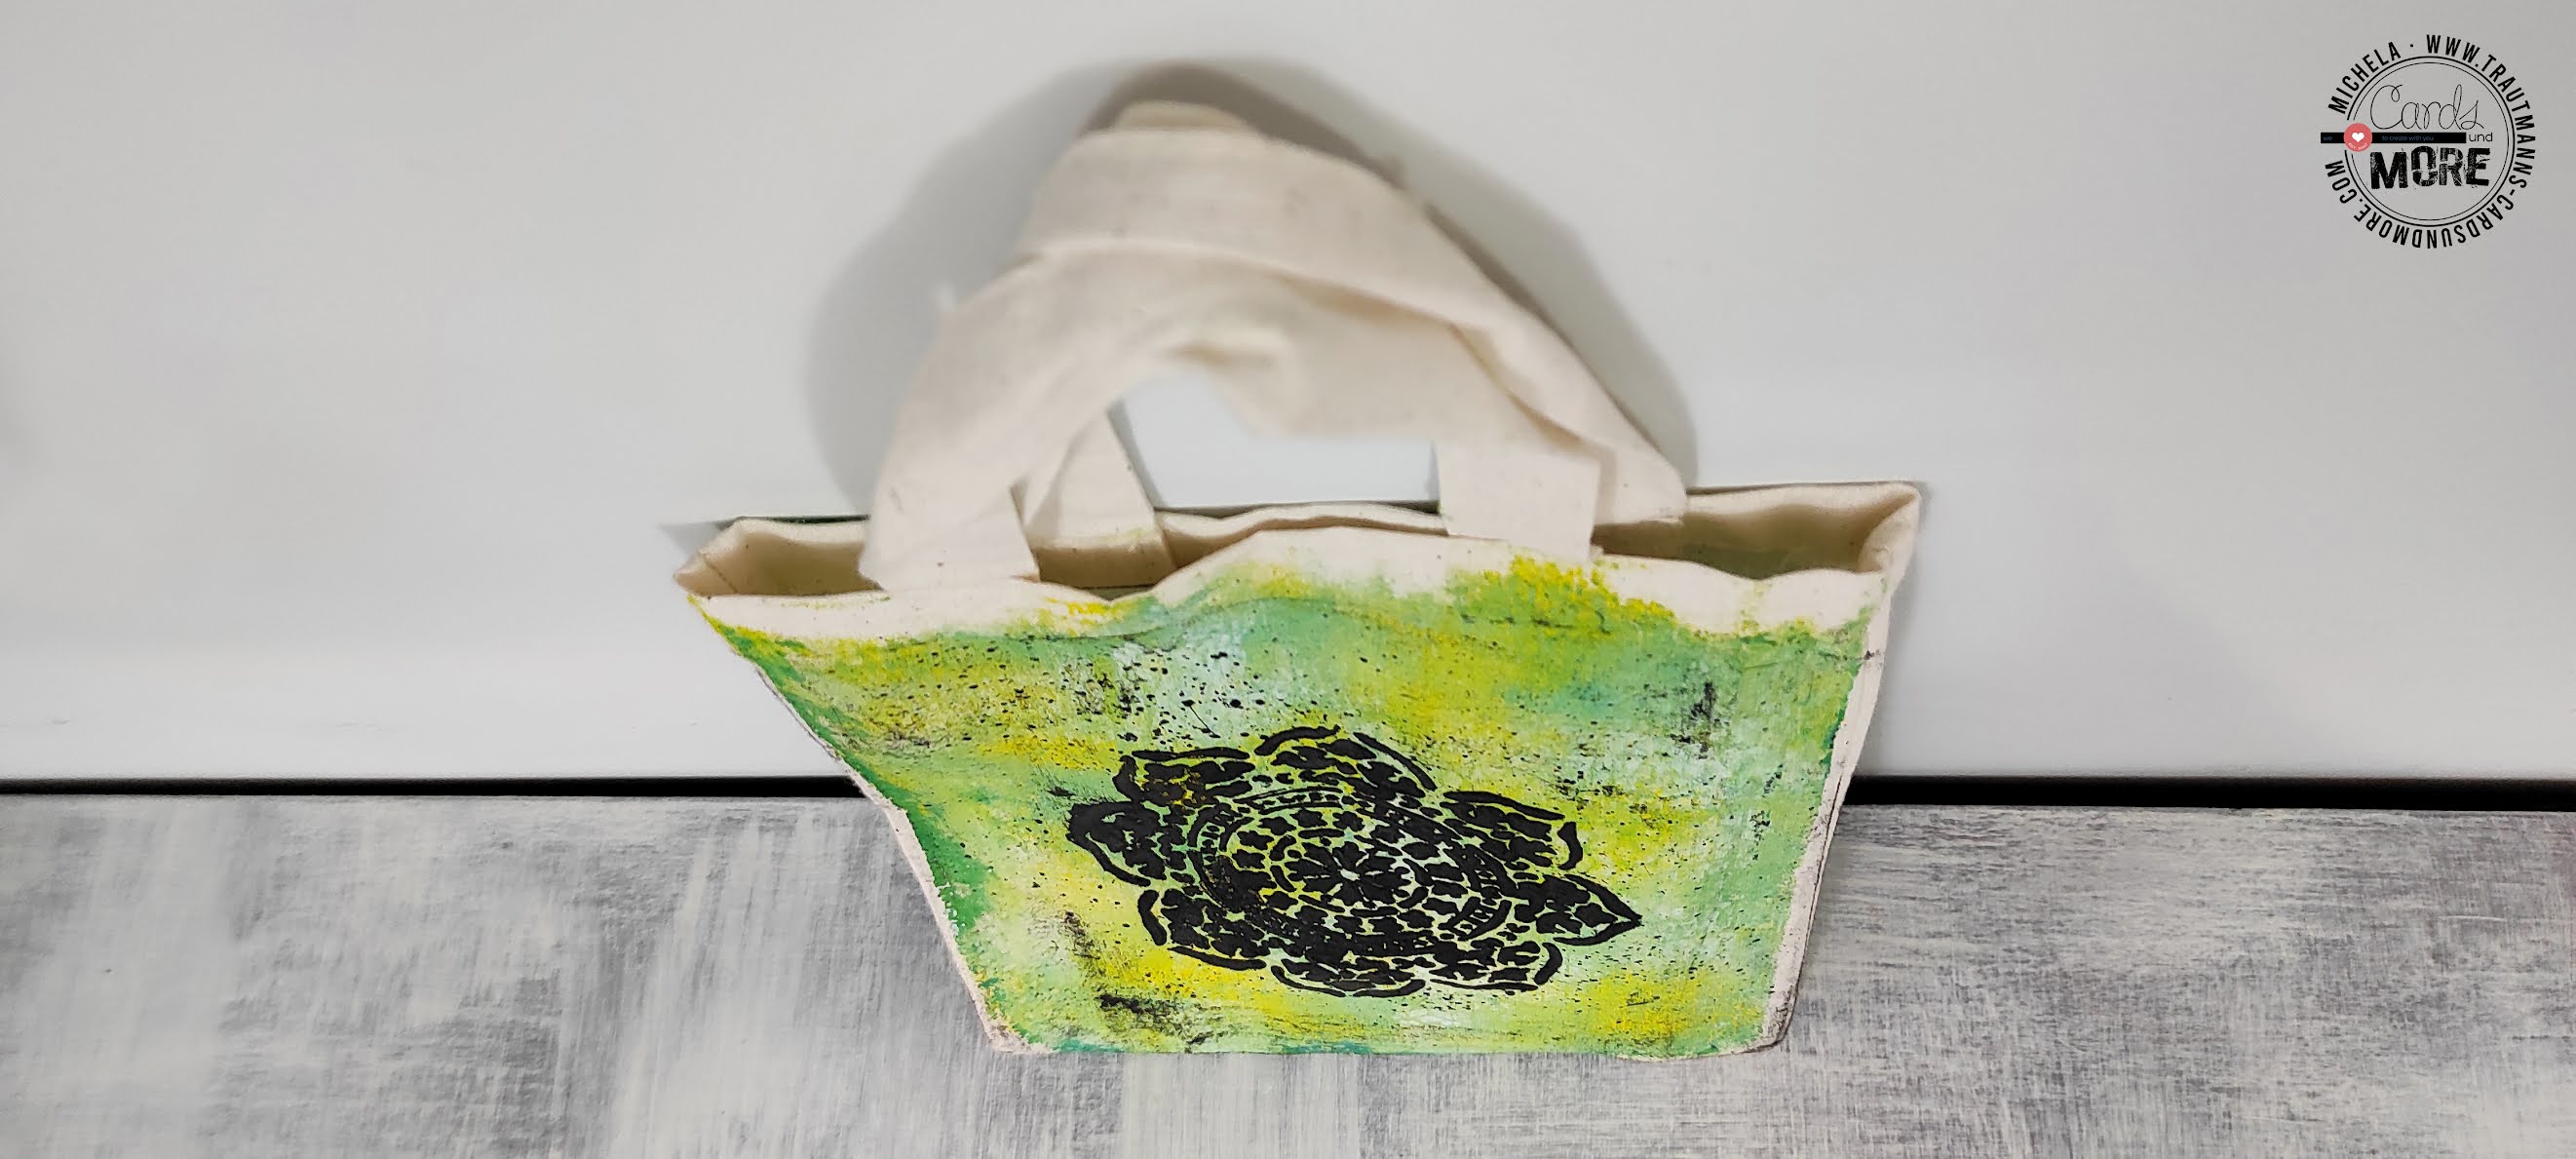
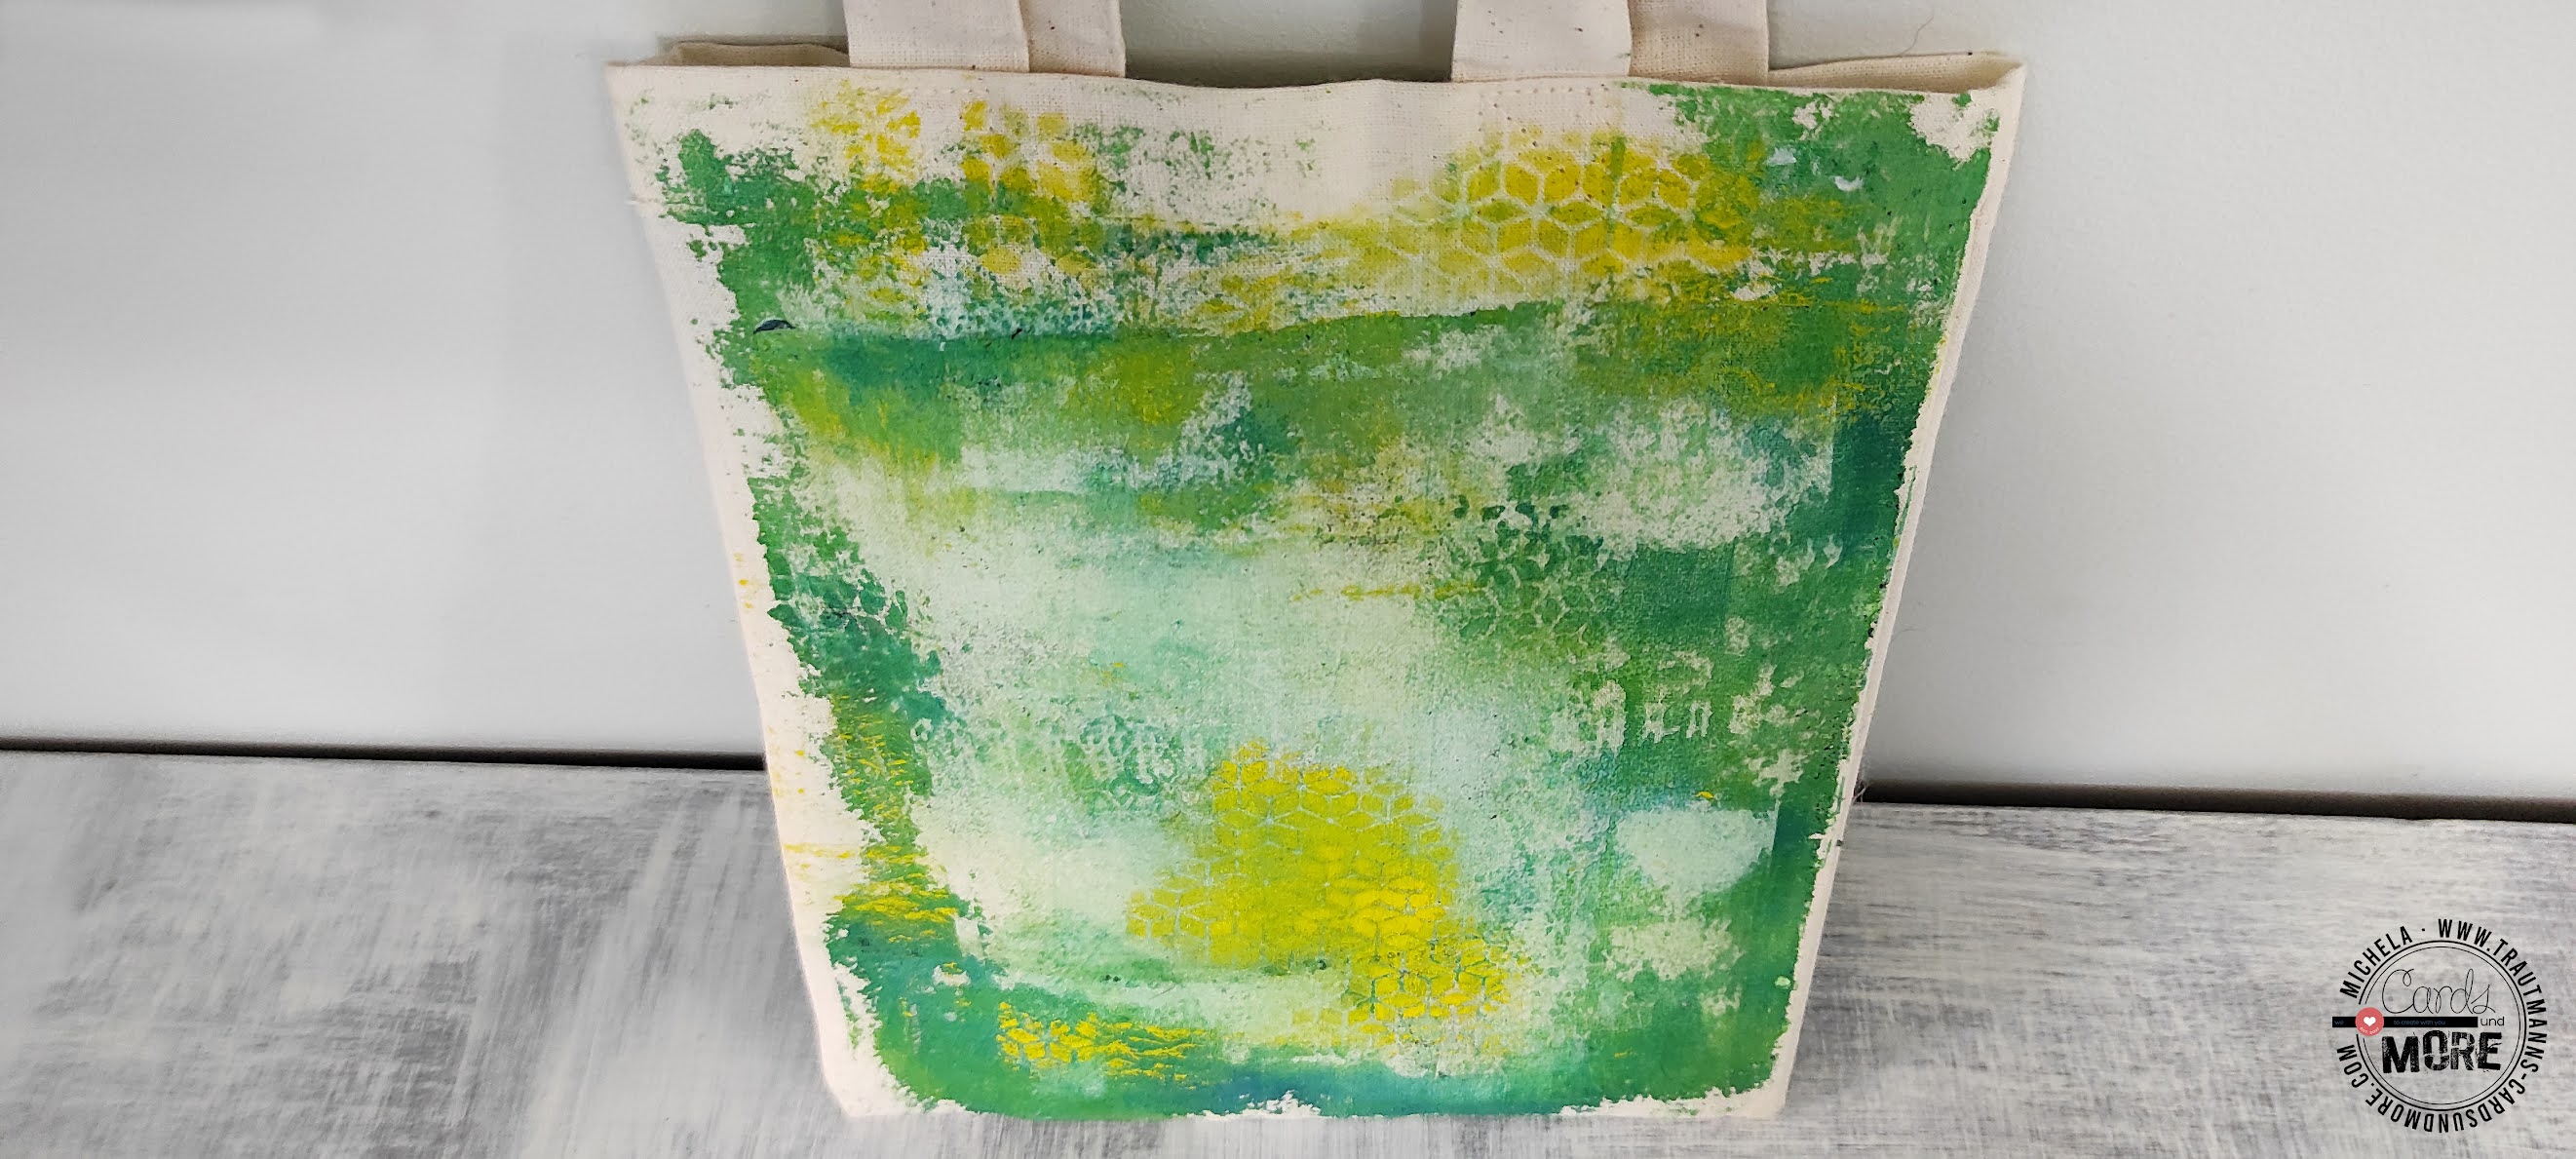
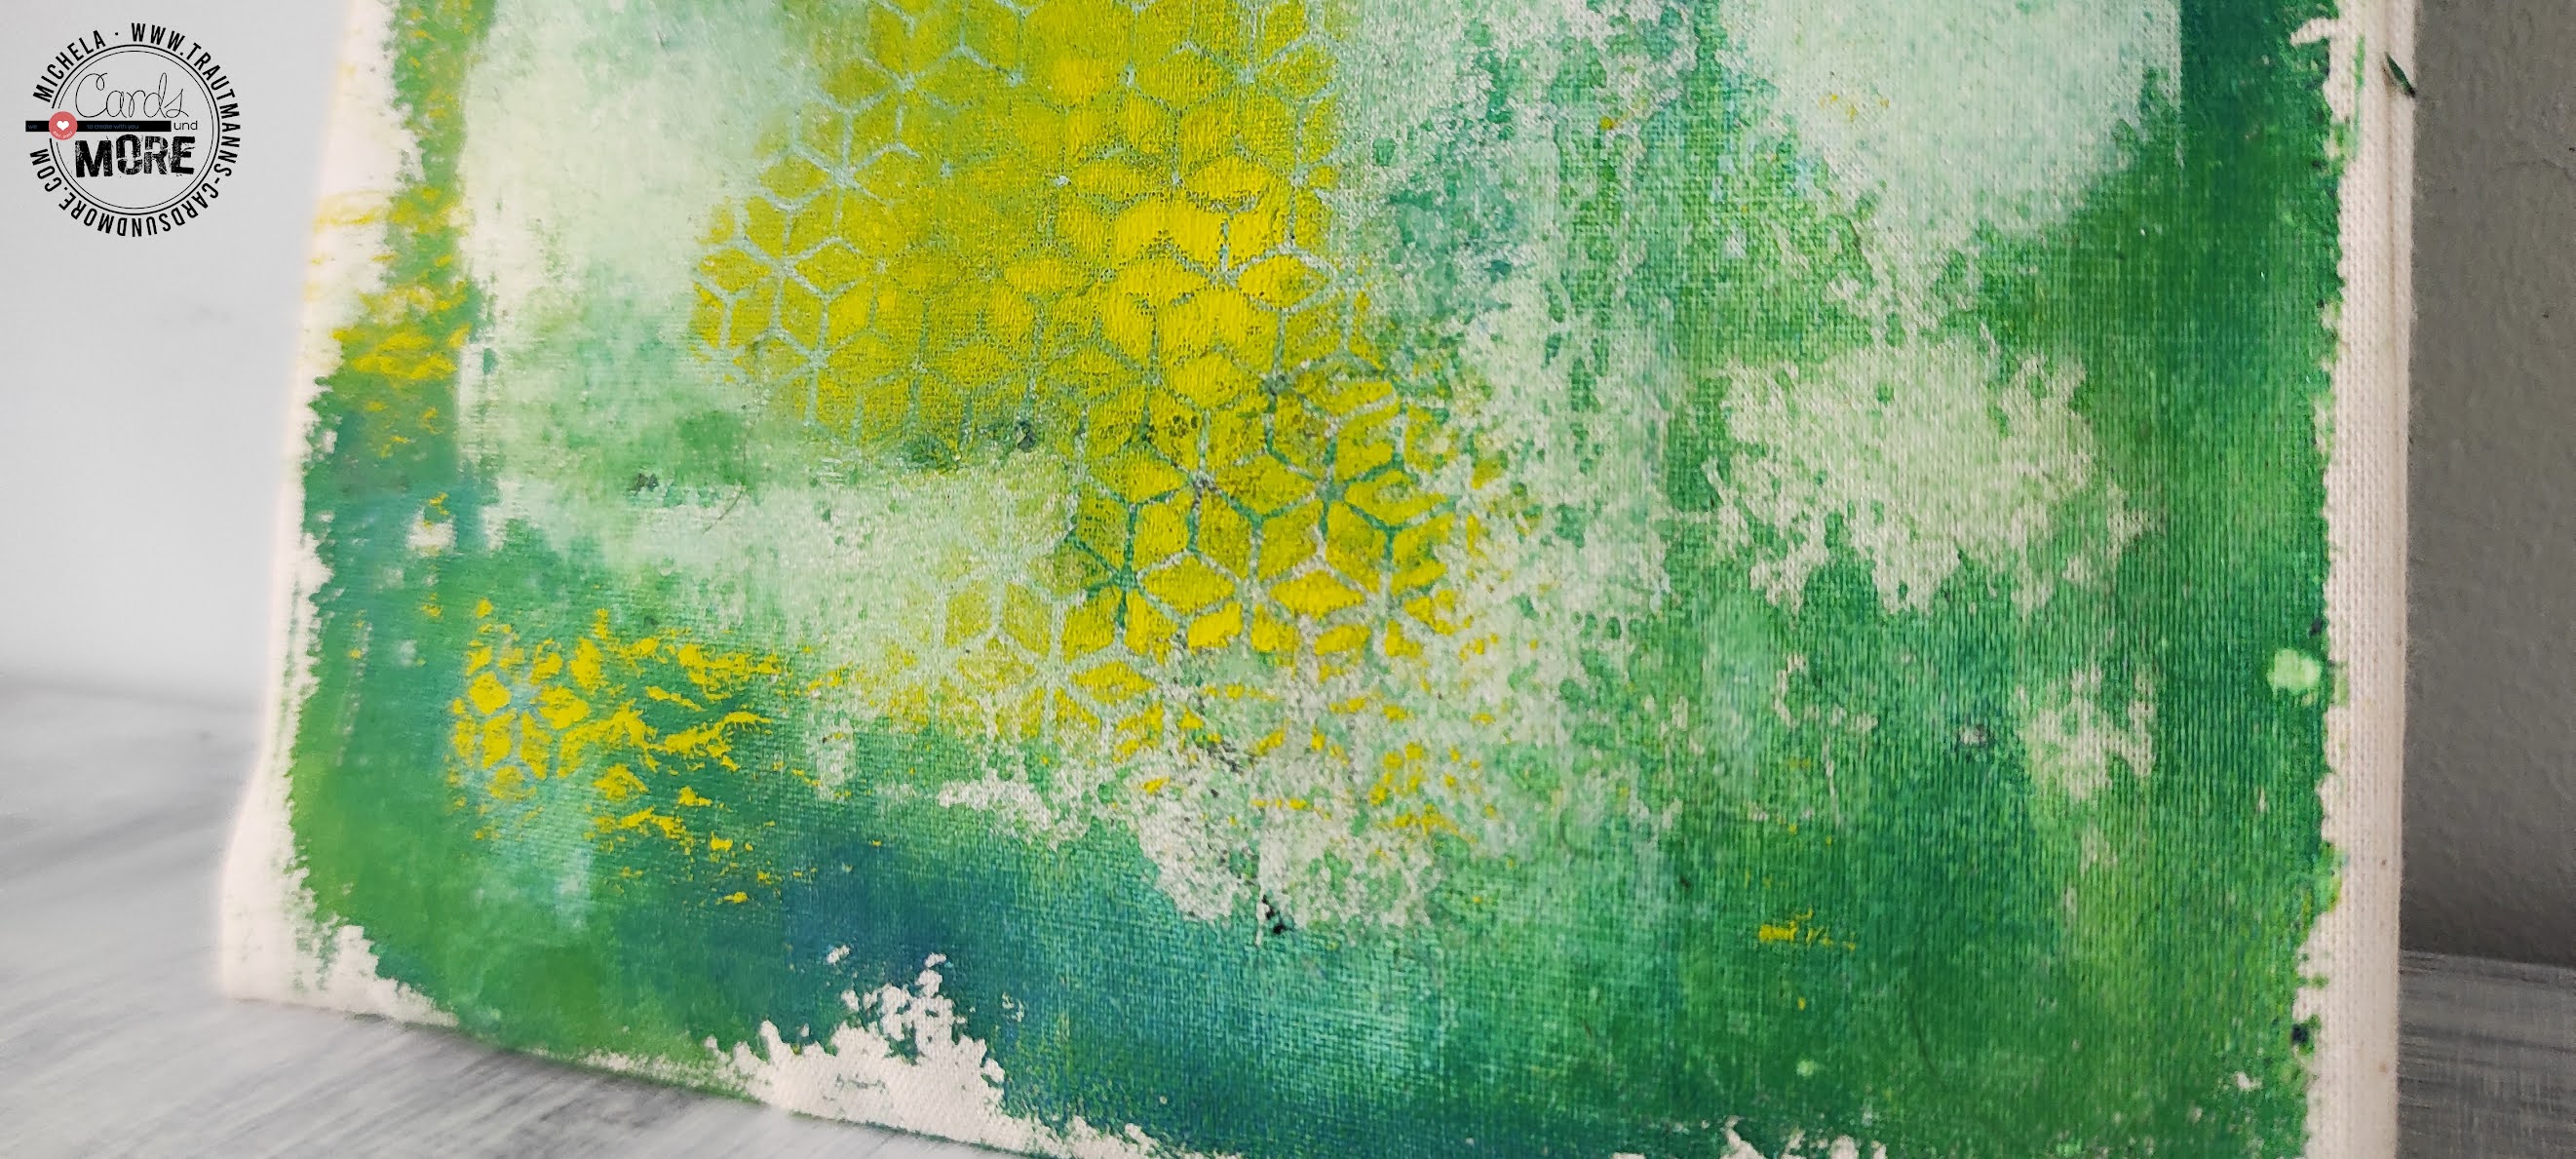
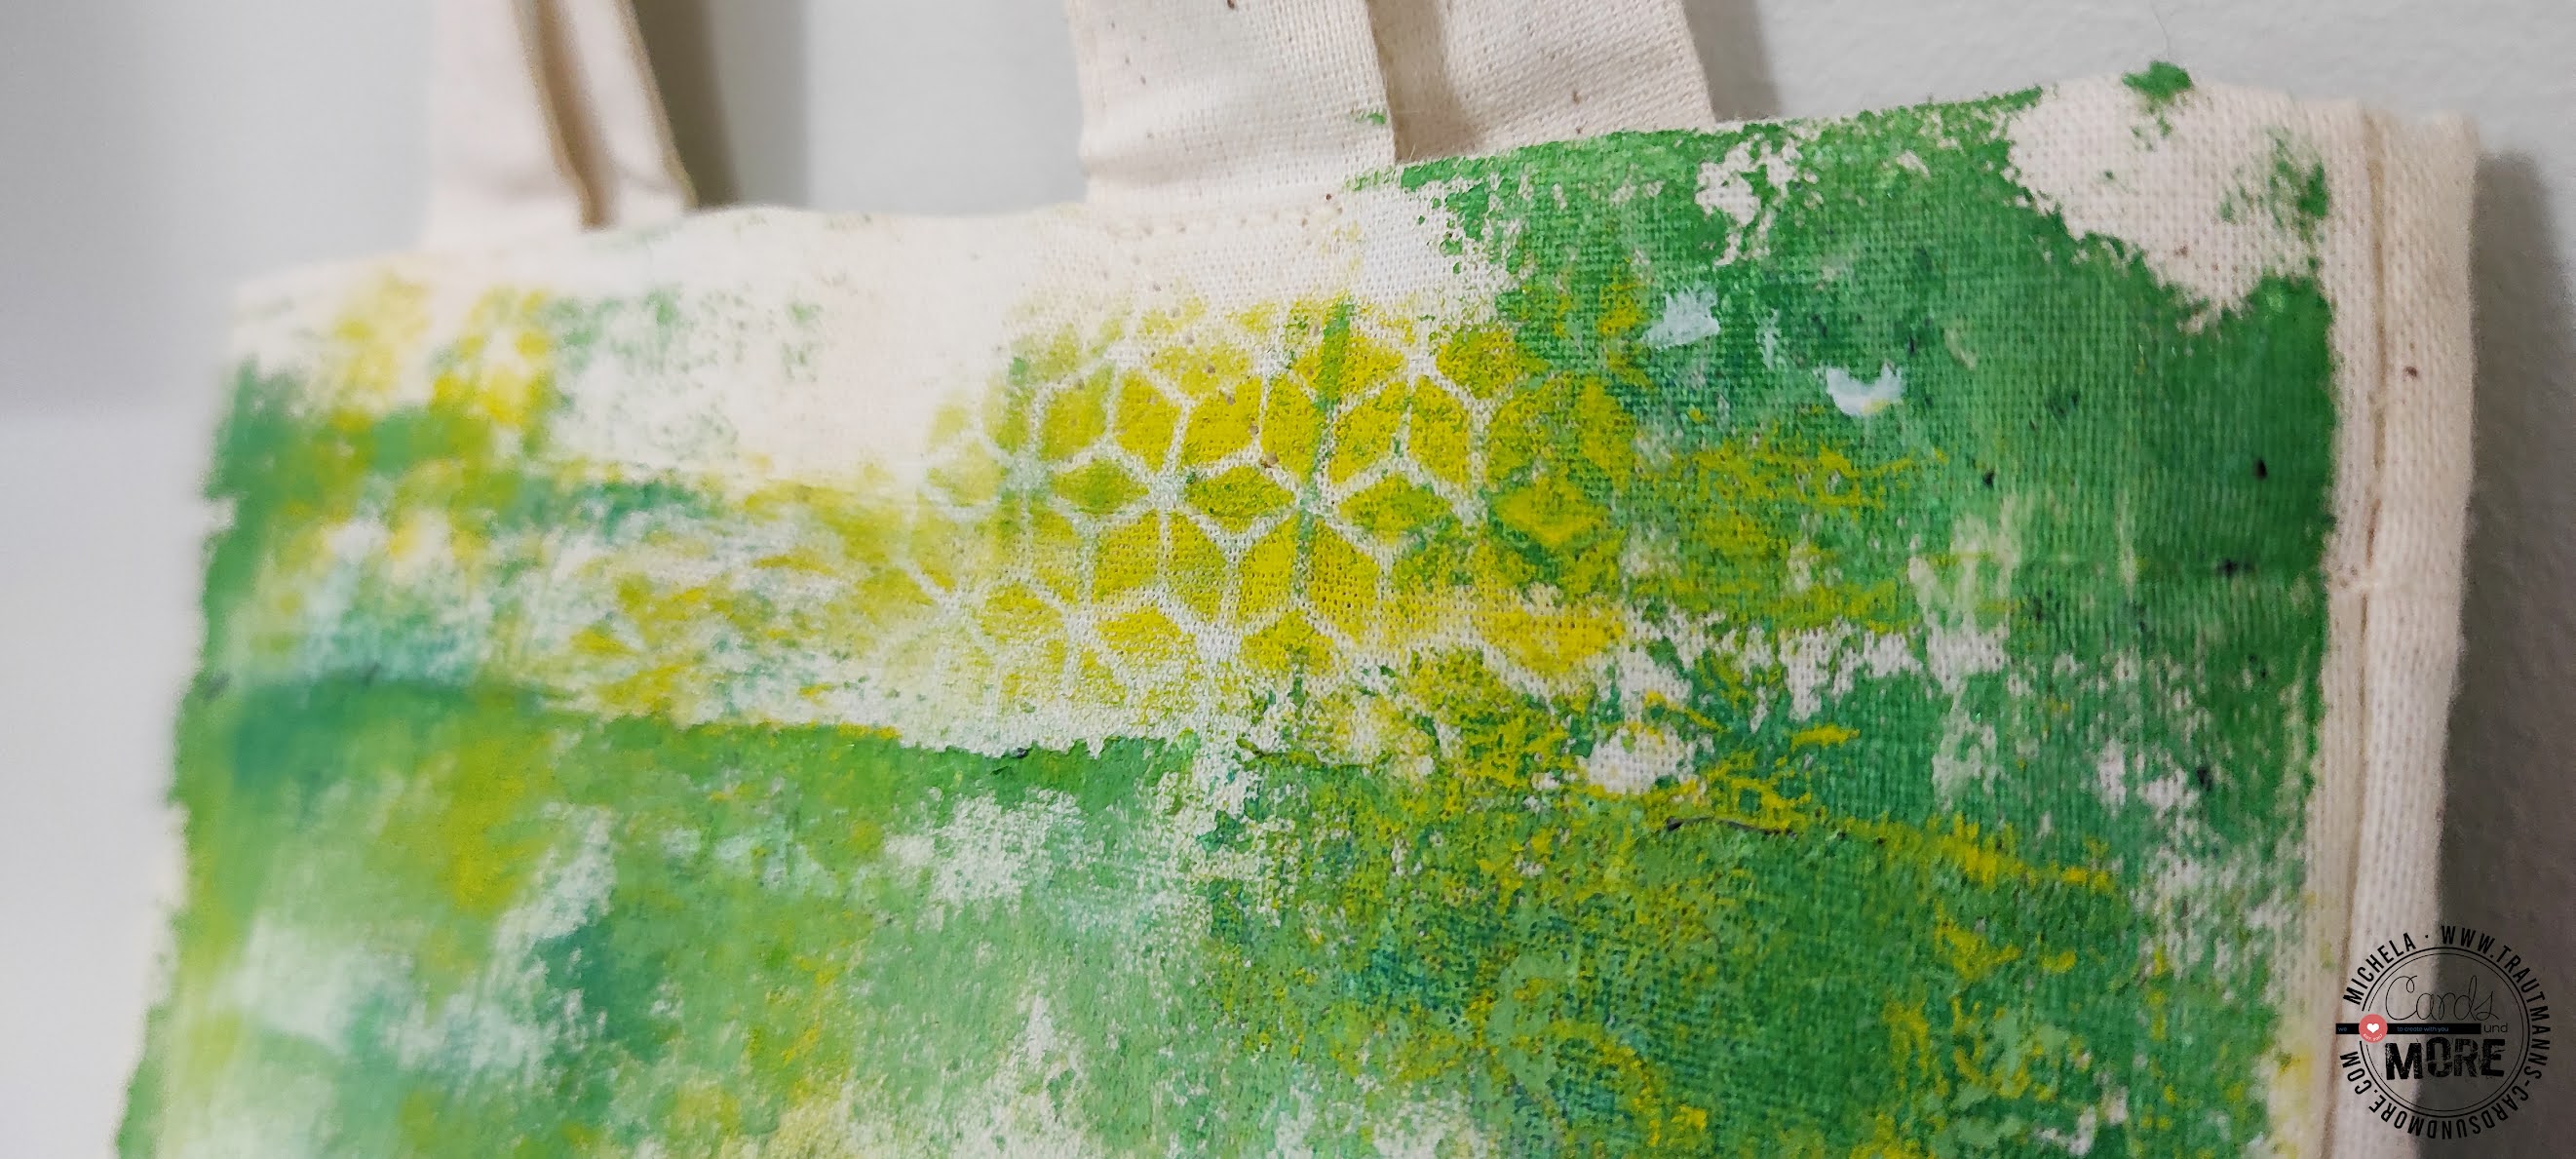
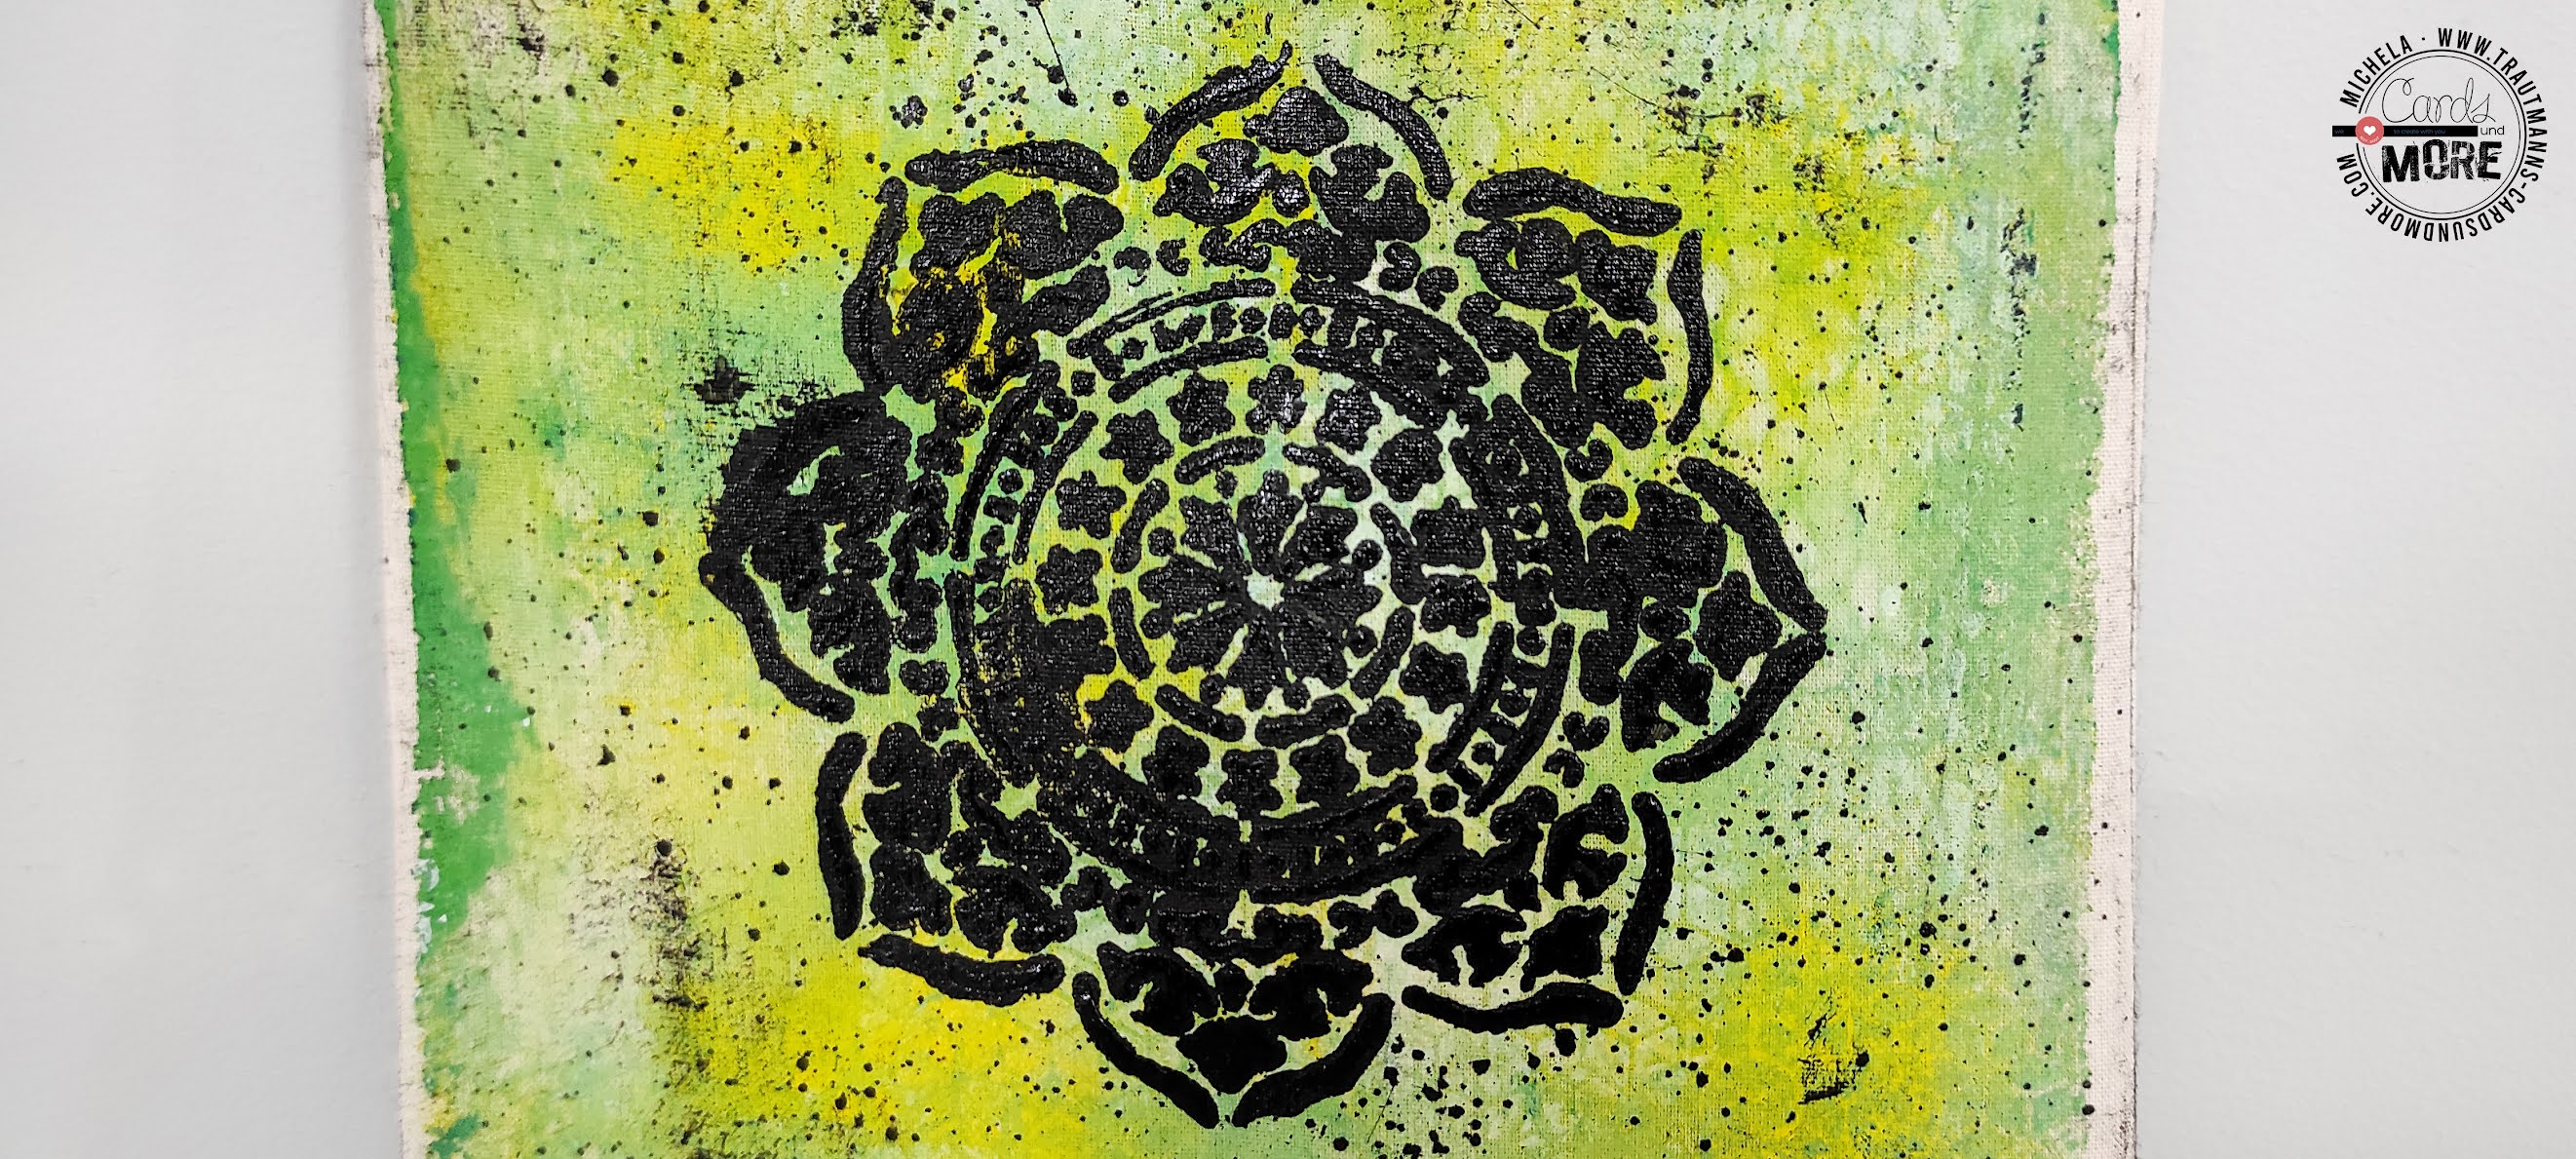
In this post I show you how I decided to try to make prints on the fabric, in this case a (minicotton tote bag.

The procedure is really simple and has no fixed rules.

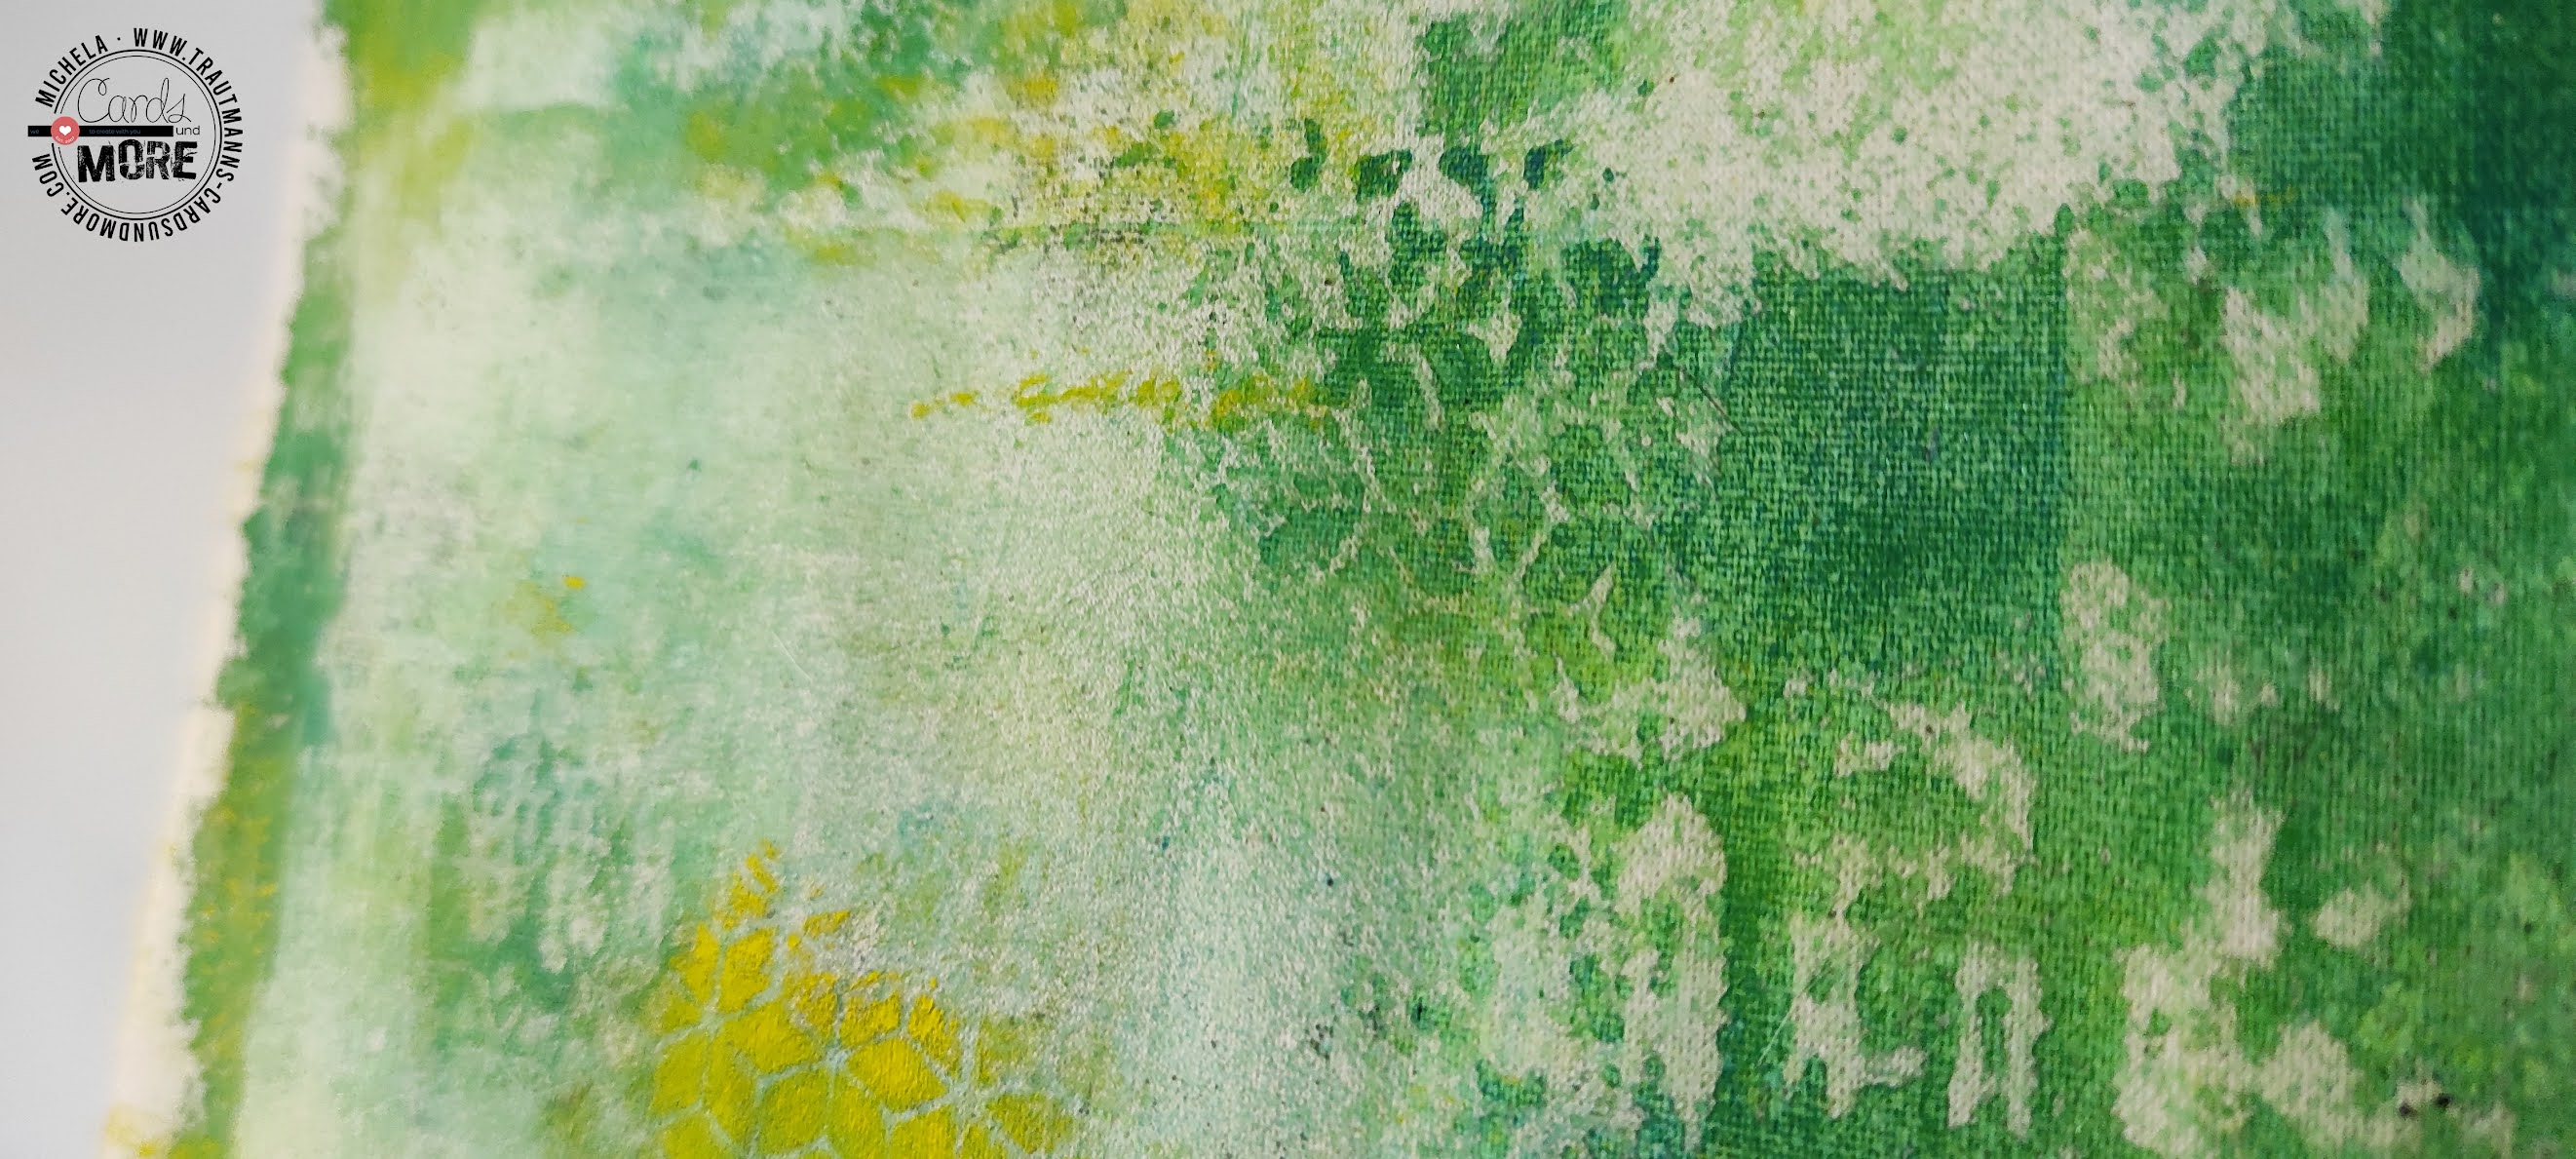
I started by spreading acrylics (and distress... why not?) on the gell press using a roller.
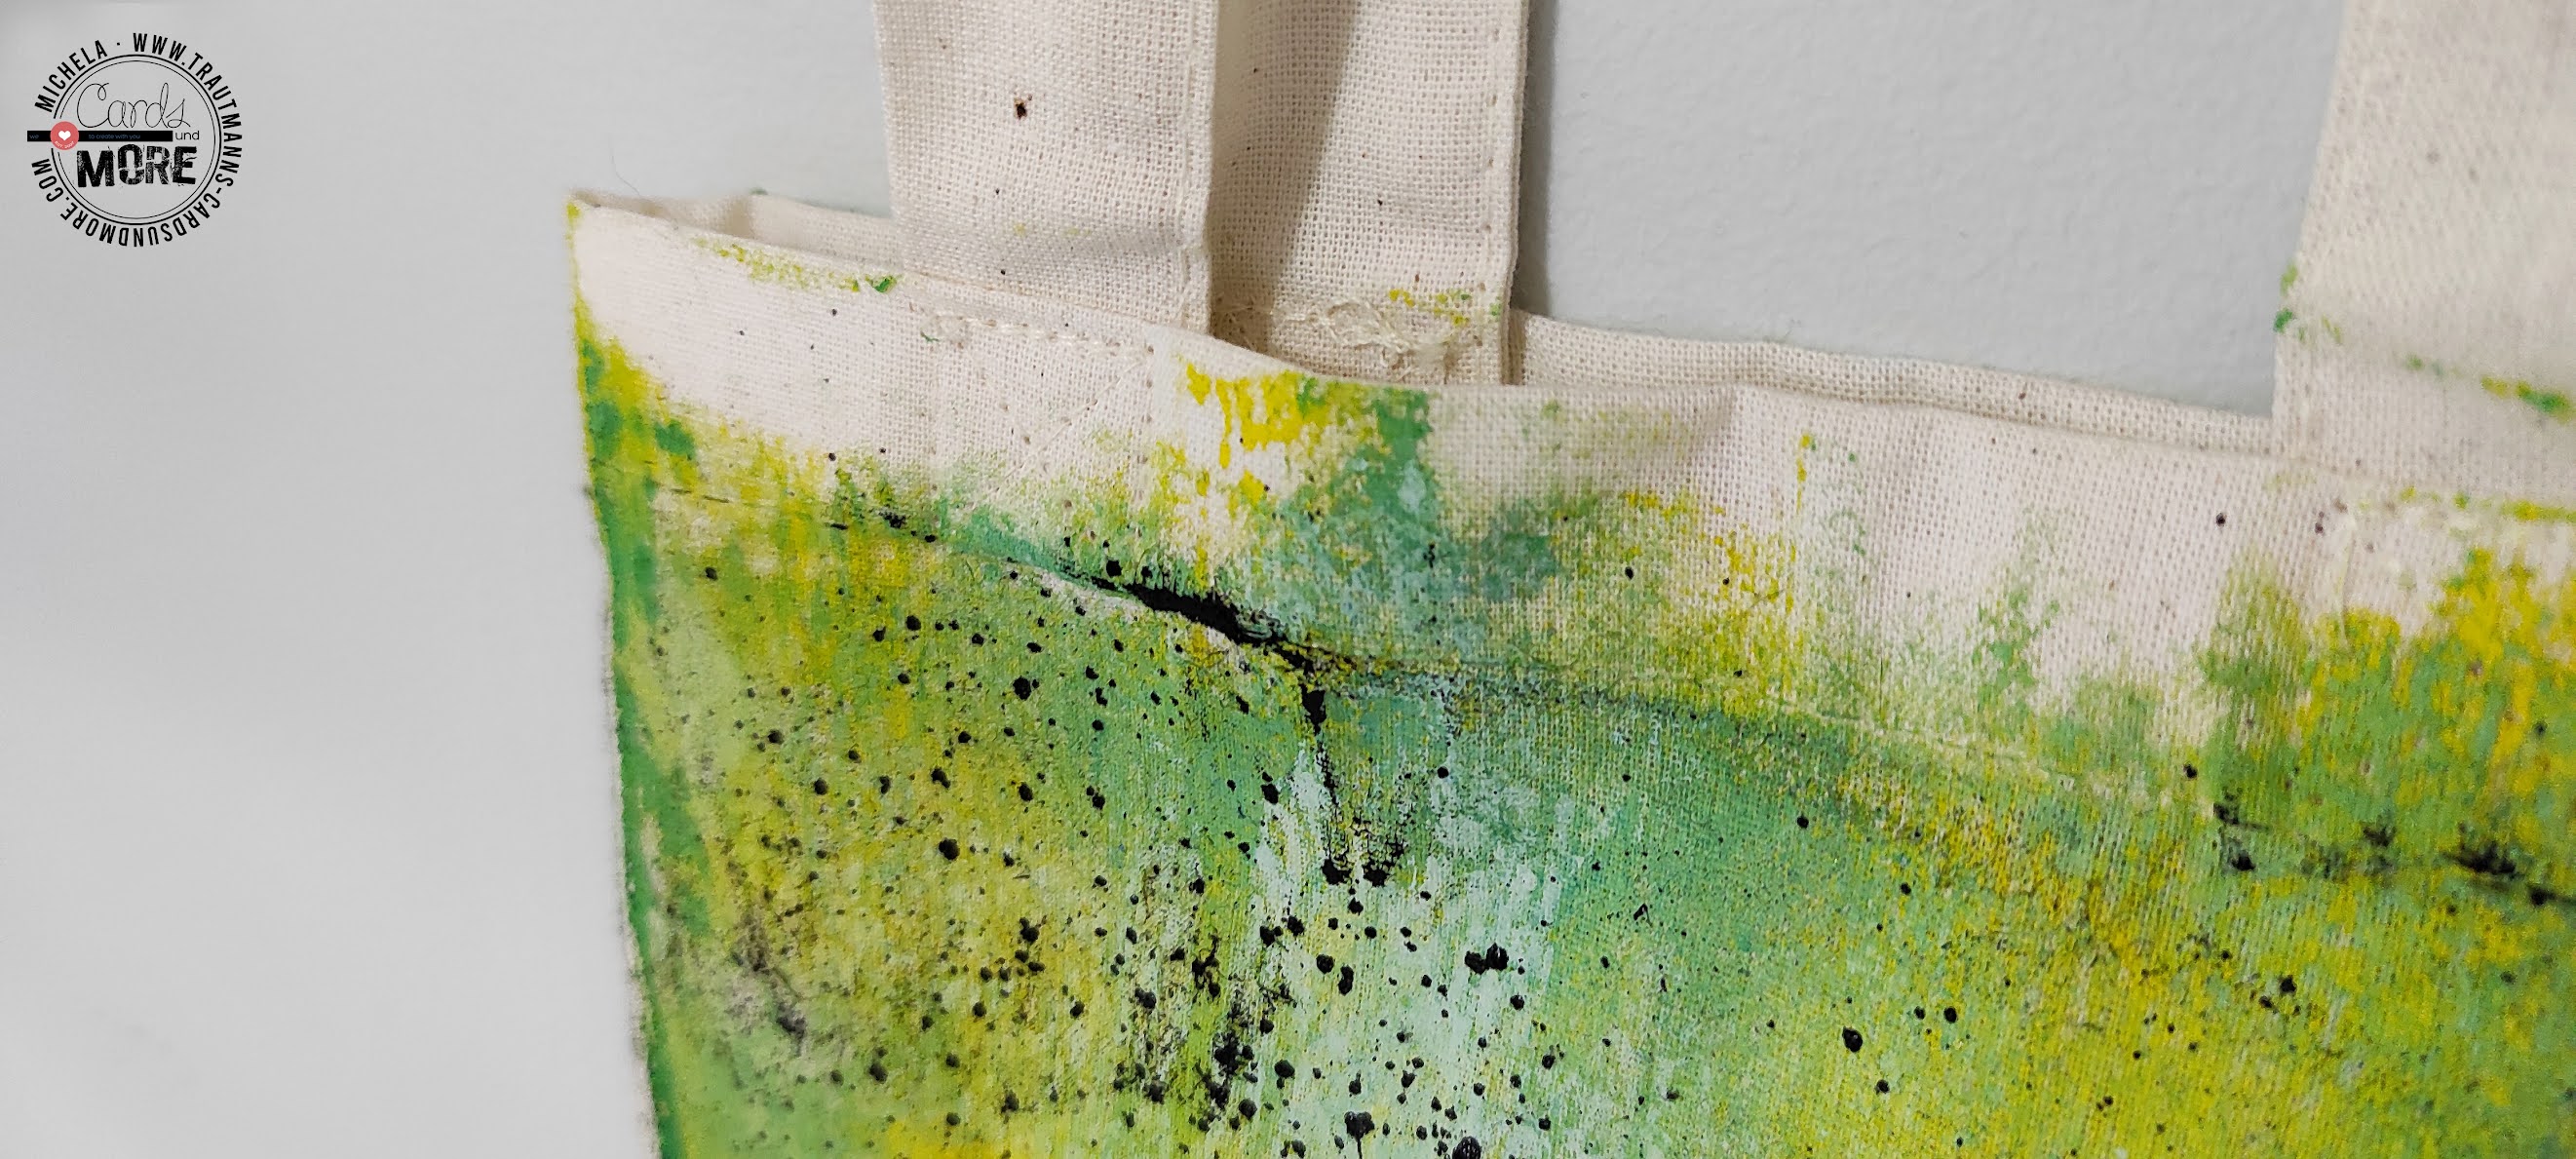
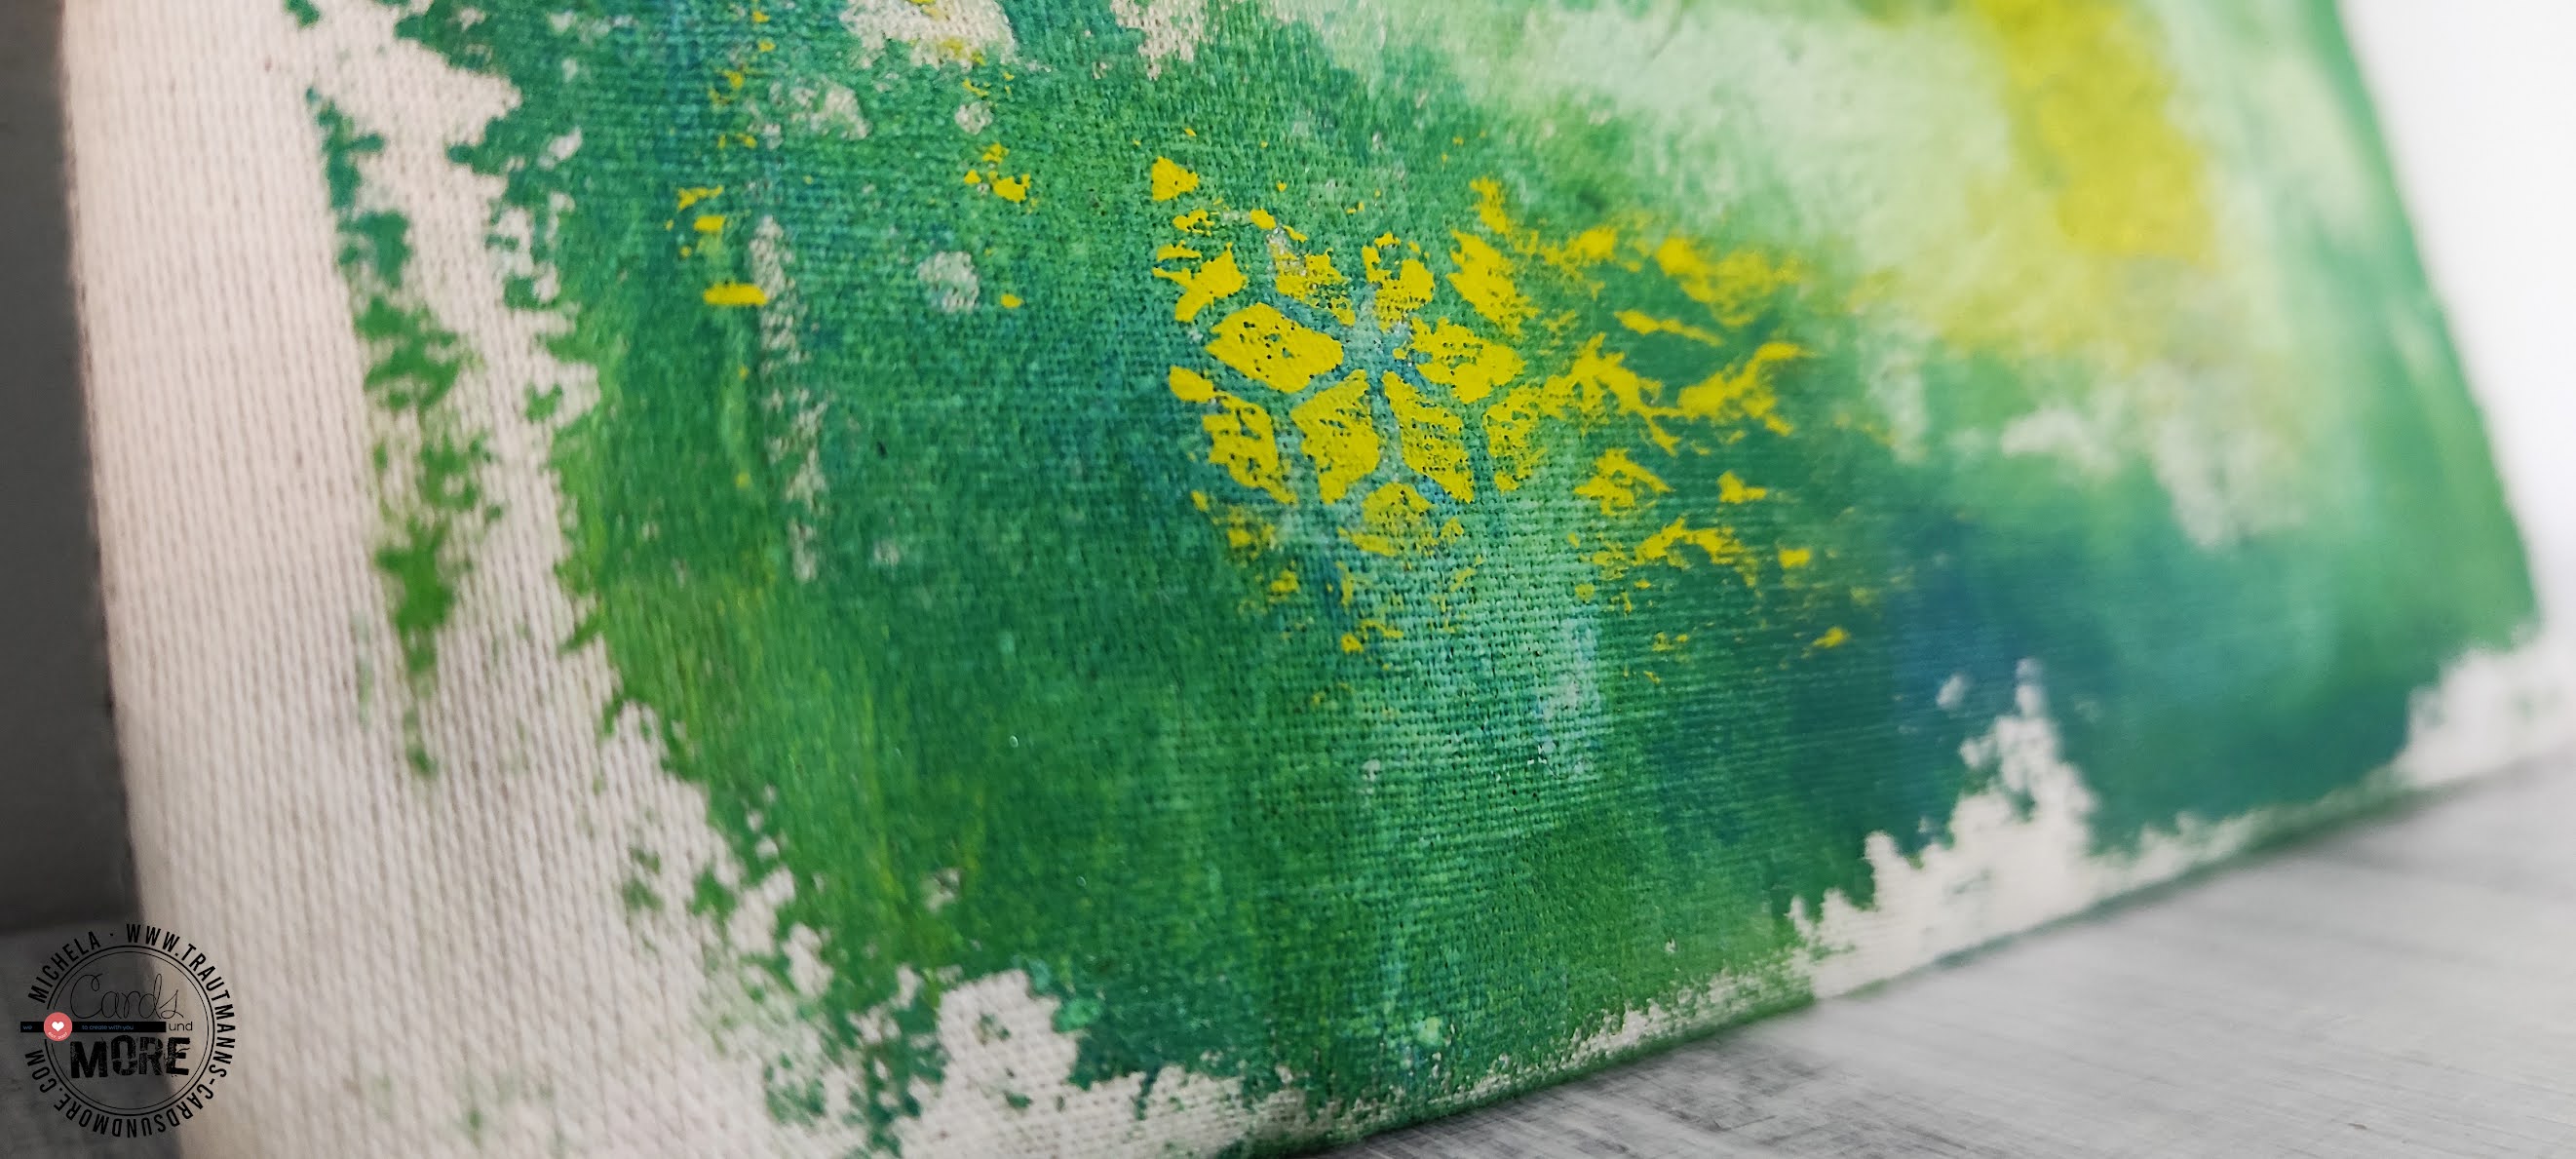
I chose to make a shaded base of various shades of green and to use yellow for highlights.

After the first layer has dried, using stencils, I created focal points with the second color. 
I also decided to use the leftover of the color that remained in the stencil so, placing it on a new place, I spread the color using the brayer. Same thing for the back of the stencil.
I continued like this, on both sides of the tote bag, until I was satisfied with the texture.

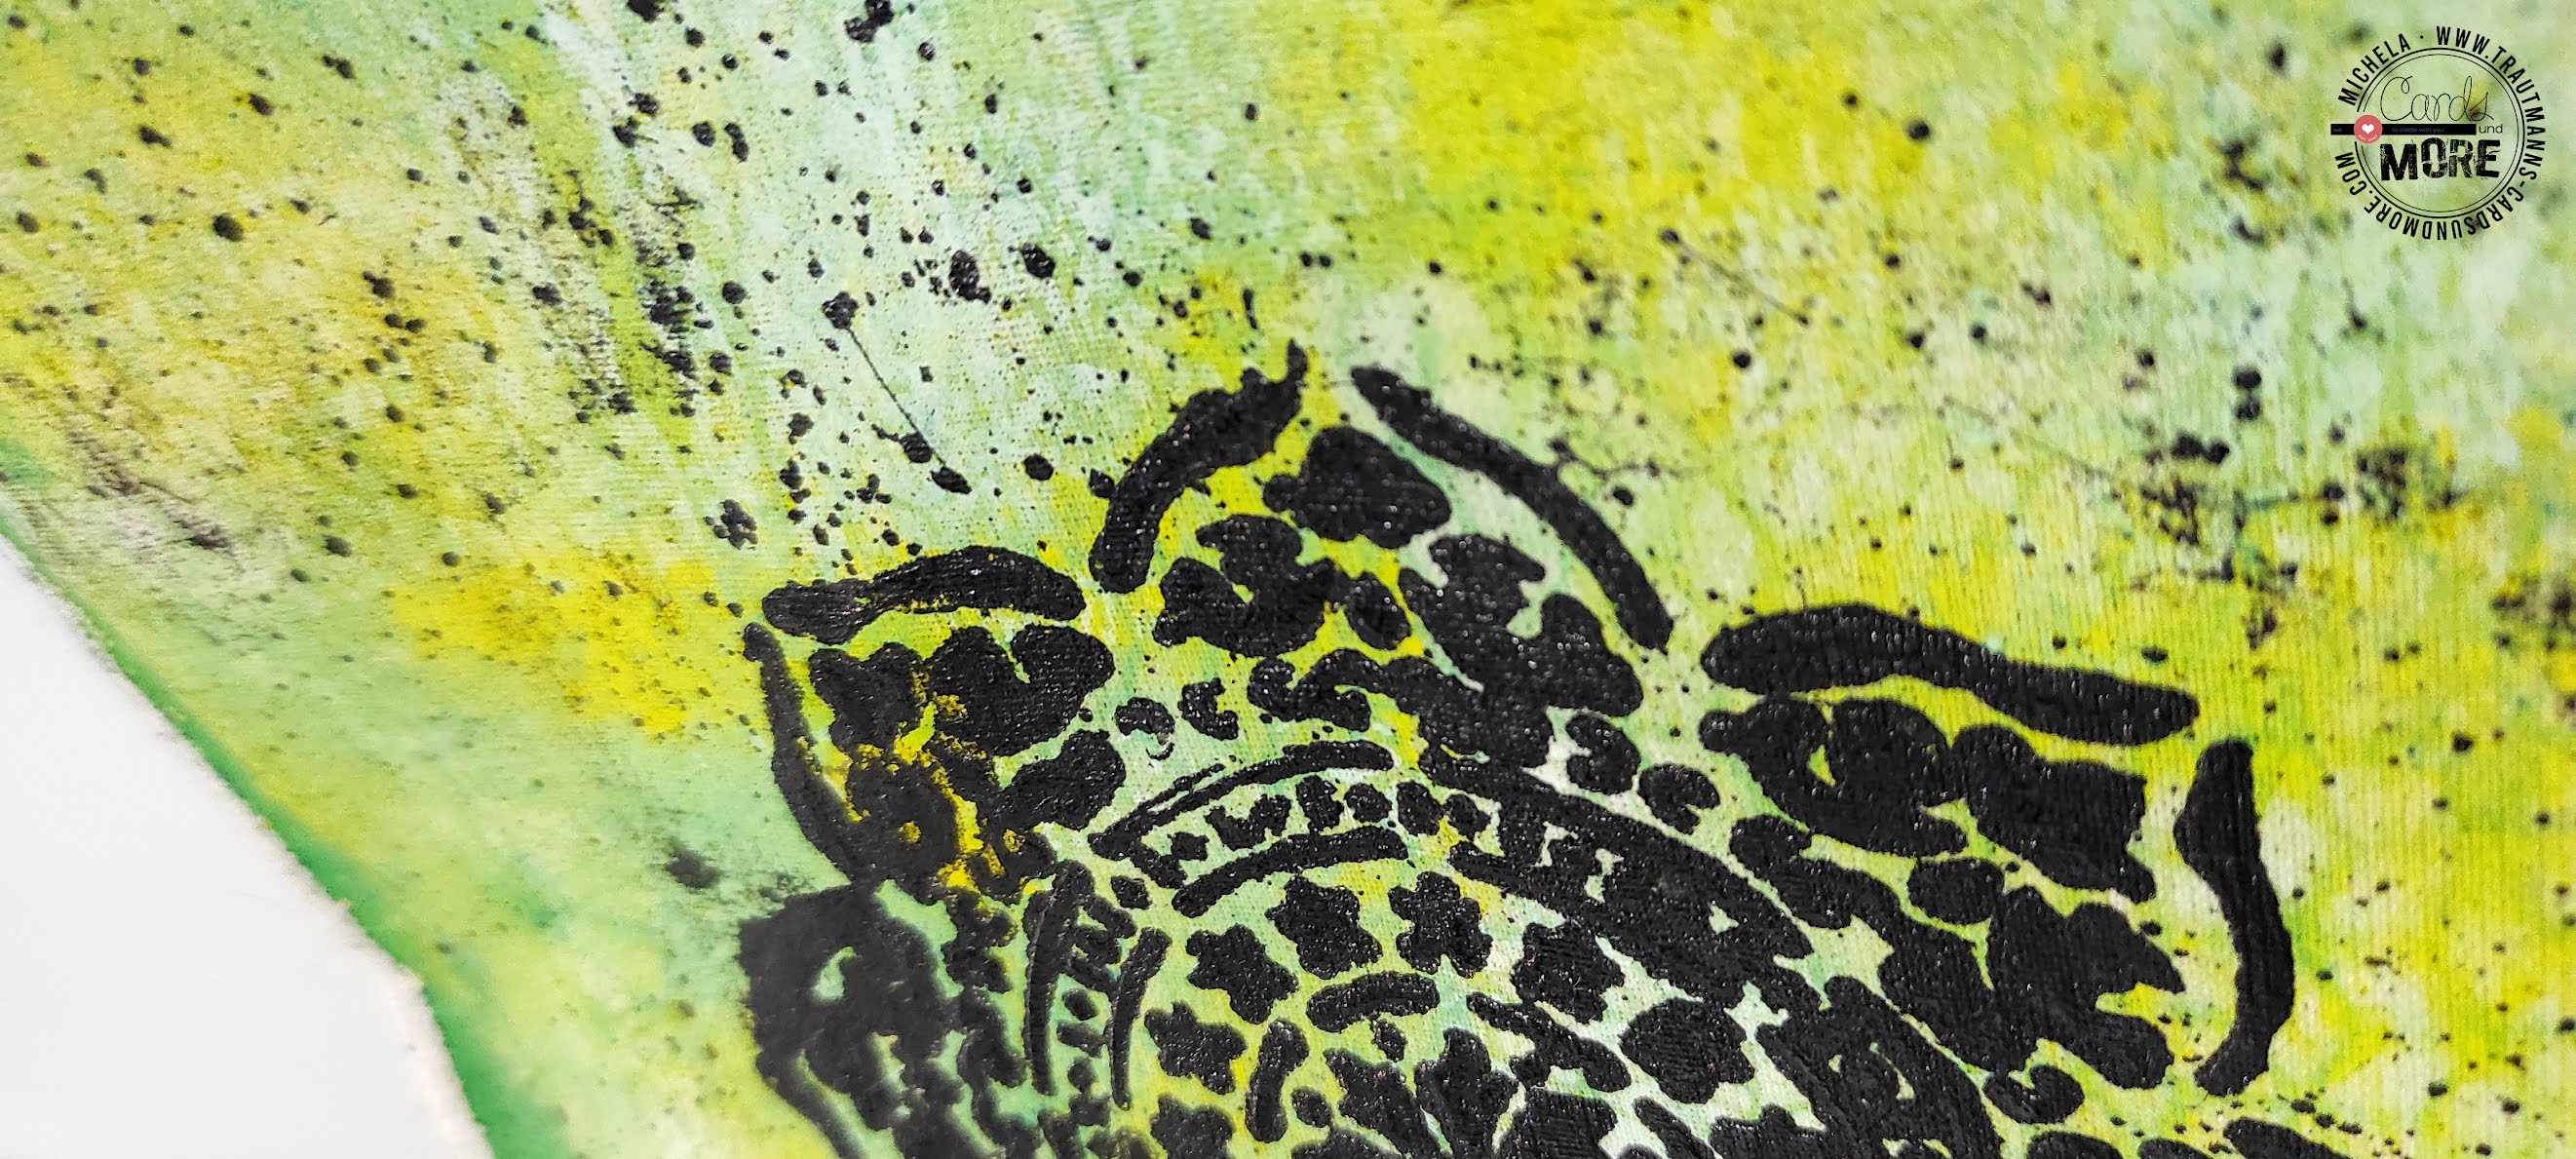
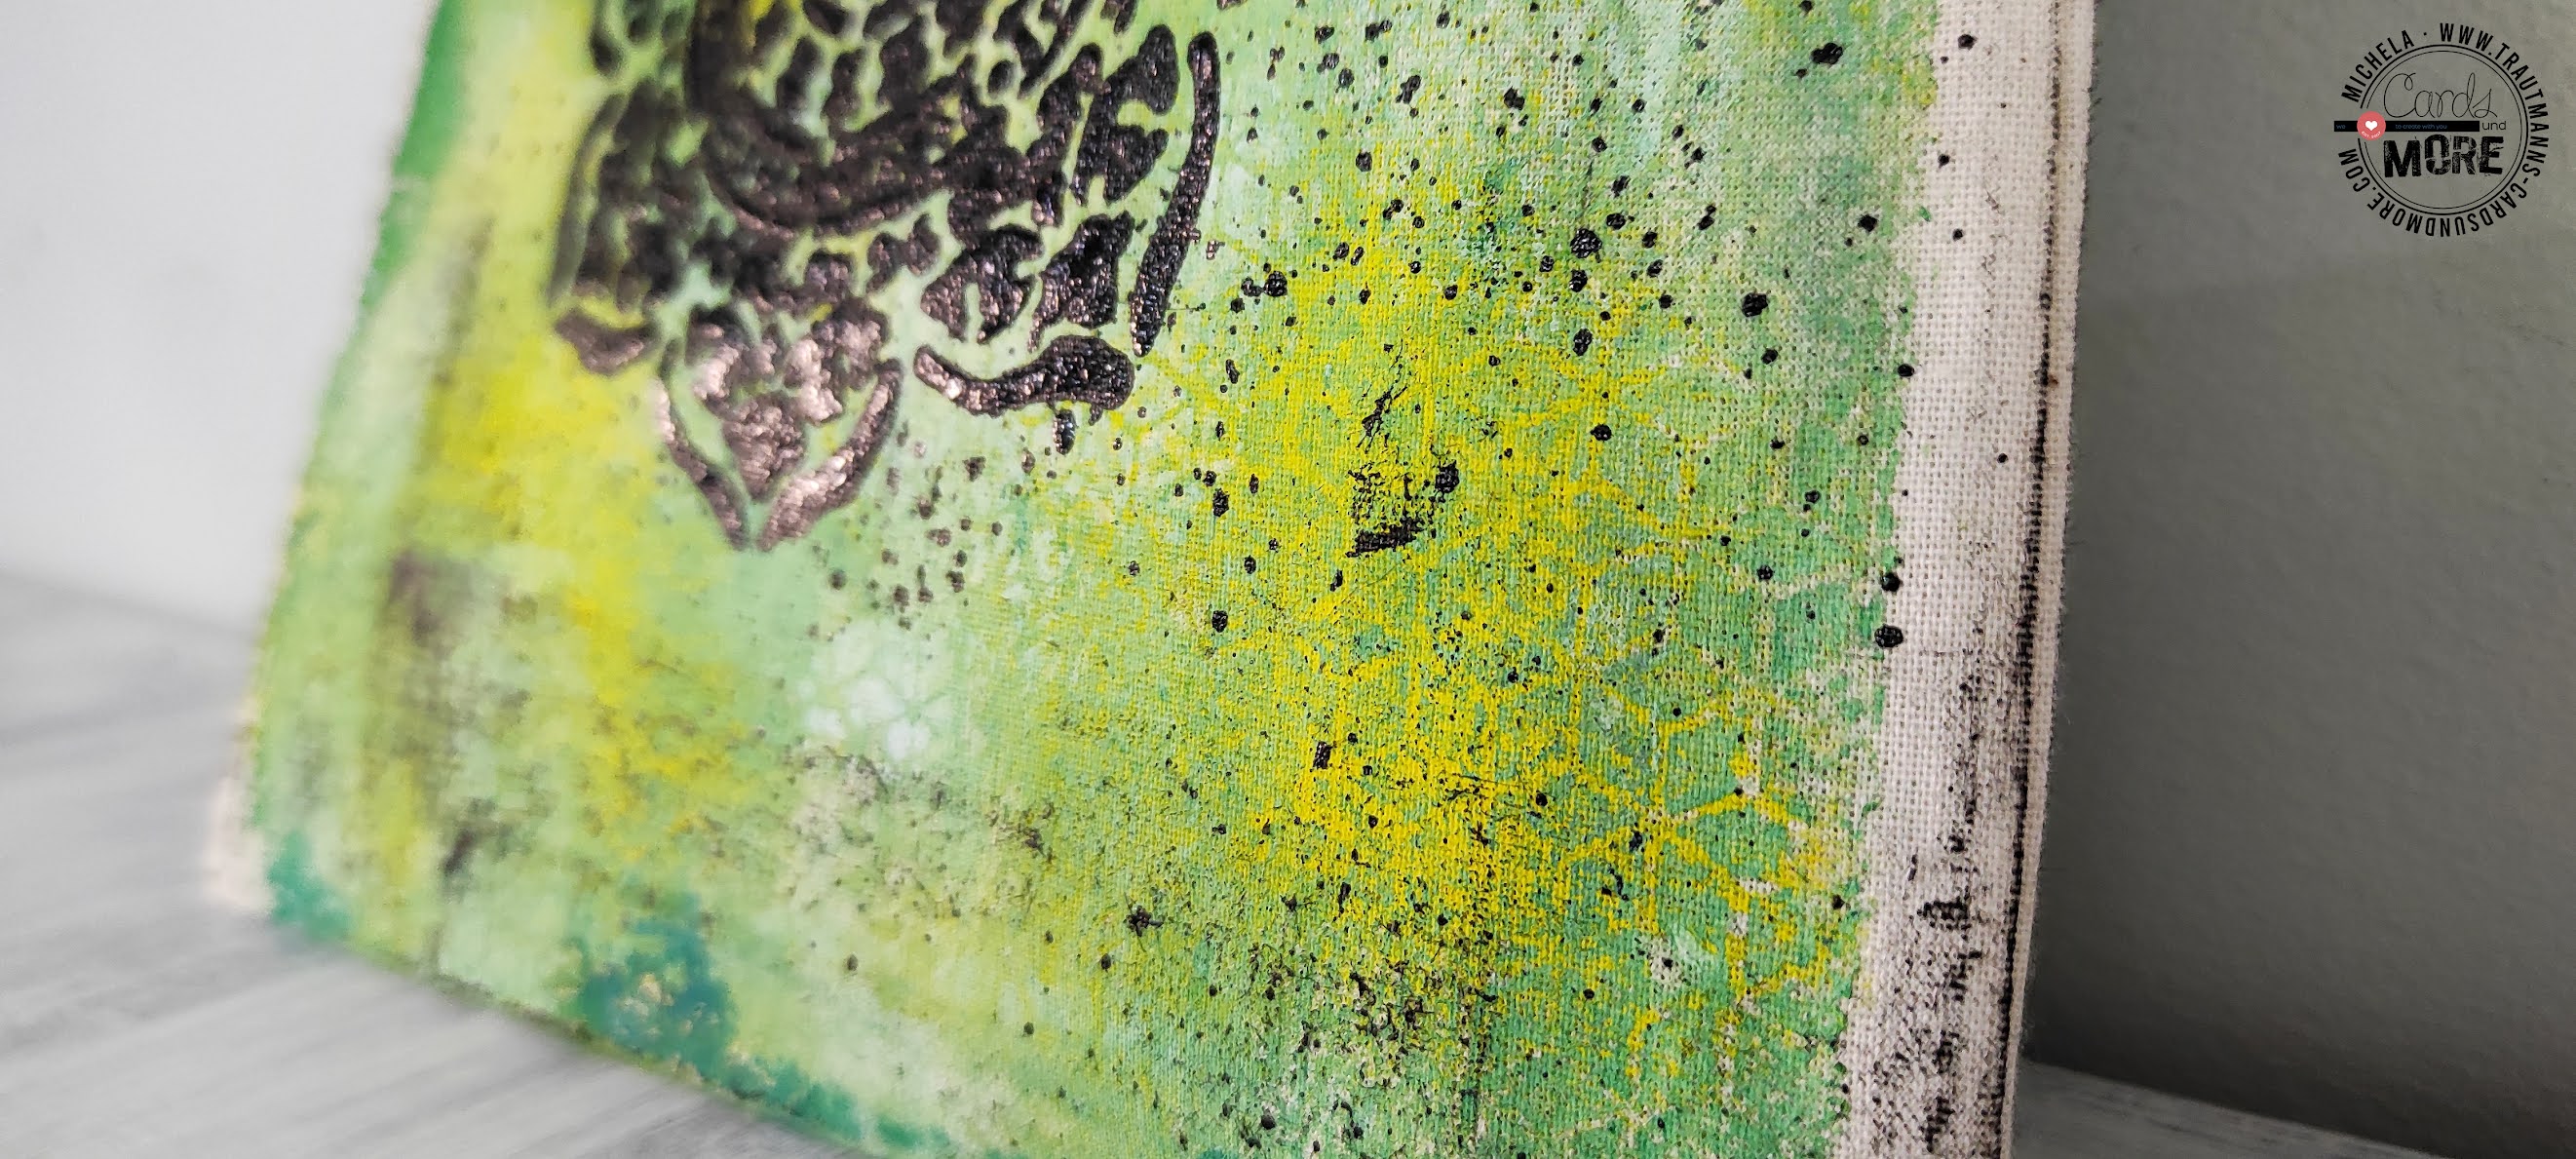
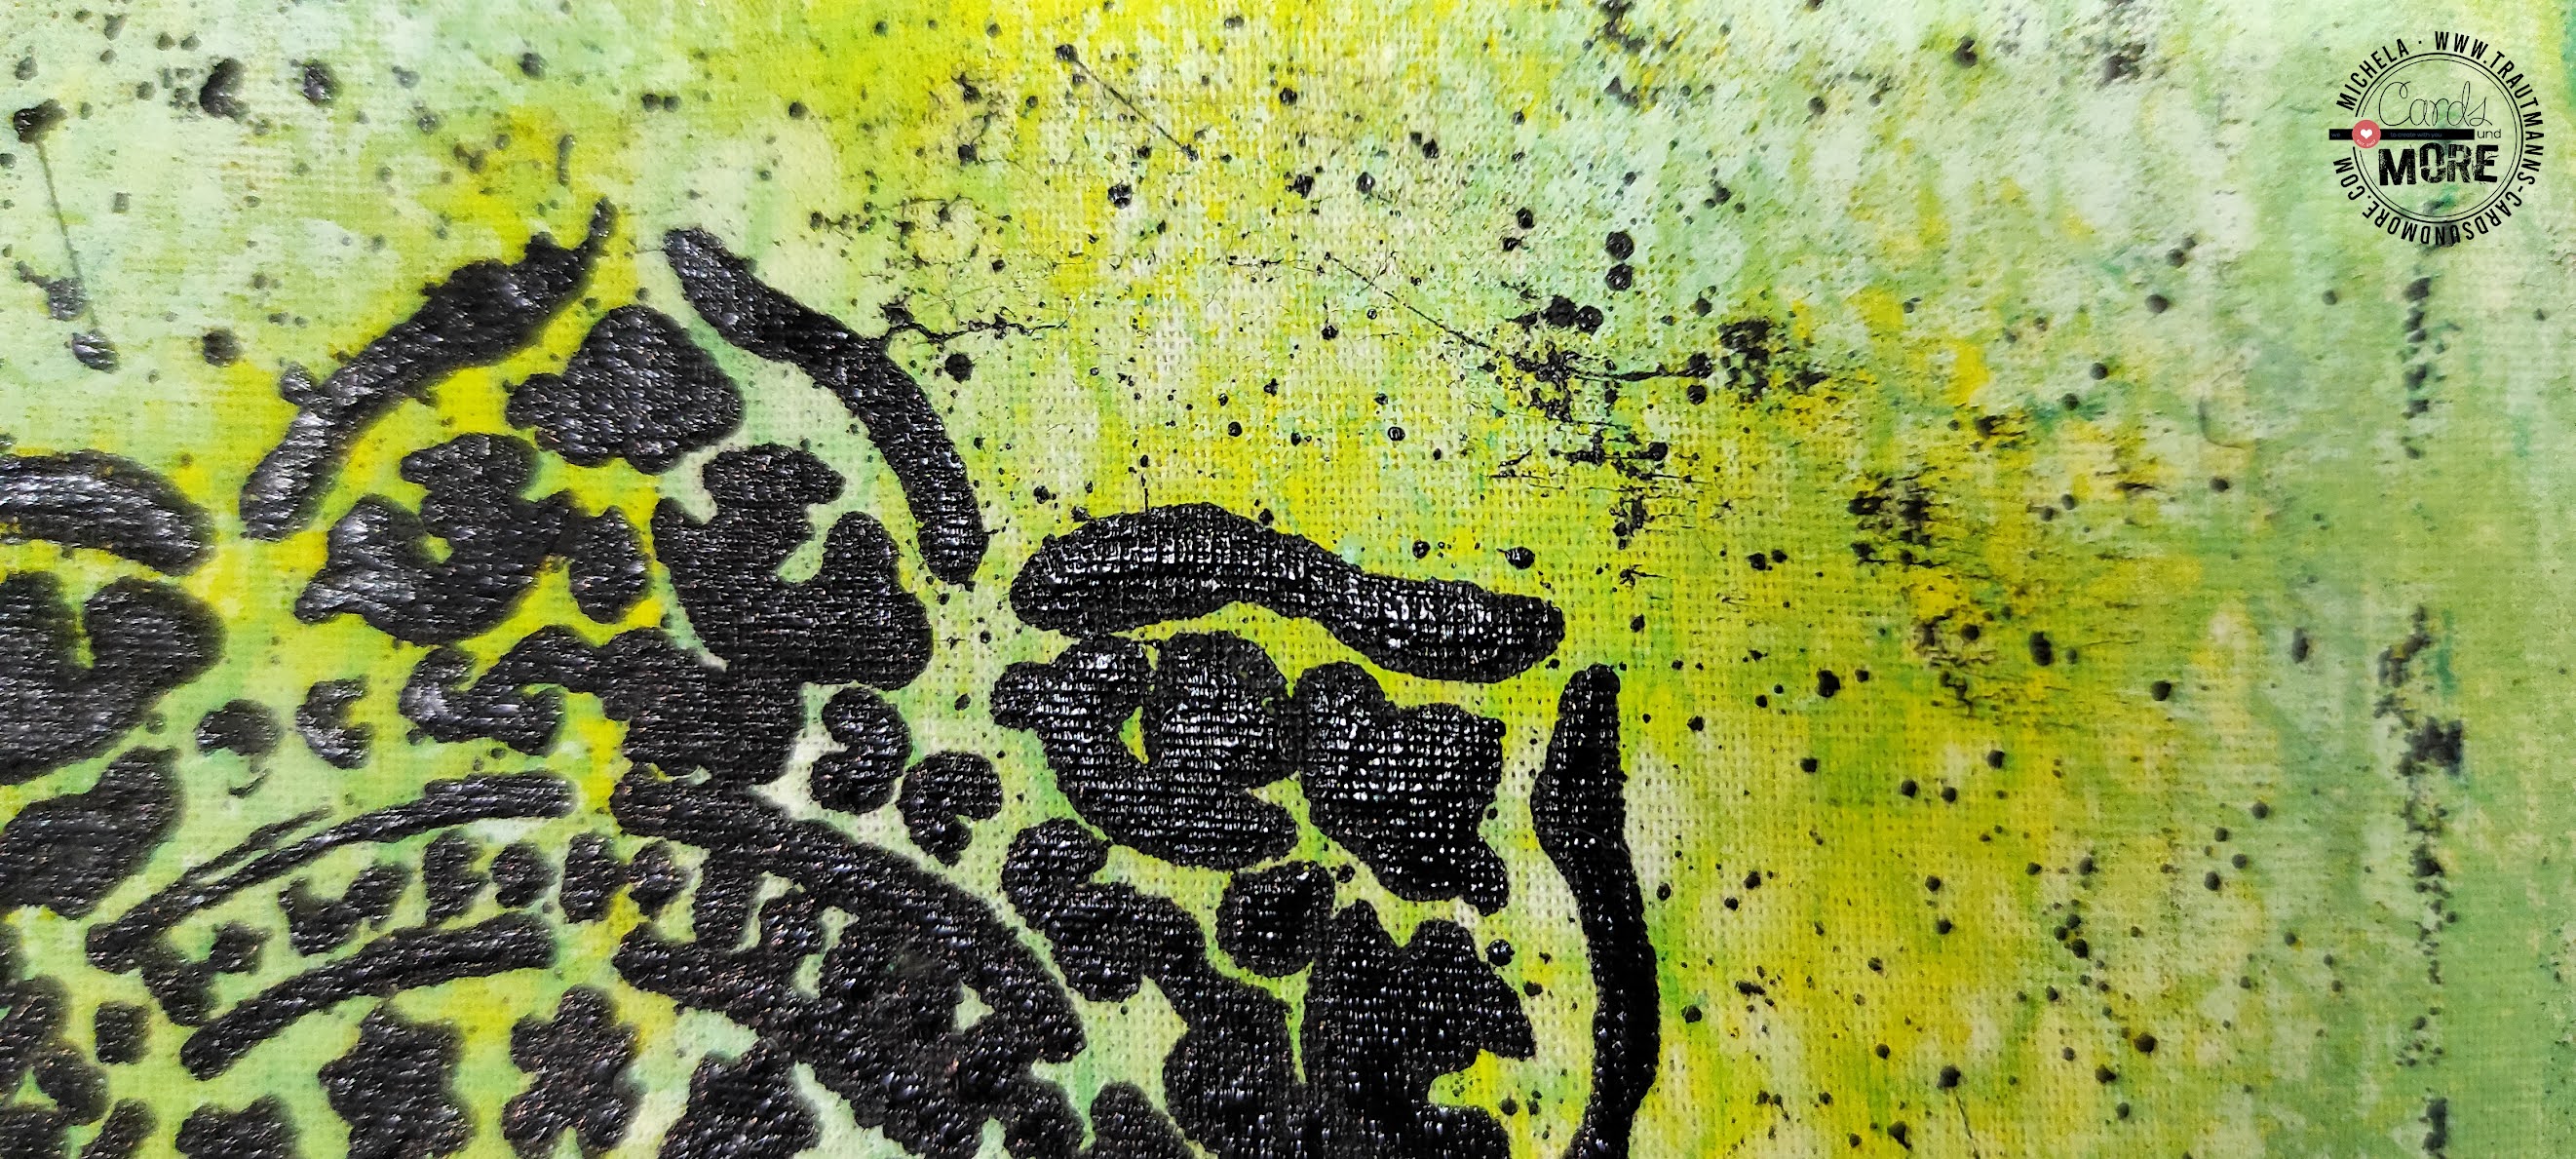
After waiting for everything to dry, I chose the side with less texture and I created a black mandala, using another stencil. At first I tried using stazon ink but the result was too "clean" so I decided to create a more distressed effect by spreading black acrylic with a palette knife and, at the end, making splashes.

Satisfied with the result, I let everything dry... And, then, I hung the bag near my workbench filling it with products to test! :)



Used products:

Hope you liked it and got inspired... See you super soon for a new blog post!


Michela


Freitag, 27. August 2021

Mini Album | Summer 2k21


 Ciao! 😊 


I hope your holidays are going well... Mine, which lasted too short, are over so, in this summer that is coming to an end, I have decided to create a small album to to remember them! ;)

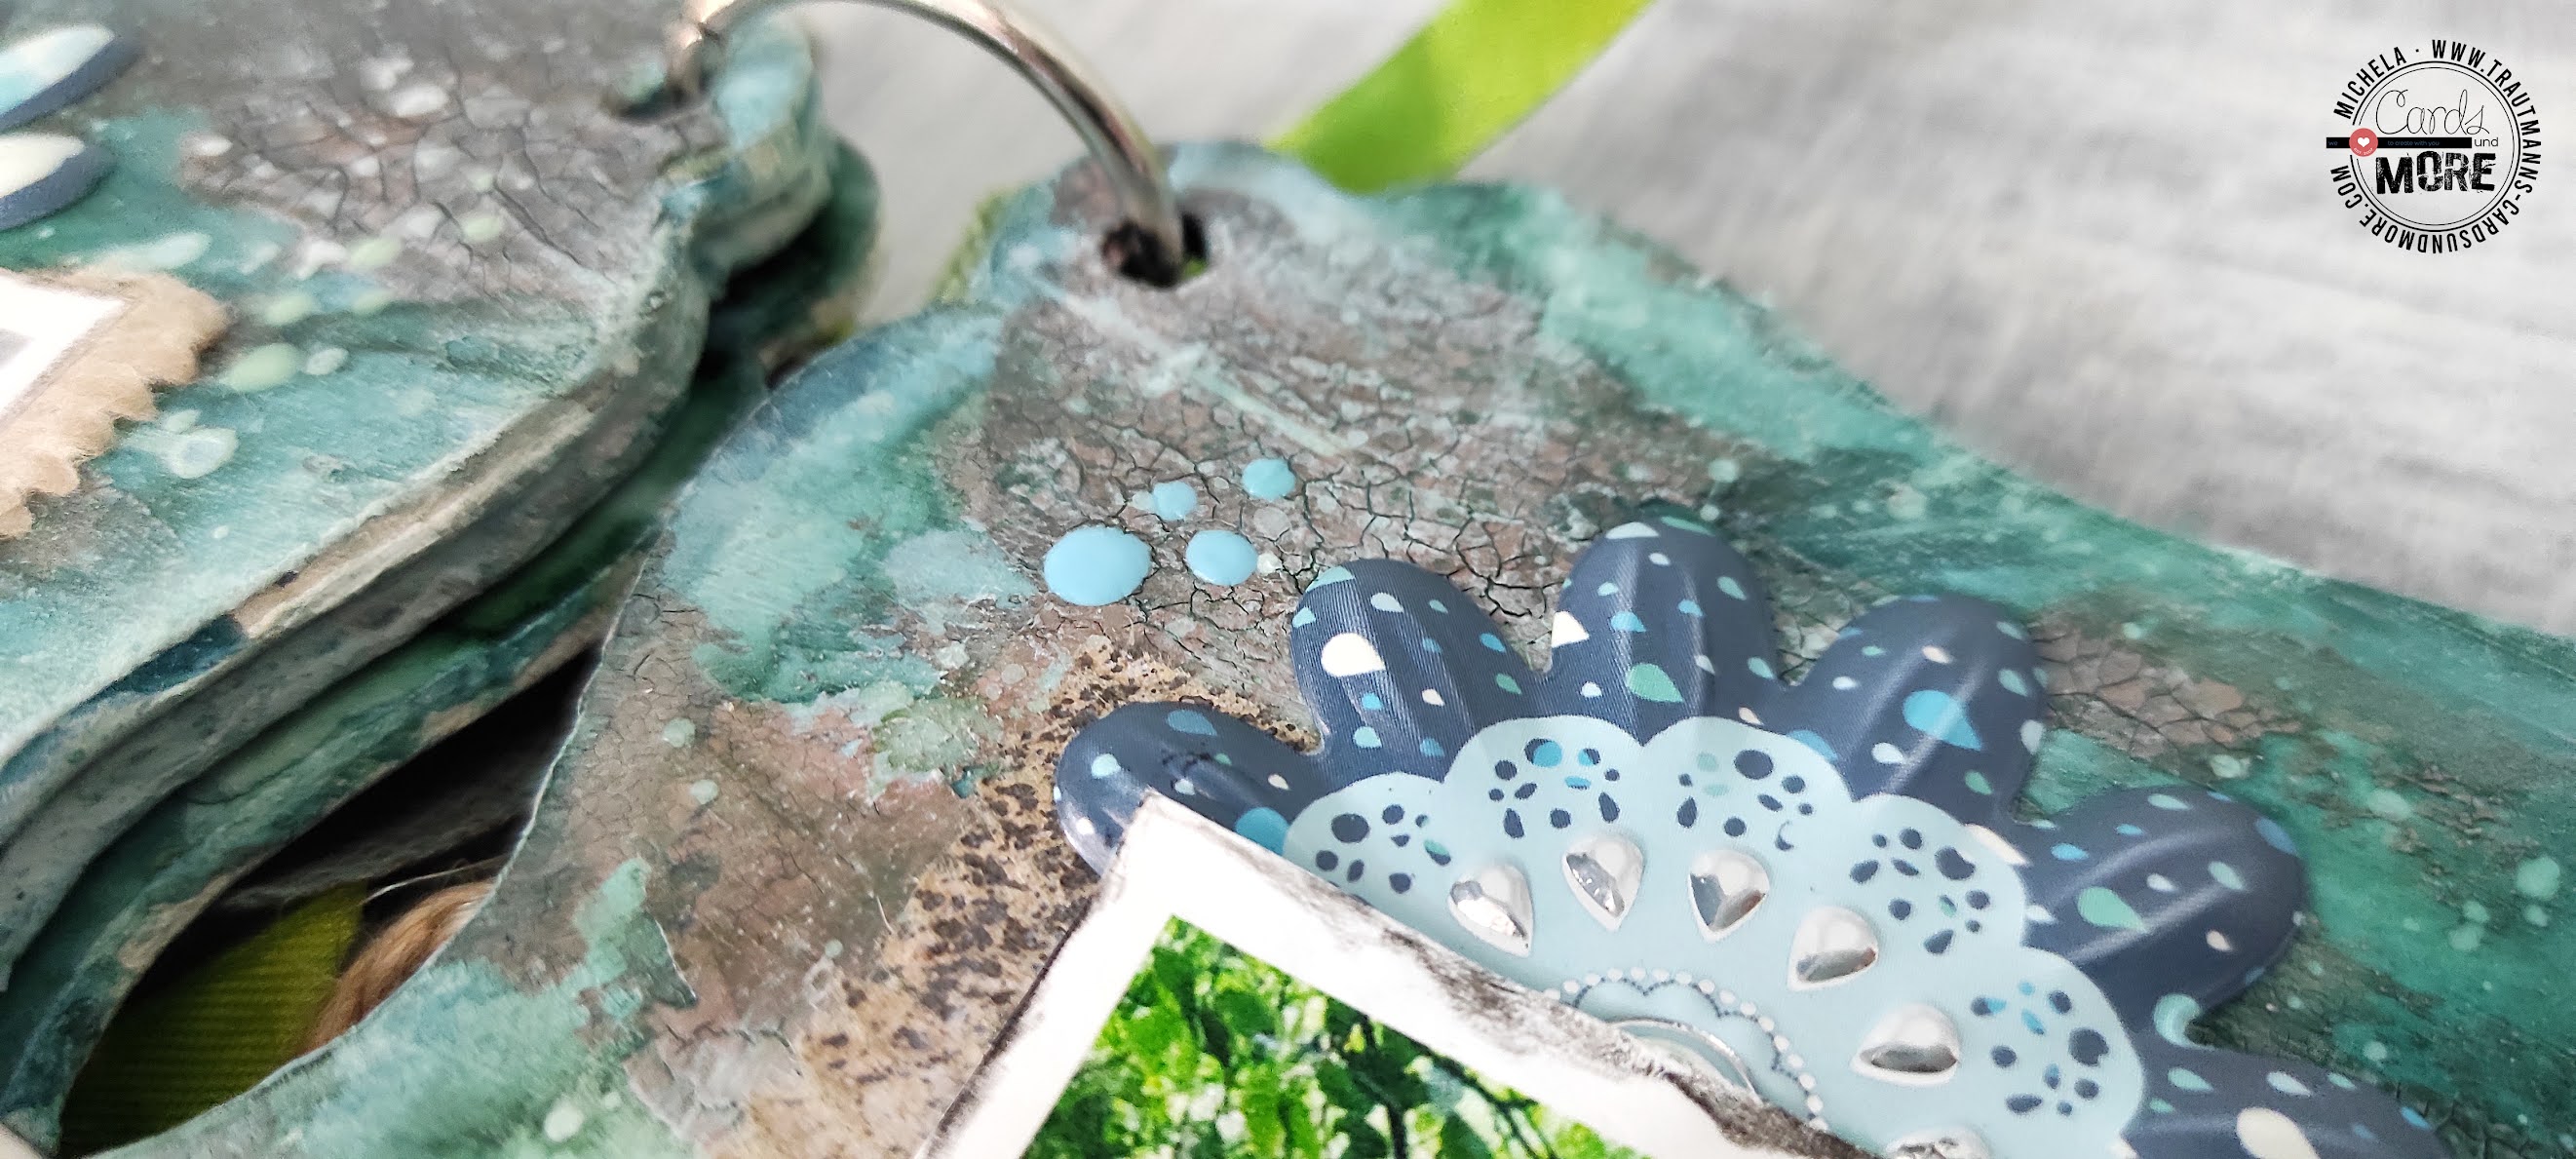
I used as a base a MDF album and, after giving a layer of white chalk, I started to randomly decorate the sides of the album with texture paste and embossing powder.

Once I reached the desired patterns I started coloring with watercolors and acrylics trying to achieve a stained effect in shades of green... since we spent our holidays immersed in nature I thought it was the right choice! 

Once dried, I joined the pages with book rings that I decorated with ribbons and twine sprayed on the same tones.

While everything was drying I printed some photos, cut out with the paper cutting and folding machine and created labels with the dates on which they were taken.


Now every pieces was finished I assembled everything with tacky tape and added some final touches: enamel dots, flourish embellishment, some highlights with black watercolor pencil, distressed pieces of paper and white splashes with gesso... 

Very latest step: date and logo on the back! Finished!


Used products:


Hope you liked it and got inspired... See you super soon for a new blog post!


Michela


Mittwoch, 7. April 2021

Crackled Heart


 Ciao! 😊 


Hello everyone, here I am after some time, hoping to find you all healthy!

In this new post I want to show you how I used some prints made with my first Gel Press test!

First I started playing with the gel base by applying and removing a few layers of acrylic colors with roller, stencils and stamps.

Once I reached the desired pattern, I printed on the cardstock (rust-colored). I created two bases: one in shades of pink and one in shades of green.

While the acrylic was drying I covered an MDF heart with white chalk and, once it was dry, I added a layer of old pink crackled paste using a stencil and a putty knife.

While it was drying I made, with the sizzix bigz dies by tim holtz, some branches and petals which I then assembled with the help of hot glue.

Once I finished assembling the flowers, I wanted to give a touch of color to the heart to further highlight the cracks and so, always using green and pink tones, I played with watercolors creating a stained background (you know, I LOVE this effect).

Now everything was finished so I assembled everything with hot glue and thought about the final touches: enamel dots for the center of the flower, some highlights with pencil and white marker and splashes with distress oxides... because these are never too much! :P


Used products:


Hope you liked it and got inspired... See you super soon for a new blog post!


Michela


Challenge #67 - Anything Goes

Hallo liebe Cards und More Freunde, wir haben heute wieder eine neue Challenge für Euch. Dieses Mal gibt es ein Board für euch, das euch zur...