Dieses Blog durchsuchen

Posts mit dem Label Dutch Doobadoo werden angezeigt. Alle Posts anzeigen

Montag, 23. Dezember 2019

Ä Tännschen, please!

🎼Ein Tännchen steht im Walde ganz still und stumm. Es hat vor engelshafter Pracht ein Mäntlein um. Sagt, wer mag das Tännchen sein, das da steht im Wald allein mit dem schneeweissen Mäntelein?

Das Tännchen steht im Walde auf einem Bein und hat auf seinem Haupte goldig Sternlein klein. Sagt, wer mag das Tännchen sein, das da steht im Wald allein mit dem kleinen goldigen Sternelein?

Das Tännchen dort auf einem Bein mit seinem schneeweissen Mäntelein und seinem goldig Sternelein kann doch nur das Christbäumchen sein. 🎶


🎼A little fir tree stands in the forest completely still and quiet. He wears a little, angelic cloak. Say! Who can that little fir tree be who stands there alone in the forest with the little snow-white cloak?

The little fir tree stands in the forest on one leg and has on his head a little, golden star. Say! Who can that little fir tree be who stands there alone in the forest with the little, golden star? 

The little fir tree out there on one leg, with his little, snow-white cloak and his little, golden star can only be the Christmas tree. 🎶


Upsi, jetzettle hat mich wohl meine musische Muse wohl doch etwas zu herzhaft geknutscht, sodass ich euch heuer trällernd meine Weihnachtskärtle als schneebedeckte Tannenbäumchen präsentiere...


Oopsi, now my musical muse probably smooched me a little too heartily, so that today I present my Christmas card as a snow-covered fir tree...


...auf dessen linken Seite zumeist ein schnuckeliges Stempelfigürle und der rechten Seite das stanzförmige "Merry Christmas" die Szenarie ausschmückt.


...where on the left side mostly a cute stamp figure and on the right side the punched "Merry Christmas" decorates the scenario.


Die unschuldsweissen Layer jedes einzelnen Bäumchens softete ich im Vorfeld mit einer strahlenförmigen Stencil nebst pastelliger Stempelfarbe ab und setzte mit der Texture Paste von Dutch Doobadoo in Kombination mit zartem Glitter flockenleichte Bubble-Akzente.


I softened the white layers of each little tree beforehand with a radial stencil such as pastel stamp color and used the texture paste from Dutch Doobadoo in combination with delicate glitter to create flake-like bubble accents.


Solch smartes Tannenbäumchen gilt ja nicht einzig als symbolischer Vertreter für das traditionelle Christkindl-Festle, wobei man ihn ebenso als saisonalen Allrounder für schneeflöckige Winterfreuden verwenden kann. Somit könnt ihr - einzig für den persönlichen Gebrauch - die Basisform als gezipptes Template-Päckle mit den svg-, dxf- sowie studio-Files hier als Freebie downloaden und euch flugs selbst ein derartig edles Bäumchen zelebrieren.


Such smart fir tree isn't only considered a symbolic representative of the traditional Christmas holiday, but can also be used as a seasonal all-rounder for snow-flaky winter delights. So you can - only for personal use - download the basic form as a zipped template folder with the svg-, dxf- and studio-files here as a freebie and quickly celebrate yourself such a noble tree.


Tja, und ganz egal, welch' zauberhaftes Figürchen ihr auf solch Kärtchen verewigt - es ist allemal ein schmucker Eyecatcher, für den ihr abgesehen von einem Schneideplotter einzig etwas Cardstock, doppelseitiges Klebeband als auch Abstandsband benötigt. 


Well, and no matter what magical character you immortalize on such card - it is always a pretty eye-catcher, for which apart from a cutting plotter you only need a little piece cardstock, double-sided adhesive tape and foam adhesive tape.


Ich wünsche euch herzlichst ein verzaubernd berauschendes Weihnachtsfest in gemütlicher Runde mit gaumenfreudigen Schmause und einer mega dicken Portion Gesundheit!


I sincerely wish you an amazing Christmas time in a cozy atmosphere with a tasty treat and a mega thick portion of health!


kiss & hugs
Annett alias "goebie"


Samstag, 28. September 2019

Once upon a time there was 5 tiny houses...

 Ciao! 😊 


As you know in August I've received a Surprise Package from the shop so my actual blog posts are mainly about using the amazing products I've found inside the box! 

If you are curious to see what I found inside here is a video opening...


Otherwise, here's project #06

I was very undecided whether to publish this "tutorial" and in the end I decided to make a list of used products and leave a very-long-video to let you see what I did. 

I was very intrigued and scared by these MDF houses ... They were born as an unconventional photo album but I wanted to do something different...

Wanna see what I've created in about 4 hours of work (excluding the part where I've inserted photos and quotes from Christina Perri's "Arms")? Here's the video!


Used products (random order):


I've also created a shorter/flip through version where you can see only the final result... (It was litteraly impossibile to show you only few details!!!)


Hope you liked it and got inspired... See you super soon for a new blog post!


Michela
s

Sonntag, 15. September 2019

Home is where the heart is

 Ciao! 😊 


As you know a couple of weeks ago I've received a Surprise Package from the shop so my upcoming blog posts will be all about using the amazing products I've found inside the box! 

If you are curious to see what I found inside here is a video opening...


Otherwise, let's start with project #05


First of all I've glued down Dutch Doobadoo Dutch Fabric Art - Jeans A5 Medium on a canvas board and I've primed it using clear gesso.

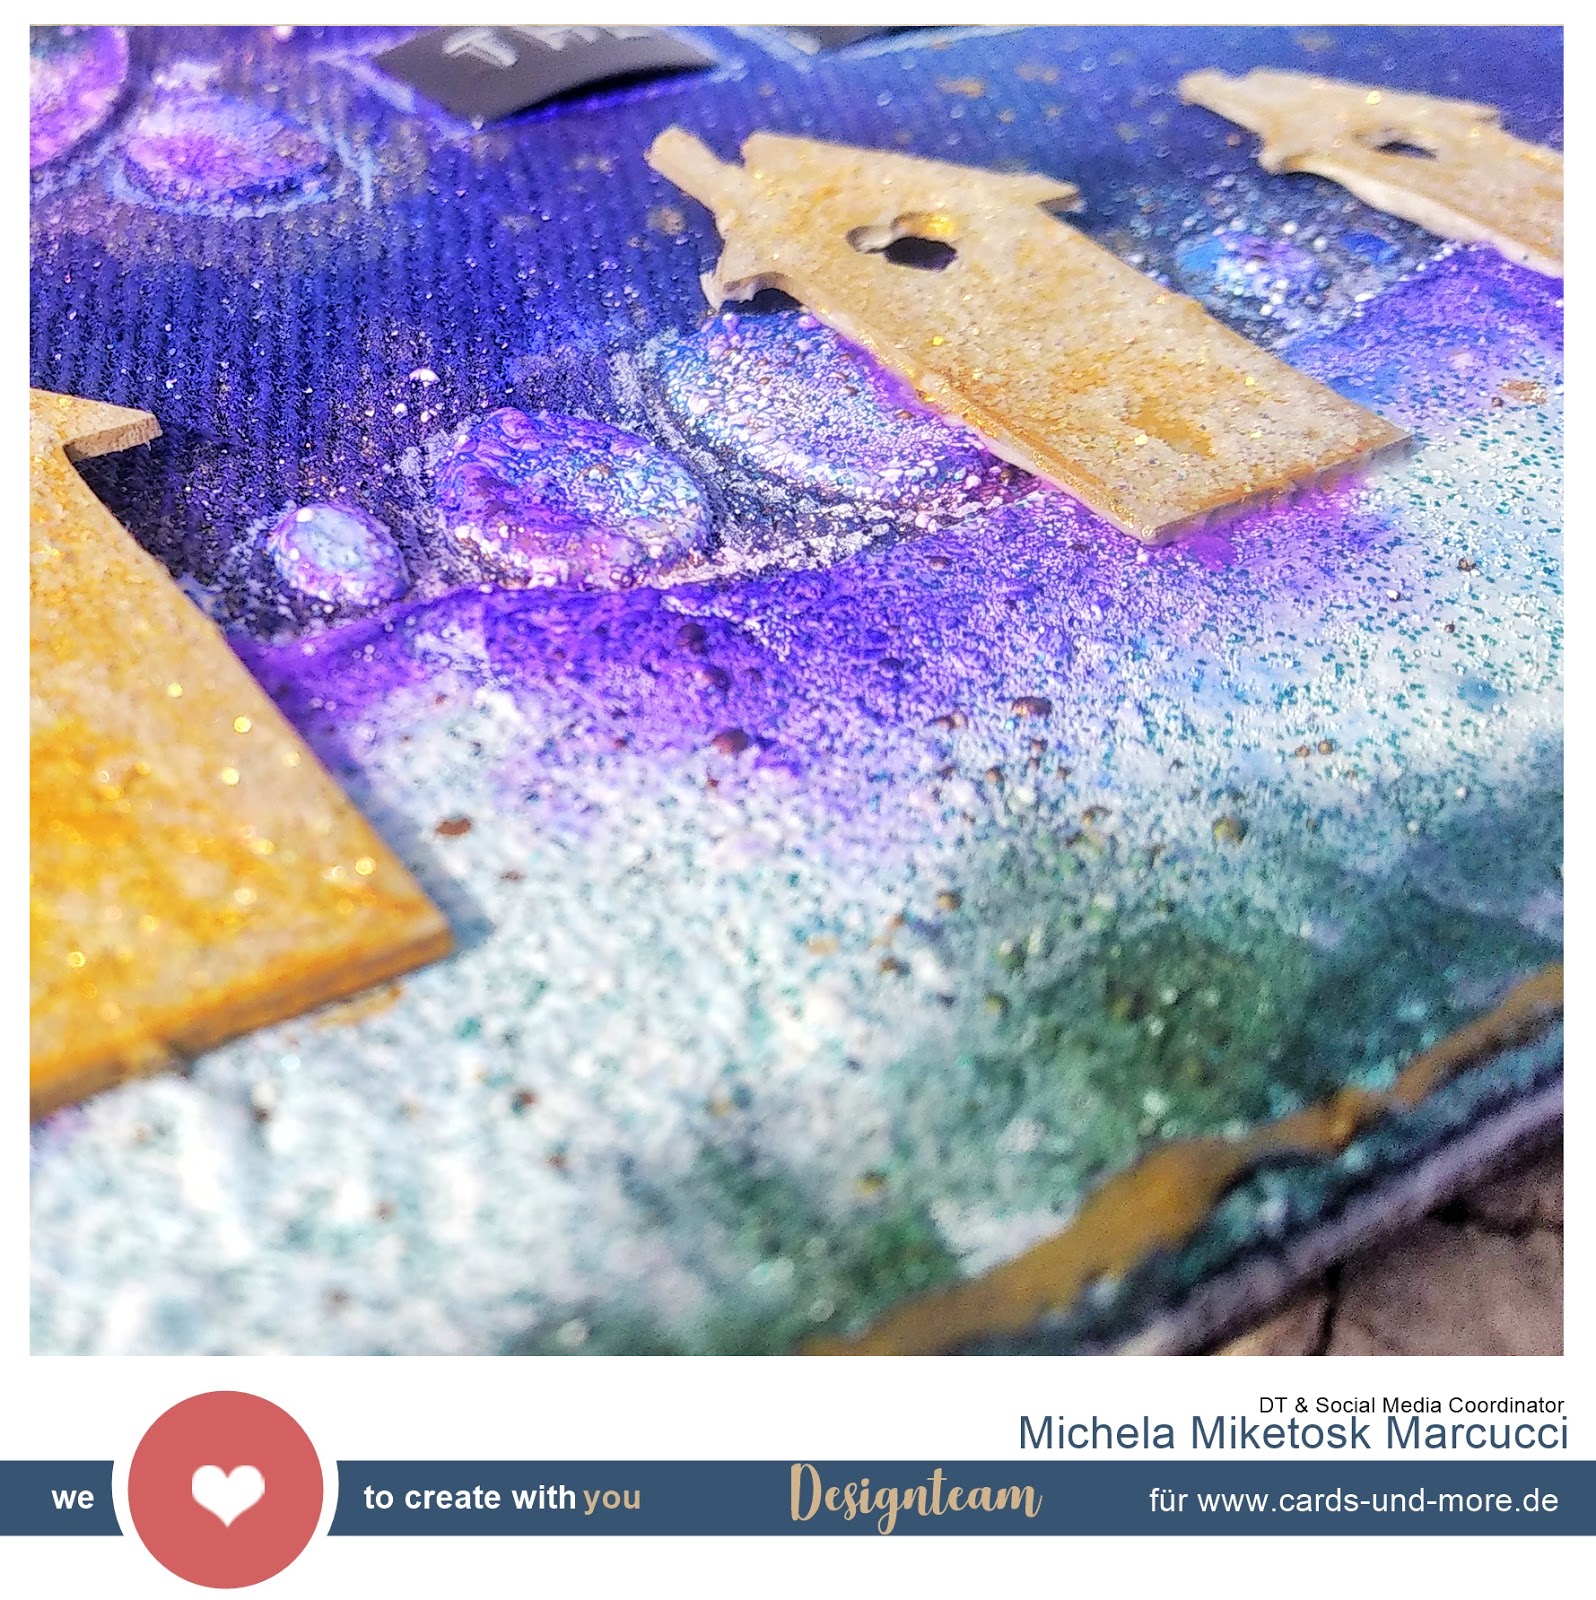
I've also also covered four houses from Dutch Doobadoo Dutch Greyboard Art A5 Houses.

With Pronty Crafts - Mask Stencil - Bubble and Stampendous Fran-tage Embossing Enamels (shabby blue) I've created a sort of scene with hills and sun, both abstract.


After glued down house over the hills I've started coloring the jeans/sky with liquid watercolors trying to create shadows and contrasts and, as soon as it all dried up I covered the tiny little houses with Stickles glitterglue.

It was now time to add a quote so, using Dymo I created the sentence: "home is where the heart is" and I attached it on my canvas emphasizing the border with a white gel pen.

To merge the composition I've decided to create an irregular border all around the canvas in the same tone as the housesand in this way the project has ended!


Hope you liked it and got inspired... See you super soon for a new blog post!


Michela
s

Samstag, 31. August 2019

You color my life

 Ciao! 😊 


As you know a couple of weeks ago I've received a Surprise Package from the shop so my upcoming blog posts will be all about using the amazing products I've found inside the box! 

If you are curious to see what I found inside here is a video opening...


Otherwise, let's start with project #03


First of all I've add a coat of white gesso over my base, the Dutch Doobadoo Dutch MDF Art - Painter Palette 3mm. After that, with Pronty Crafts - Mask Stencil - Bubble and heavy gesso, I've created another point of interest.

At this point I've started die cutting some elements to use on my project using a water media paper. I've die cutted also a photo using a rectangular shape.

It was now to the funny part: coloring! Using my beloved watercolors I've played around combining splashes and stains tacniques.

With Tim Holtz Distress Oxide Spray Mermaid Lagoon I've started plashing also the leaves and the word I've previously die cutted but, as I wanted they stand out more than the background, I've decided to cover them up with Stampendous Fran-tage Embossing Enamels. I've choosed shabby blue for the leaves and shabby pink for the word (The result was now AMAZING, I'm in love with this kind of embossing powders!)

Using 3d foam I've created different levels to give more dimension while I was ensembling the composition. I've also decided to tie Prima Resin Keys around the palette using string.


Just a few touches of Stickles glitter glue and white gesso (dry brushing over the string) and the project for today is finished!


Hope you liked it and got inspired... See you super soon for a new blog post!


Michela

Freitag, 23. August 2019

But I'm Only Human...

 Ciao! 😊 


A couple of days ago I've received a Surprise Package from the shop so my upcoming blog posts will be all about using the amazing products I've found inside the box! 

If you are curious to see what I found inside here is a video opening...


Otherwise, let's start with project #02! 


This time I was in art-journal-mood so I've began covering two pages with a coat of clear gesso and, while it was drying, I've started to choose some stuff to use. 

Using a blending tool and Distress Oxide Fired Brick I've created a background, and over it, I've started creating layers of interest using lift and splashes tecnique. With Pronty Crafts - Mask Stencil - Bubble (it's going to be my all-time-most-used stencil!) and the same ink I've realized a sort of line crossing along the two pages of the art journal and, at the end, I've added even more color touches with Distress Oxide Ink - Candied Apple.

At this point I've started creating my main focal point. I traced a silhouette on watercolor paper using Dutch Doobadoo Dress up Doll and then, I've colored it with black gesso and attached on the journal using white glue.

As you probably know I love to add quotes on my page so, this time, I've choosed to print some parts of Christina Perri's Human. After a quick cut I've enfatized the borders with a black marker and started attaching them on the journal.

As a final touches I've sprayed some water and black watercolor all around to create a more "merged" look.


Date stamped... and the project for today is finished!


Hope you liked it and got inspired... See you super soon for a new blog post!


Michela

Samstag, 17. August 2019

Love You To The Moon And Back

 Ciao! 😊 


A couple of days ago I've received a Surprise Package from the shop so my upcoming blog posts will be all about using the amazing products I've found inside the box! 

If you are curious to see what I found inside here is a video opening...


Otherwise, let's start with project #01! 


First of all I've traced and cutted two bases with Dutch Doobadoo Dutch Shape Art - Rectangle. The biggest/lower one using craft paper, the smaller/upper one with water media paper.

With a distress tool and white gesso (dry brushing) I've emphasized the borders of craft paper and, then, hot embossed a Metallic Gold Rich Pale Super Fine sentence "Love you to the moon and back" (from Jane's Doodles "To The Moon" stamp set) using my heat tool.

At this point I've started to build a watercolors galaxy lookalike background and color some elements from the same stampset that I had previously stamped with Stazon Jet Black.

While everything was drying I've choosed a picture to use as a focal paint and started playing around creating a compositions! Using 3d foam I've created different levels to give more dimension.


Just a few touches of Ranger Glossy Accents to "give more something"... and the project for today is finished!


Hope you liked it and got inspired... See you super soon for a new blog post!


Michela

Samstag, 27. Oktober 2018

Autumn Baby!

Hello dear crafty friends!

I got these so very cute stamp set from Dunja....and it happens to be perfect cause there is a little baby girl to be welcomed!


First started usingf the stencil and worn lipstick distress Oxide Ink to give some intrest to the background. For the panel I have used a stichted rectangle die cut. 

This cute little elephant is stamped on some white cardstock and coloured with nuvo aqua pens. And of course fuzzy cut it...I love cuting out stamped images.....it may has something calmative to me :)

Because it's autumn now I loved the idea to let this elephant sit in a bunch of leaves. Using some foam squares I raised the elephant image and some leaves. 


And cause I really love using nuvo drops on my projects there has to be some finishing touches by some jewel drops. The "welcome to the world" sentiment completes the card.

This time I have listed all used supplies down below. Thanks for stoping by today!
See you soon.


Farida (creativefarida)


Used supplies:
worn lipstick distress oxide ink
my favorite thinsg stiched rectangle die cuts
dutch dobadoo vintage stencil
foam squares
nuvo jewel drops rose water
ink blending tool
Marianne Design clear stamps

Challenge #67 - Anything Goes

Hallo liebe Cards und More Freunde, wir haben heute wieder eine neue Challenge für Euch. Dieses Mal gibt es ein Board für euch, das euch zur...