Dieses Blog durchsuchen

Posts mit dem Label Joy Craft werden angezeigt. Alle Posts anzeigen

Montag, 17. Juni 2019

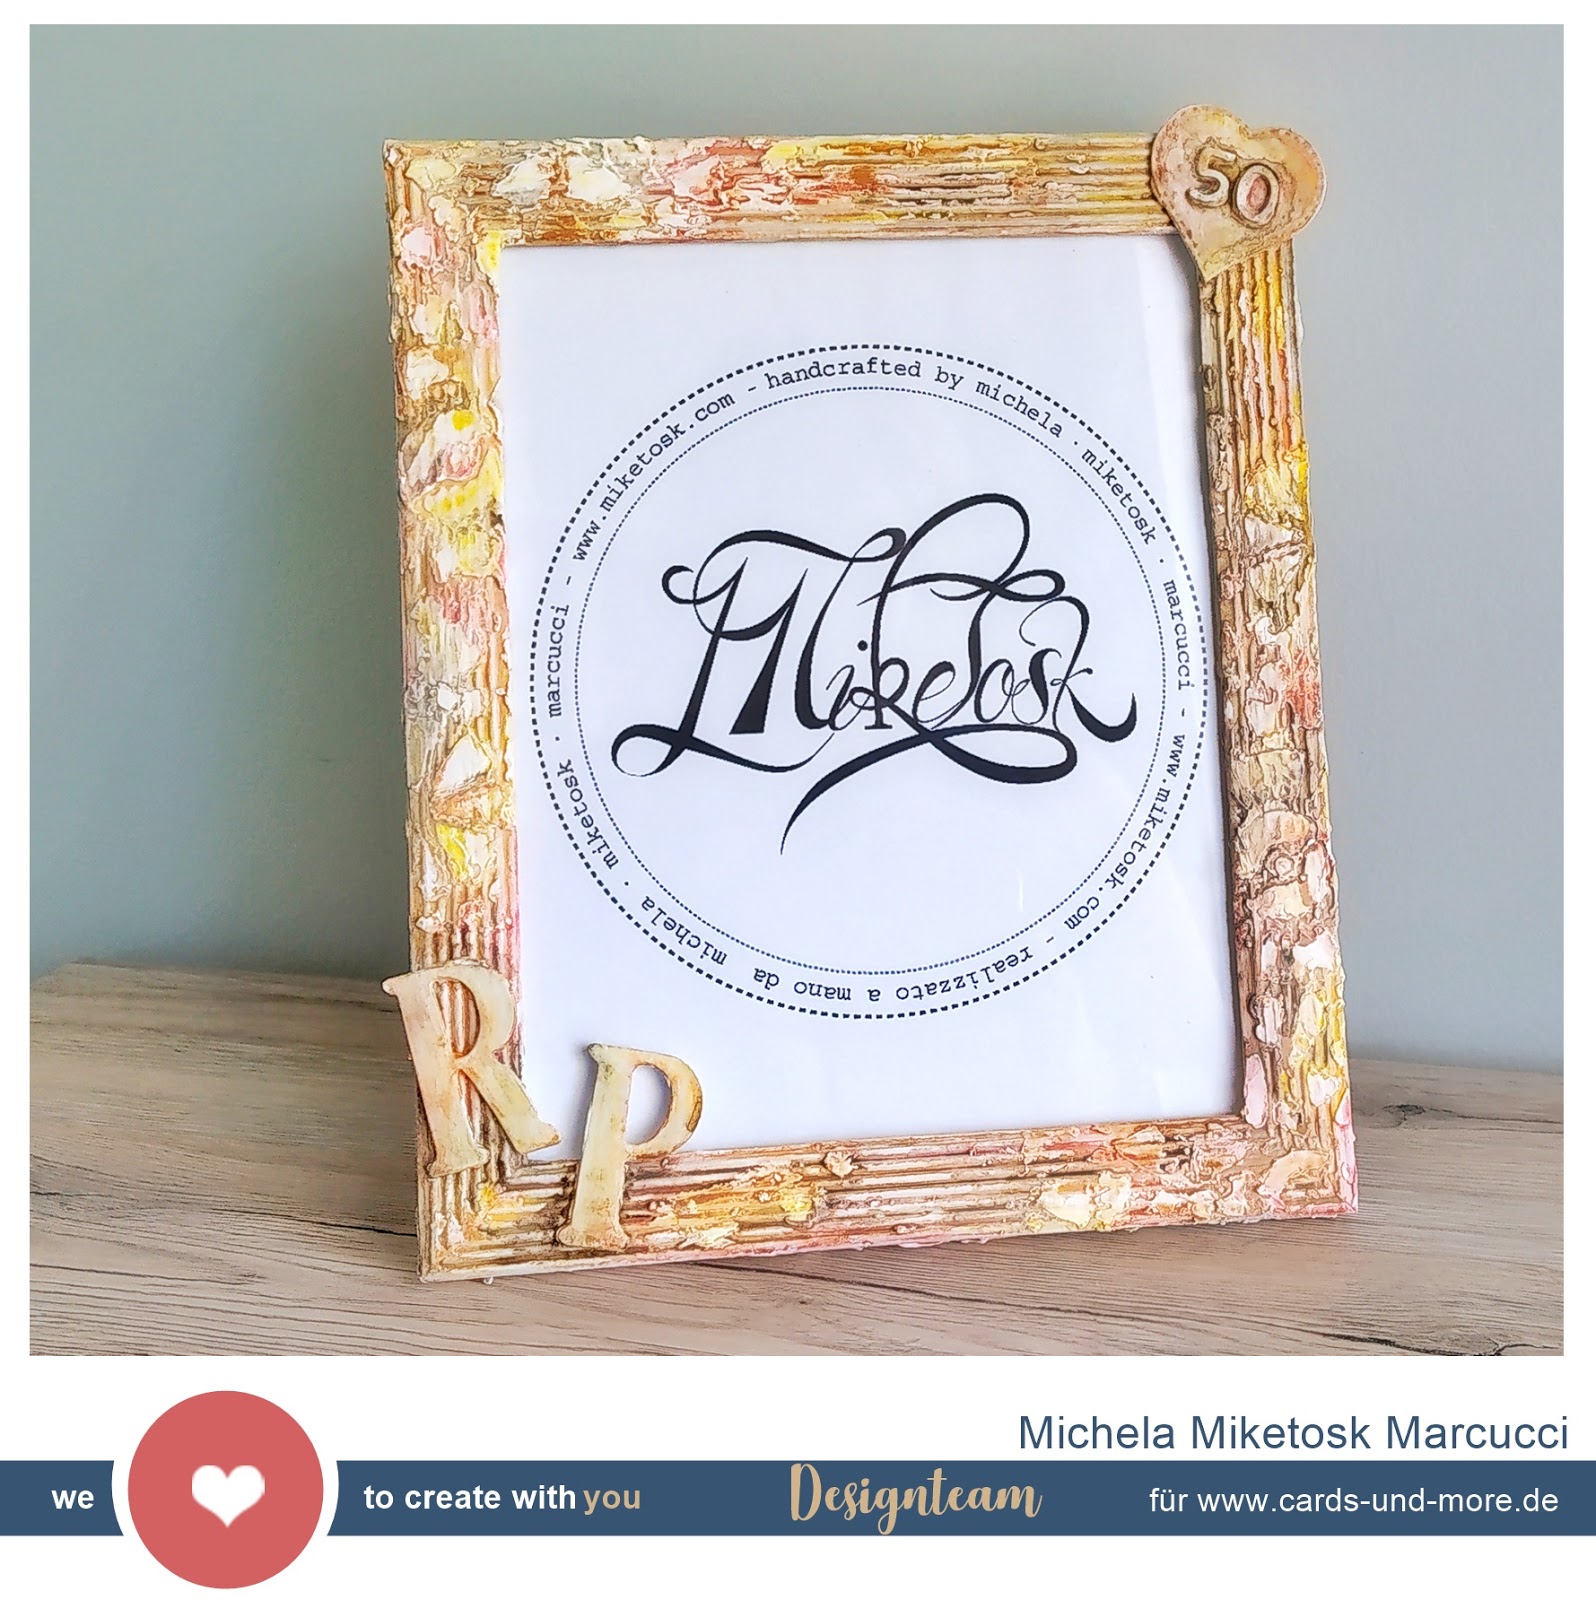
Altered Photo Frame

 Ciao! 😊 


In the last weeks I had so many commissions for photo frames so I've decided to share with you how I created them! This time the gift was for a couple, Riccardo and Paola, that are going to celebrate their 50th wedding anniversary.

I've started with a coat of White Gesso to prime my base and, than I've decide to glue down a corrugated cardboard with Tacky Glue to give more interest to it.
In the meantime that I was waiting to everything to naturally dry I've die cutted couples of hearts, numbers 5 & 0 and letters P & R using my beloved Joy! Crafts Kraft Paper.

At this point it was time to ensemble everything on the frame and add another two coats of White Gesso.

Paying a bit of attentions, with a stencil and heavy gesso I created another layer of interest.

And now the funniest part! With my Pebeo watercolors I've started to color everything giving the stain look I letteraly ADORE, layer after layer dryng sometime with my heat gun.

And here we are! Final touches were to stamp my name with Stazon Jet Black and to add a coat of with gesso to the back to give a more orderly appearance.


Hope you liked it and got inspired... See you super soon for a new blog post!


Michela

Dienstag, 14. August 2018

Party up in the universe

Hallo ihr Lieben, hello to everyone,

Ich habe mal wieder mit meinen Distress Oxides gespielt. Einfach so wunderbare Stemepelkissen, die so vielseitig sind. Seht ihr das auch so? Und es gibt noch so einige Techniken, die ich noch mit diesen Stempelkissen ausprobieren möchte.
Hier möchte ich euch gerne meine "Party in the universe"-Geburtstagskarte zeigen. Inspiriert ist die Karte durch die Einladung zur Geburtstagsparty im Star Wars Thema. Zudem musste noch ein Fach für das Geldgeschenk vorhanden sein. 
I had some time playing with my Distress oxides again. These ink pads are just so amazing and can be used for so many techniques. What do you think? And there are so many more techniques that I want to try out with these ink pads.
In this post I want to show you my "Party in the universe"-Birthdaycard inspired by a Star Wars themed Birthday invitation. Additionally the card needed a pocket for some money. 


Als Basis für die Karte habe ich ein Stück schwarzen Tonkarton von Joy!rafts genutzt und die Kerben mit dem Envelope Punch Board gestanzt.
Auf einem weißen Tonpapier habe ich mit den Distress Oxide Farben Wilted Violet, Mermaid Lagoon und Blueprint Sktech kleiner Bereiche mit den Ink Blending Tool eingefärbt und anschließend mit der Farbe Black Soot die Rand- und Zwischenbereiche schwarz gefärbt. Zum Schluss noch ein paar Wassertropfen und weiße Gesso-Tropfen verteilt um das Universum-Bild zu vervollständigen. 

For the basic card I cut down some black card stock from Joy!crafts and punched some notches with the Envelope Punch Board.
For the universe background I have used white cardstock and layed down some Colours spots of Wilted VioletMermaid Lagoon and Blueprint Sktech with the Ink Blending Tool. With Black Soot  I inked the areas at the borders and in between the colour spots. For the finally touches I used some water and white gesso sprinkles.


Mit einer einfachen "Lets Party"-Stanzform aus schwarzem Tonkarton und ein paar Enamel Stern Stickern wurde die Vorderseite der Karte verziert.

For decorating the front card I just used a "Lets Party" die cut together with some black cardstock and a few enamal star dots.


Im Innenbereich der Karte wiederholt sich alles nochmal aber mit einem ausgestanzten "Happy Birthday" und etwas Platz für einen persönlichen Gruß und dem Fach für das Geldgeschenk.

The inside of the card looks pretty the same as outside, but it has an "Happy Birthday" die cut and some space for a personal message as well as a little pocket for the money present.


Ich würde mich freuen wenn ihr mir einen Kommentar da lasst. Vielleicht mögt ihr mir ja schreiben wie euch die Karte oder der Post an sich gefallen hat.

I would love if you comment my post and maybe tell me how if you liked my card or post.


Liebe Grüße

Many greetings


Farida


Materialliste/ Used materials:


Freitag, 15. Juni 2018

Summer Card and matching envelope


 Hello crafty friends
Fikreta here .
Today  I have to share   
card and matching envelope.

To make this card and envelope
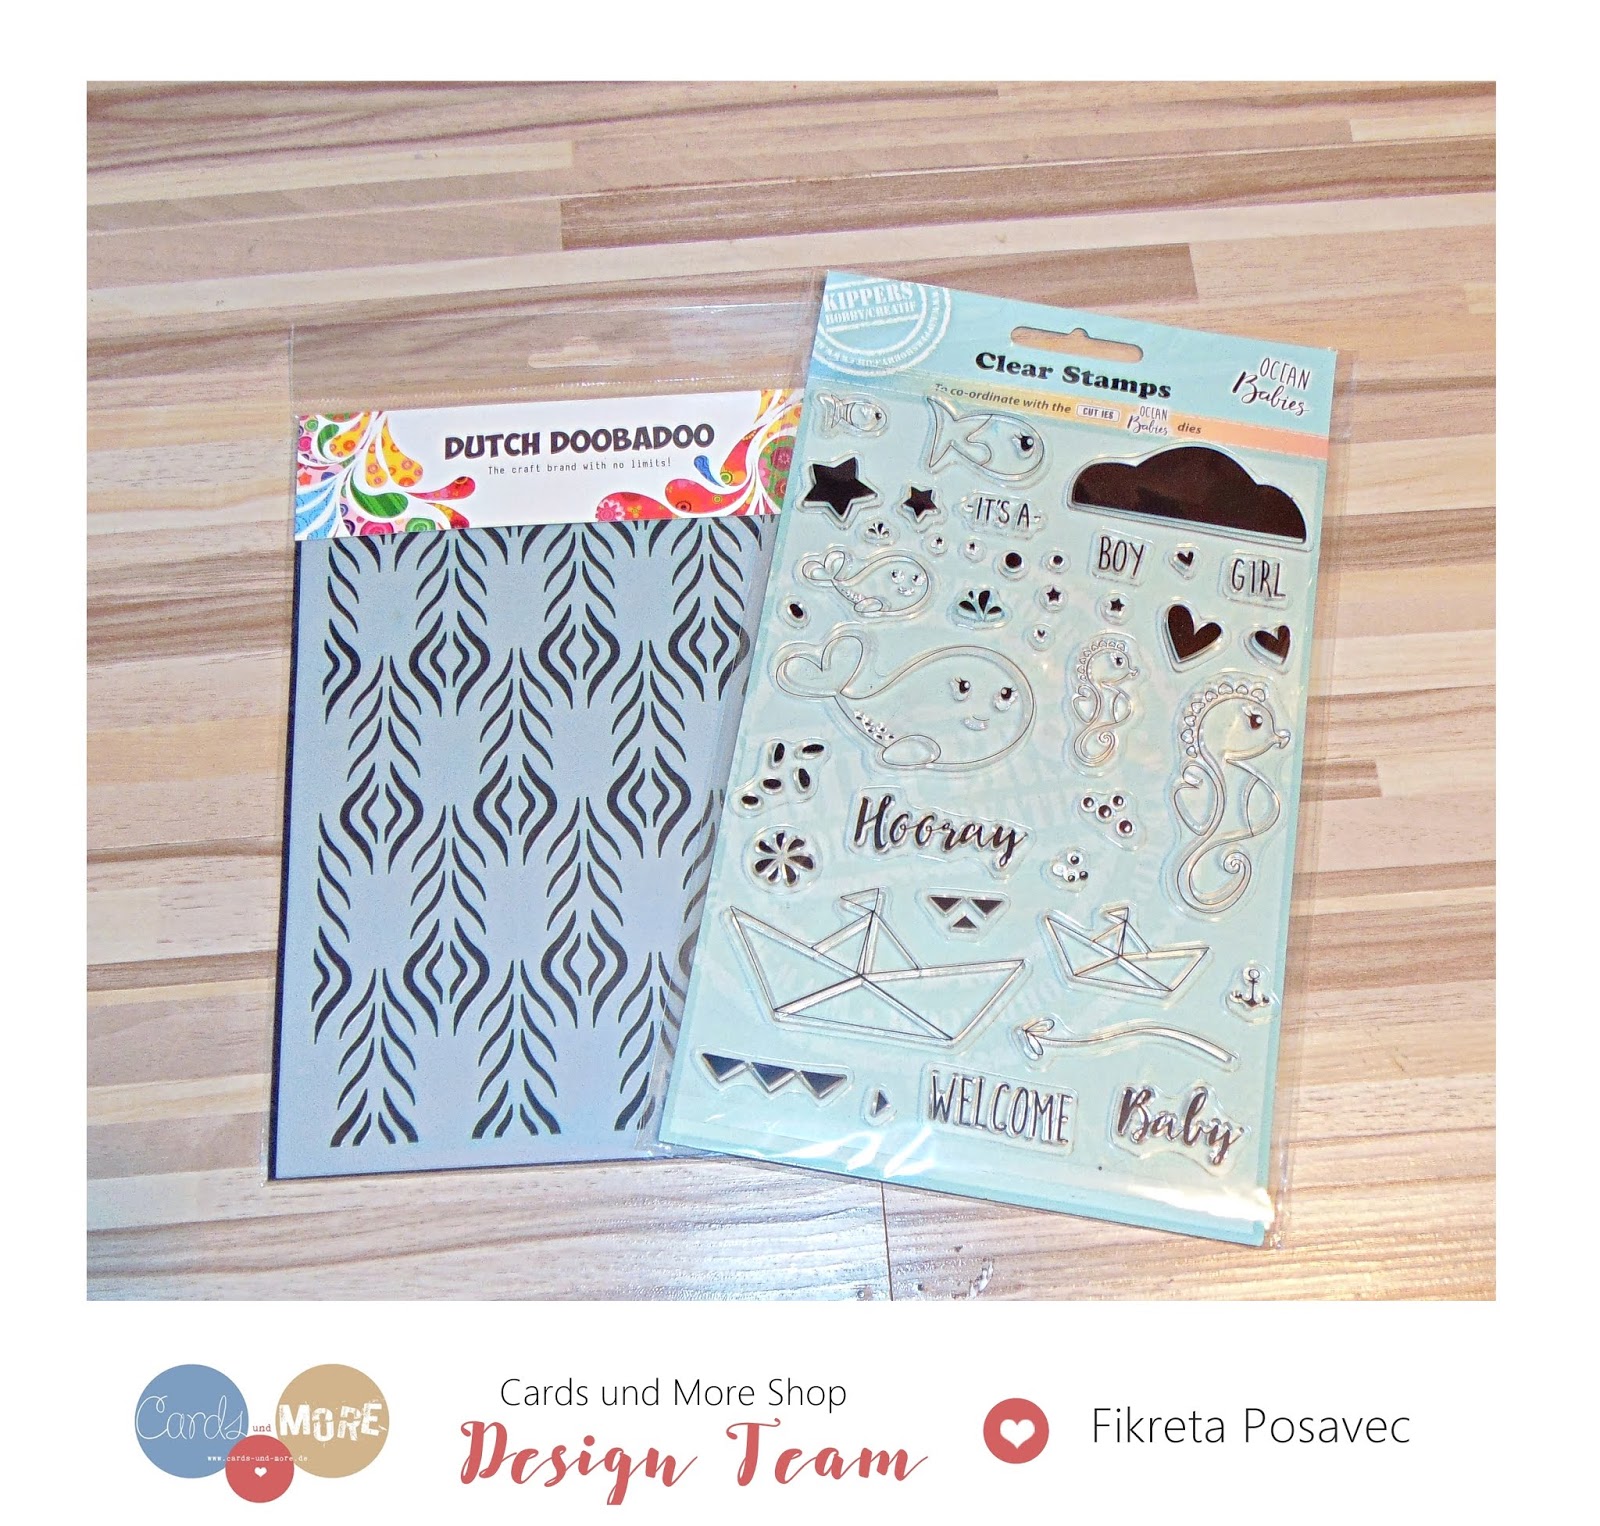
I use Dutch Mask Floral Feather stencil
and  Ocean babies stamp set


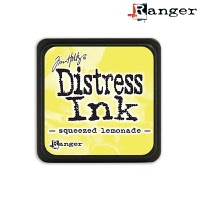
 with blending tool and twisted citrone distress ink 
I made backround for my card.


 I add few dots to be water bubbles.

 with zig clean brush markers
 I color those cute  seahorses
  I stamped sentiment and embossed it
with black embossing powder.

I added few fishes and colored them with 
zig clean brush markers.


Then I use same ink and tool to make
 backround on my envelope.

With zig clean brush I color 
those cute  whales.
 They are going to be glued on envelope.
Ta-da!
And here is all done!
I put card in the envelope and send it to my friend!

I hope you  enjoyed and get inspired and will make some summer themed card!


Memento Stempelkissen TUXEDO BLACK CUT-IES - Ocean Babies - StempelsetJoy! Crafts - Ink Blending Tool (2 Tools + 4 Foampads)  ZIG CLEAN COLOR REAL BRUSH - Set of 12 ColoursDutch Doobadoo Dutch Mask Art Floral Feather Tonic Nuvo embossing powder glitter noir Ranger Mini Distress Ink - Mini Kit No.14

Have a wonderful crafty day!
hugs


Mittwoch, 4. Oktober 2017

C.C.Design - kleiner Tiger sagt Hooray

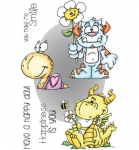
Hooray liebe Leser, heute bin ich dran euch mein neues Werk zu zeigen :) Ich habe eine Karte gestaltet und den süßen Tiger von C.C. Design  verwendet.

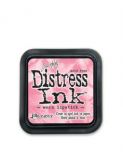
Den Hintergrund habe ich mit einer Schablone und Distress Ink Farben geblendet.


Coloriert habe ich mit Copic Markern und die kleinen Punkte sind mit Nuvo Drops aufgetragen. Ich bin ein totaler Fan von den Nuvo Drops Fläschen und könnte diese am liebsten in jeder Farbe haben.

Man kann mit den Fläschen ganz einfach Halbperlen in jeder gewünchten Größe und auf jedem Untergrund auftragen.

http://cards-und-more.de/de/tonic-nuvo-jewel-drops-30ml-limoncello.htmlhttp://cards-und-more.de/de/tonic-nuvo-crystal-drops-30ml-buttermilk.html


Lieben Dank für euren Besuch, bis zum nächsten Mal. Liebe Grüße Janine

Material:

http://cards-und-more.de/de/Mini-Distress-Ink--Distress-Ink--Tim-Holtz-Distress-Ink-Mini-9412-9413-9415-9419-9433.html

http://cards-und-more.de/de/COPIC-ciao-Marker-72er-Set-A.htmlhttp://cards-und-more.de/de/Memento-Stempelkissen-TUXEDO-BLACK.html

http://cards-und-more.de/de/CCDesigns---Doodle-Dragon---Garden-Antics.html


Mittwoch, 8. März 2017

Two Cards...

Hallo liebe Leser, heute zeige ich euch zwei Karten die ich gewerkelt habe. Beide Karten habe ich sehr schlicht gehalten, manchmal ist weniger mehr :) aber nur manchmal *hihi*

Für die erste Karte habe ich Stempel aus dem Stempelset Coffee Kit von Vildastamps verwendet. Den Hintergrund habe ich mit Copics, Wasser und einem Acryblock bearbeitet.


Für die zweite Karte habe ich Stempel aus dem Stempelset von Studio Light verwendet.


Danke fürs vorbeischauen :)


Material:


Challenge #67 - Anything Goes

Hallo liebe Cards und More Freunde, wir haben heute wieder eine neue Challenge für Euch. Dieses Mal gibt es ein Board für euch, das euch zur...