Dieses Blog durchsuchen

Posts mit dem Label pearls werden angezeigt. Alle Posts anzeigen

Donnerstag, 17. November 2016

Focus on Flowers

Hello, friends! 

It's Nancy back with a new project made with products from
 the Cards and More Shop .

This time I decided to make a simple card showcasing these beautiful flowers. 


A pretty die-cut doily made the perfect backdrop.


I positioned the flowers and adhered them to the base.
Then I tied this pretty ribbon around the stems.


These were the products used from the Cards and More Shop :

Lilies


Pearls - Purple


Spellbinders Nestabilities - Fleur de Elegance


* * * * *
Thanks so much for stopping by today!
I'll be back again soon!


Have a happy day! :o)

Dienstag, 25. Oktober 2016

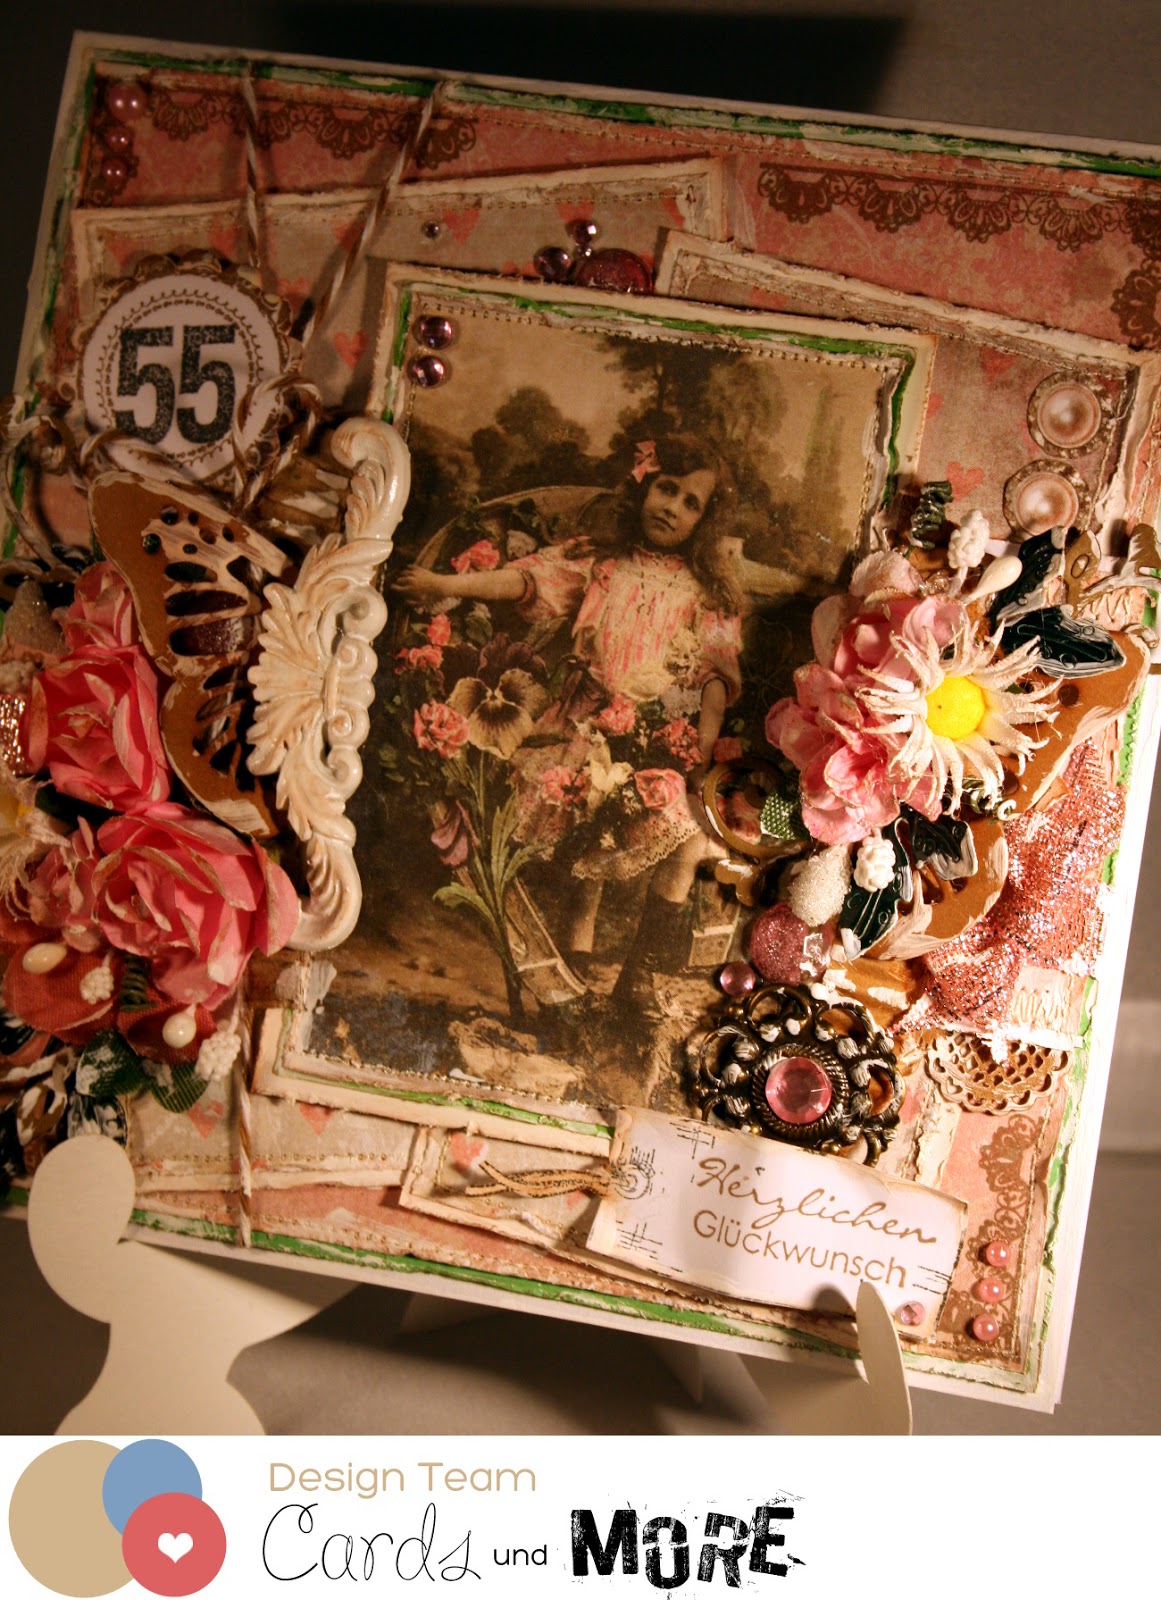
Birthday Card for my Mom's 55th Birthday

Hallo!
Einen schönen Dienstag euch allen!
Heute zeige ich euch zum aller letzten Mal ein Design Team Projekt von mir und mich ganz herzlich für die tolle Zeit hier bedanken. Es hat mir sehr viel Spaß gemacht mit so vielen lieben und kreativen Damen zu arbeiten und euch regelmäßig mit Inspirationen zu versorgen. Meine letzte Karte ist für meine Mutti entstanden. Sie wird dieses Jahr 55 und ich habe für sie eine verspielte und mädchenhafte Fotokarte mit einem der tollen Studio Light Motiven gebastelt.

Ich wünsche dem neuen Design Team eine schöne Zeit, viel Erfolg mit dem Shop und weiterhin ganz viele kreative Ideen für die Leser des Shop Blogs.
***
Hello and a great Tuesday to you!
Today is my last time to show you a Design Team project from me. I had a great time in this team and it was a pressure to work with such awesome and creative girls. It was fun to show you my projects and to inpire a lot of you out there. My last card I made for my mom's 55th birthday. I made it romantic and girly using a photo image by Studio Light.

I wish the new Design Team a lovely time, sucess with the Online Shop and a lot of creative ideas for the readers of this Shop Blog.

Und so schaut meine fertige Grußkarte aus:
***
This is how my finished card looks like:
 

 verwendete Materialien/used stash:
http://cards-und-more.de/images/product_images/popup_images/5099_0.jpghttp://cards-und-more.de/images/garnundmehr/wurstgarn_bg-00003.jpghttp://cards-und-more.de/images/lse/R0056006.JPGhttp://cards-und-more.de/images/product_images/popup_images/6003-0046_voorbeeld.jpg
http://cards-und-more.de/images/product_images/info_images/dutch-doobadoo-dutch-craft-art-a5-party-borders.jpgScrapBerry's Adhesive pearls 120pcs/4 colors, Kids’ Fun 2http://cards-und-more.de/images/product_images/popup_images/1307.jpg
http://cards-und-more.de/images/product_images/popup_images/4874_0.jpgStudio Light - MDF Cupcake incl. Papierset Shabby Chic
 
Ganz liebe Grüße und man sieht sich!
***
Lovely wishes and see you! Bye, bye!

Sonntag, 12. April 2015

Valou - "A old camera"

Hello everybody! 

It's Valou here for a card to share with you.


I used papers "Graphic45", collection " Sweet Sentiments " and some paper " Bazzil Cardstock Ivoire.

On the main edges, I stuck of the ribbon of given a pearly gloss pearls salmon.


On the top of the box, I stuck flowers of cherry tree salmon, blue "Lilidafts", white rose (30 mm) and cloth roses salmon.

I added die-cuts " Swirls - Leaves " realized with a dies " Lily Of The Valley ".

Then, I stuck a die-cut "Banner" realized with a dies " Lala Landt Craft ".

I realized a double-knot with the ribbon " blue Organza " and I decorated it with white "Lilidaft".


In front, I stuck a small angel in plaster. Then, I added a flower " Petalloo ", a cloth flower salmon, blue "Lily", blue rose (15 mm), blue "Lilidaft" and white rose and salmon (20 mm). I added a die-cut "Leaf" realized with a dies "Lily Of The Valley".


For the rest of the decoration on the camera, I stuck flowers " Petaloo ", cloth flowers, white rose and salmon (20 mm), "Lilidafts", blue rose (25 mm) and die-cuts "Butterflies" realized with a dies " Noor! Design ".


Here is for all the explanations!

I thank you for your passage here and I hope you a lovely day!


Samstag, 6. Dezember 2014

Valou - "An Advent Calendar"

Hello everybody! 

Valou here for the inspiration post today. Today I share with you an "Advent Calendar".


To realize this set, I used the file of "Snap Dragon Snippets".

All the parts are cut with the machine " Silhouette Studio ".

I used the following papers:

- White Bazzil Cardstock.
- Papers " Winter Collection " and "Spring Collection".
- Blue paper "Action".
- Cardboard of recycling.
- White Bristol.
- Cardstock chestnut.

Any goshawk, I added barriers cut with the " Silhouette Studio ". Then, in front of, I stuck dies-cuts realized with a dies " Noor!Design ", "Border Snowflakes".

Finally, I stuck of the ribbon " Organza Mahogany " and I finished with a small knot.


To the left of the house, I decided to make an extension to realize the garden.

All the bottom is covered with artificial snow in spray.

I realized an ice rink with a die-cut realized with a dies " Noor! Design ", " Round 2 ".


I realized a tree with a file of cut " Silhouette Studio Store". Above, I added a little artificial snow and diverse blue, pink and white pearly pearls to represent Christmas baubles.

I also added a wooden "Treillis" of the shop " HobbyCutz ". Above, I stuck some pearly pearls as well as some flowers: white Poinsettia, blue Poinsettia, white and red Rose ( WOC), white Rose ( WOC), blue Rose " Kaisercraft " and spangled red berries. At the foot of this "Treillis", I stuck a silvery and spangled pine cone, a cloth white rose, a red "Lily" and a spangled red berry.


Then, I added a small glass sled. Above, I stuck a red flower.

For the rest, I added a reindeer cut with "Silhouette Sutdio" and die-cuts "Fir trees".

On the ground, I stuck some white balls spangled in polyester.


I used several rubberstamps " Magnolia Ink ".

I colorized them with the following ink:

- Ink "Distress Tattered Rose" and "Distress Vintage Photo" for the skin.
- Ink "Distress Antique Linen", "Brushed Corduroy" and "Distress Walnut Stain" for hair.
- Ink "Distress Fayded Jeans".
- Ink "Distress Aged Mahogany".
- Ink "Distress Pumice Stone".
- Glitter Stickels Diamond.


On the roof, I added pieces of garland, some artificial snow and a small wooden cock.


On the window of the top, I added a knot realized with a piece of ribbon " Organza Mahogany " and decorated with a white rose (15 mm) ( WOC).

I added a small banner realized with a dies " Noor! Design " on whom I stuck "Rub-On", "Merry Christmas". I inked it to the ink "Distress Walnut Stain".


For the rest, I added various embellishments:

- Spangled and silvery pine cone.
- Spangled red embellishment.
- Wooden embellishment (received in present in a magazine).
- Plastic ax (recycling).

Have a lovely day! 

Kiss


Samstag, 20. September 2014

Valou - "Easel Card for a child"

Hello everybody ! 

This morning, I come to show you a sweetly card ! 


I used some paper " Magnolia Ink ", "Sweet Crazy Love", some paper " white Bazzil Cardstock " and some paper " pink Bazzil Cardstock ". The edges of the printed paper are inked to the ink "Distress Walnut Stain".
 

I colorized it with the following ink " Distress ":

- Ink "Distress Tattered Rose" and "Distress Vintage Photo" for the skin.
- Ink "Distress Picked Raspberry" for hair.
- Ink "Distress Salty Ocean".
- Ink "Distress Mowed Lawn".


Everything around the image, I added peas which I realized with "Liquid Pearl", "White Opal".


Then, I stuck a white rose (30 mm), two "Lilies" turquoise blue, two pink "Lilidafts", two rosebuds whites and rosebuds two "Rust". The leaves were cut with the silhouette Studio from some paper " green Bazzil Cardstock ".


On the bottom of the card, I added some ribbon "Muslin" white. Above, I added my title realized with two dies " Spellbinders-Nestabilities - Majestic Ovals " and a clear stamp " Penny Black " (ink Versafine " Onyx Black ").

To finish, I stuck a white rose (30 mm), pink "Daisy" and turquoise blue "Lilidaft".

I cut butterflies with dies " Joy! Craft " and I decorated them with half a white pearly pearl.


See you very soon for a new project!


You can find the material in the shop " Cards Und More "


Challenge #67 - Anything Goes

Hallo liebe Cards und More Freunde, wir haben heute wieder eine neue Challenge für Euch. Dieses Mal gibt es ein Board für euch, das euch zur...