Dieses Blog durchsuchen

Posts mit dem Label Stazon werden angezeigt. Alle Posts anzeigen

Montag, 17. Juni 2019

Altered Photo Frame

 Ciao! 😊 


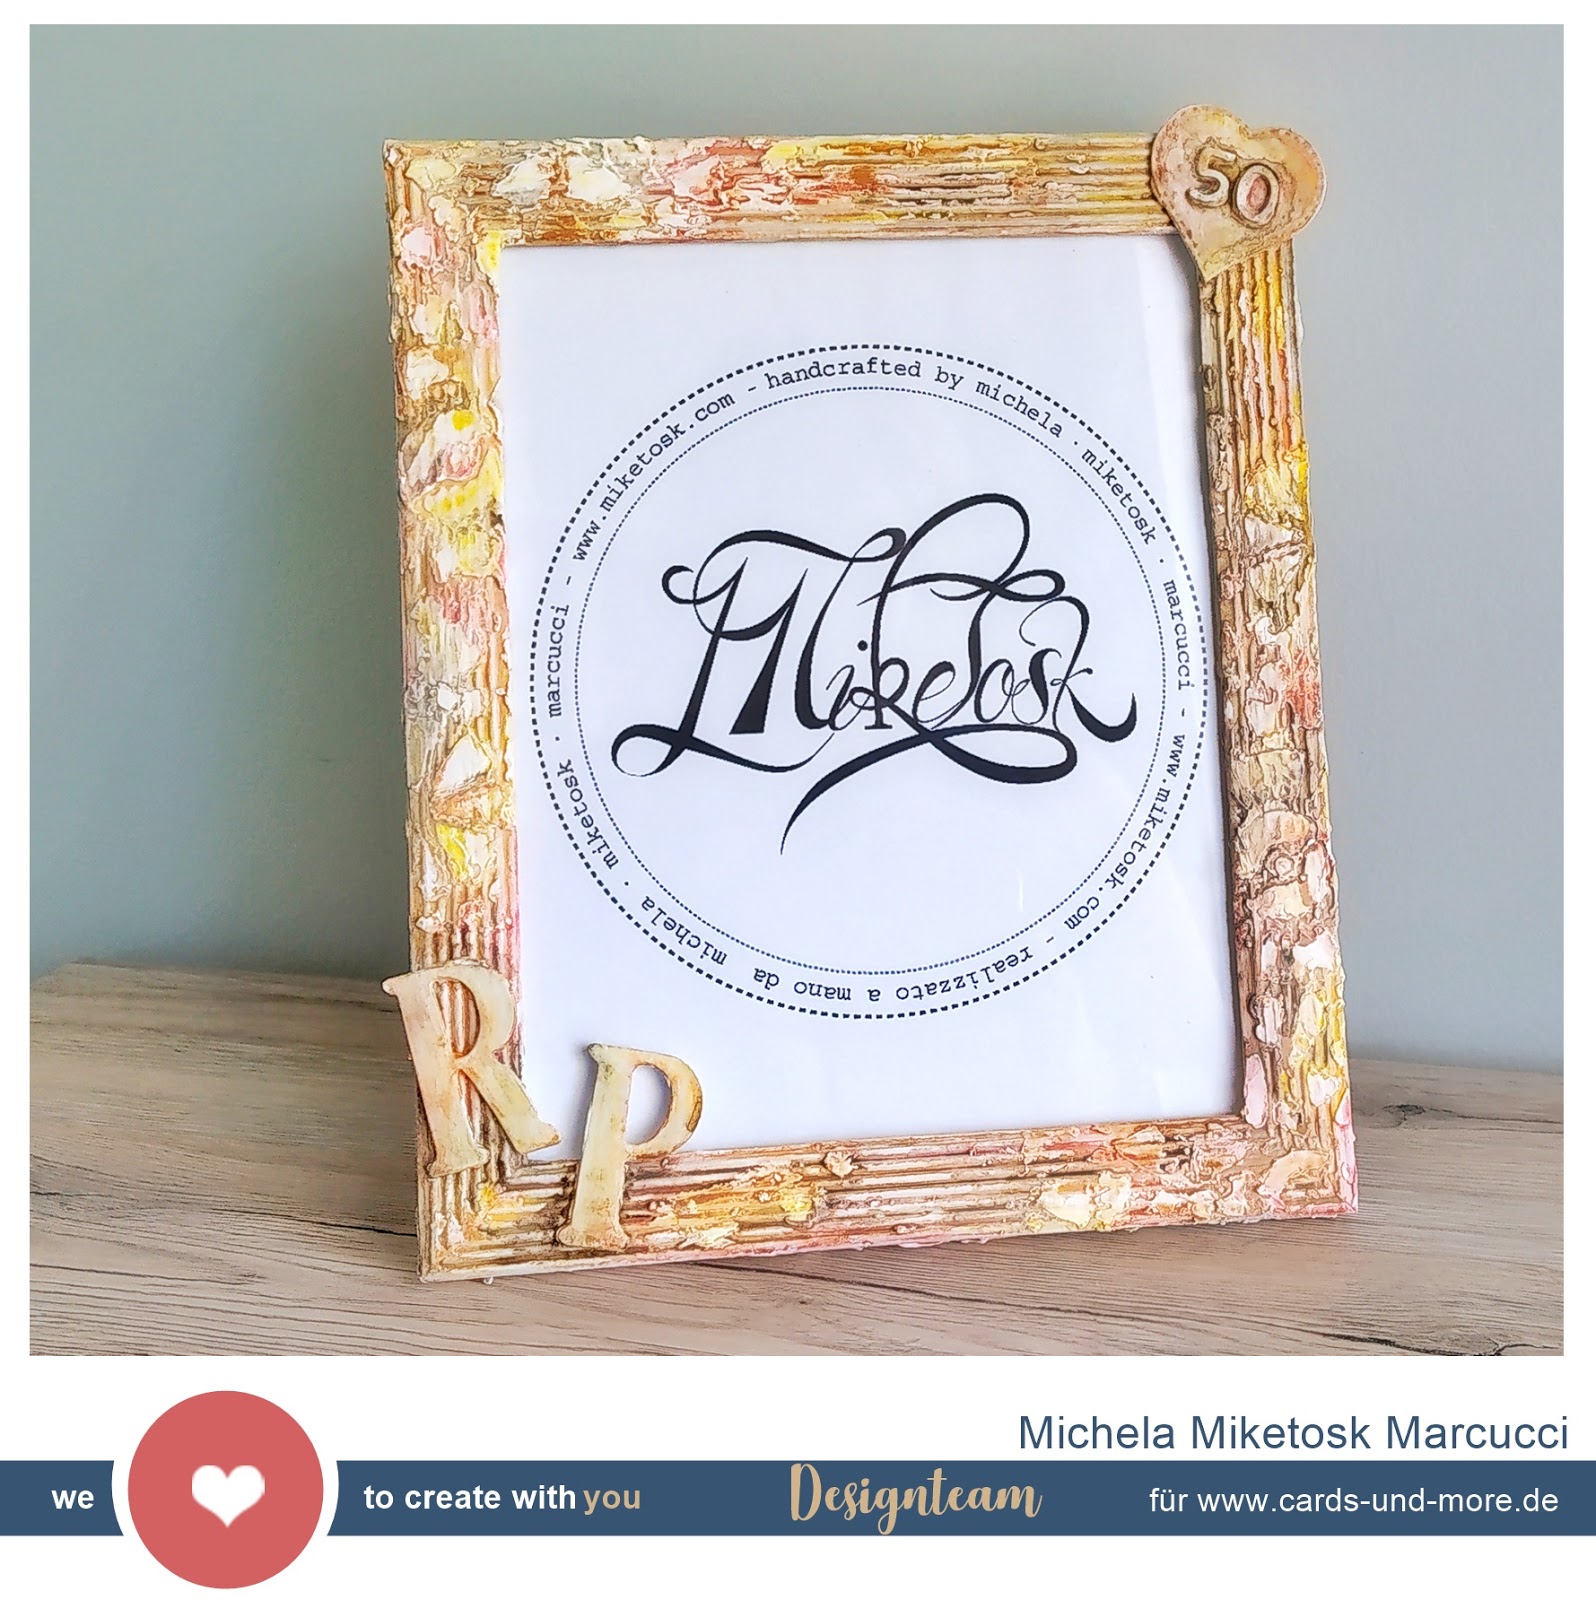
In the last weeks I had so many commissions for photo frames so I've decided to share with you how I created them! This time the gift was for a couple, Riccardo and Paola, that are going to celebrate their 50th wedding anniversary.

I've started with a coat of White Gesso to prime my base and, than I've decide to glue down a corrugated cardboard with Tacky Glue to give more interest to it.
In the meantime that I was waiting to everything to naturally dry I've die cutted couples of hearts, numbers 5 & 0 and letters P & R using my beloved Joy! Crafts Kraft Paper.

At this point it was time to ensemble everything on the frame and add another two coats of White Gesso.

Paying a bit of attentions, with a stencil and heavy gesso I created another layer of interest.

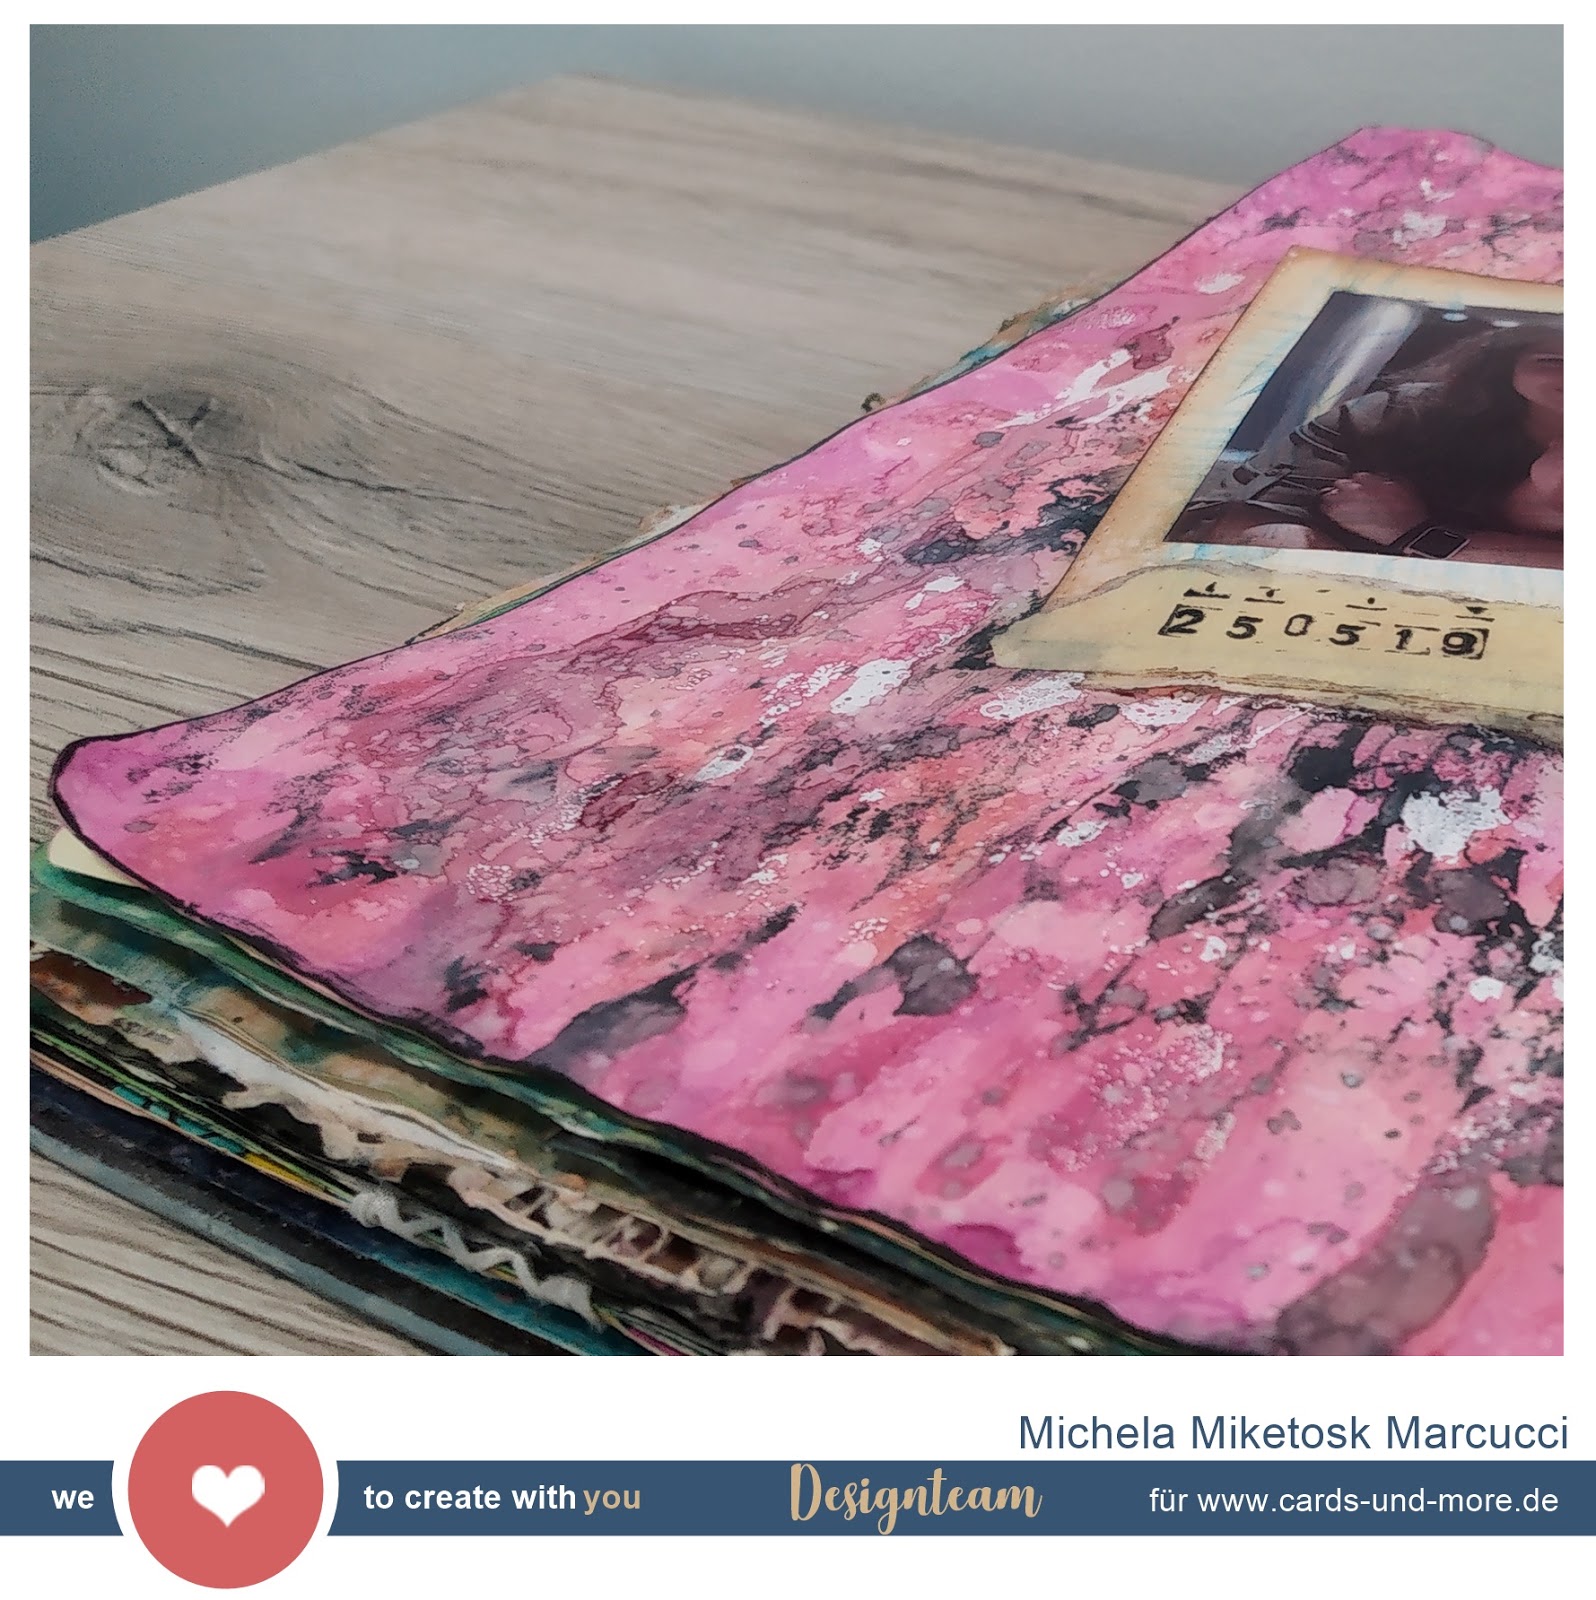
And now the funniest part! With my Pebeo watercolors I've started to color everything giving the stain look I letteraly ADORE, layer after layer dryng sometime with my heat gun.

And here we are! Final touches were to stamp my name with Stazon Jet Black and to add a coat of with gesso to the back to give a more orderly appearance.


Hope you liked it and got inspired... See you super soon for a new blog post!


Michela

Freitag, 31. Mai 2019

Pinkish Moment...

 Ciao! 😊 


Here I am to share with you my latest journal page!


After a coat of Clear Gesso I've started to playing around with Distress Oxide Ink Pads. I'm in love with set #2 so, using an ink blending tool, I created a large shade all around my page. 

Next step was to dry everything with my heat gun and start putting the color using a piece of recycled cellophane from packaging. I used Picked Raspberry, Seedless Preserverves, Candied Apple and Abandoned Coral

To define a portion of the page for my focal point I've white embossedFinnabair stamp using VersaMark Emboss Ink. To enfatize even more I've add some diluted Black Soot inbetween the textures. 

Last touches for the base was to add some splashes using White Gesso and the same colors used until now.


Time for the focal point! 

With two Stitched Rectangle cutting dies I've created a look-alike polaroid frame, glued down a previously printed photo of me and my man and, then, aged everything with Vintage Photo and Stazon Jet Black.

Using Double-Sided Tape I've attached the composition to my page and, to give something more I put some paper tape make it look like it was attached with it. 

Final touches were to add the date over the tape and to define the borders.


Hope you liked it and got inspired... See you super soon for a new blog post!


Michela

Sonntag, 17. März 2019

BLOOM YOUR MIND


Ciao! 😊

This is my very first post for Cards und More Shop Blog and I'm either nervous and excited about this new adventure called Design Team!

Today I want to show you a junk journal page I've realized a couple of days ago.

First of all I've put some page together using Tacky Glue to have a thicker base to work with. 
While I was waiting for everything to get dry I choose some images from magazines and then I've started to glue them.

When my first layer was done I've decided to put a coat of transparent gesso to seal everything and start to create some textures.

With some flowerish stencil and heavy gesso I've tried to create a sort of frame all around the page to enfatize the girl flowers crown and, then, I've also added some dots in the right bottom corner.

As soon ad the gesso dried I've applied some masking tape (I'm a bit obsessed, in every project I do I have to use it) where where I imagined to put the title and drywall tape around the pages to create even more interest.


At this point I've tought that was time to add mediums so I added some white gesso around the elements to connect them and then I've started to play with my Pebeo Watercolors and Faber Castell Gelatos.

The final touches was the date impressed with Stazon Jet Black ink and the title, made with Dymo label, "BLOOM YOUR MIND".


For this time is everything, I hope you enjoy my first project here and look forward to the next one! 

Michela


Montag, 20. August 2018

Ein kühler Drink!

(Werbung)
Guten Morgen Ihr Lieben,
erster Urlaubstag heute und es fühlt sich großartig an, ich habe eine Karte für Euch, die ich mit einem Stempel und Schablonen Set von Kippers Hobby gemacht habe. Dazu habe ich das Glas mit der Schablone auf Aquarellpapier aufgebracht und eine Shaker-Card daraus gemacht. Das funktioniert super mit den Rahmen von MFT Stamps und ein paar schönen schimmernden Pailletten.
Den Papier-Strohalm habe ich einfach durch eine kleinen Schlitz in der Transparent Folie gesteckt und noch ein Band darum gezogen.
Mit dem Pearlmaker von DutchDoobadoo in Türkis habe ich dann noch ein paar Akzente aufgebracht.

Mit diesen Stempelkissen habe ich gearbeitet:

Distress Oxide Broken China
Distress Oxide Twisted Citron
StazON - Jet Black - hält wunderbar ohne zu verwischen auf Klarsichtfolien

Ich hoffe es hat euch gefallen, wünsche Euch noch einen tollen Start in die neue Woche

xoxo Clarissa

Dienstag, 8. Mai 2018

Glückwunschkarte - 'HIP, HIPPO, HOORAY!'

Hallo meine Bastelfreunde,

heute möchte ich Euch diese Glückwunschkarte zeigen. 

Die Geburtstagskarte ist schon länger 
ihrer Bestimmung zugeführt worden, 
also sie hat den Besitzer gewechselt.(*lach*) 

Aber ich wollte sie Euch nicht vorenthalten.Beitrag 08.05.18 Vollbild liegendFrame DT Cards und More

Verwendet habe ich die Produkte von 

Die Motive stemple ich gerne auf

Zum Kolorieren verwende ich immer 

Den Hintergrund habe ich mit so ähnlichen 
Stanzen wie die von 
ausgestanzt.

Als Highlights habe ich den 
die Ranger - Enamel Accents verwendet.
Beitrag 08.05.18 DetailFrame DT Cards und More

Hoffentlich konnte ich Euch einwenig inspirieren und bis bald.

Eure 
Nadine

aka Schwesterherz75

Materialliste:


Dienstag, 24. April 2018

'TIGERISCHE' Geburtstagsgrüße

Hallo Ihr Lieben,

heute bin ich, Nadine aus dem Designteam, 
endlich mal wieder dran, 
Euch meine neuste Karte vorzustellen.

 Geburtstagskarten kann man nie genug auf Vorrat haben, 
oder wie seht Ihr das?

Verwendet habe ich heute 
mal ein kleineres Format 4 x 4 inch.Beitrag 24.04.2018 No 3Frame DT Cards und More
Der süße Tiger ist aus dem Stempelset 
den habe ich mit den ZIG CLEAN COLOR REAL BRUSH coloriert. 

Danach kam die Handarbeit und 
ich habe den süßen Tiger mit der Schere ausgeschnitten.

Ach bevor ich es vergesse meine Motivstempel 
werden von mir auf Water Art - Aquarellpapier 
mit teilweise wasserfester Stempelfarbe 
wie die von StazOn Midi Canache - Jet Black aufgestempelt. 

Der Grund: dadurch habt ihr beim Colorieren 
keine Probleme mit dem verschwimmen der Farbe.Beitrag 24.04.2018 No 6Frame DT Cards und More
habe ich mit einem schwarzen Cardstock 
durch die BigShot gejagt. 

Den Hintergrund habe ich mit verschieden 
Designpapieren und den ähnlichen Frame wie die von
ebenfalls ausgestanzt.
Beitrag 24.04.2018 No 4Frame DT Cards und More
Zum Abschluss alles angeordnet und 
mit doppelseitigem Klebeband festgeklebt und 
noch ein dünnes Garn wie das von 
hinter dem Tiger angebracht und 
fertig war die Karte. 

Ach noch nicht ganz, 
ein i-Tüpfelchen fehlt ja noch und zwar die Herzchen von
Beitrag 24.04.2018 No 5Frame DT Cards und More

So jetzt wünsche ich Euch noch 
eine gute Zeit und bis bald.

Eure

Nadine aka Schwesterherz75

Materialliste:


Challenge #67 - Anything Goes

Hallo liebe Cards und More Freunde, wir haben heute wieder eine neue Challenge für Euch. Dieses Mal gibt es ein Board für euch, das euch zur...