Dieses Blog durchsuchen

Posts mit dem Label Cards und More Design Team werden angezeigt. Alle Posts anzeigen

Mittwoch, 10. November 2021

Challenge #66 BINGO


Hallo liebe Cards und More Freunde, wir haben heute wieder eine neue Challenge für Euch. Dieses Mal gibt es ein BINGO für euch, das euch zur Inspiration dienen soll :) Wir freuen uns auf eure Werke!


Hello dear Cards und More Friends, a happy Wednesday to you all. Welcome back to our new Challenge for this month of  November. We would love seeing your creations based on this BINGO.


Wir freuen uns auf Eure Kreationen!
We are looking foward to your creations!


***
Der Gewinner einer jeden Challenge hat die Möglichkeit, Gast Designer für die nächste Challenge zu sein. Den Gutschein erhältst Du per E-Mail von uns. 
Der Gutschein wird nur dann verlost, wenn mindestens 10 Beiträge für eine Challenge eingetragen sind (du darst mit max. 3 Beiträgen an einer Challenge teilnehmen) .

The winner of each challenge will have the opportunity to be a Guest Designer for the next challenge.
You'll recieve the voucher via E-Mail.
The voucher will only be given away if at least 10 entries are entered for a challenge. You can join our challenge with max 3 entries.

***

Wir möchten zu der nächsten Challenge Michaela als Gastdesignerin einladen. 
Melde Dich bei uns, wenn Du Lust und Laune hast, für die Dezember Challenge dabei zu sein :)

We would like to invite Michaela as a guest designer for the next challenge. 
Get in touch with us if you feel like joining us for the December Challenge :)


Und hier sind Inspiration vom Team und unserer Gast Designerin

Annett


Dunja
NAHT / GOLD / RUND


Farida
KARIERT / GOLD / EMBOSSING

Michela
EMBOSSING / GOLD / KARIERT


***

Wir wünschen euch viel Spaß und freuen uns auf eure Beiträge. Ihr könnt mit bis zu drei unterschiedlichen Beiträgen an der Challenge teilnehmen. Bitte beachtet, dass die Challenges nun immer am jeweils 8. des Folgemonats um Mitternacht beendet sind.


Have fun with this challenge and we're looking forward to seeing your pojects. You can link up your creation (max. 3) till the 8th every Month.

You are invited to the Inlinkz link party!

Click here to enter

Donnerstag, 30. September 2021

Experimenting gel printing on fabric


 Ciao! 😊 


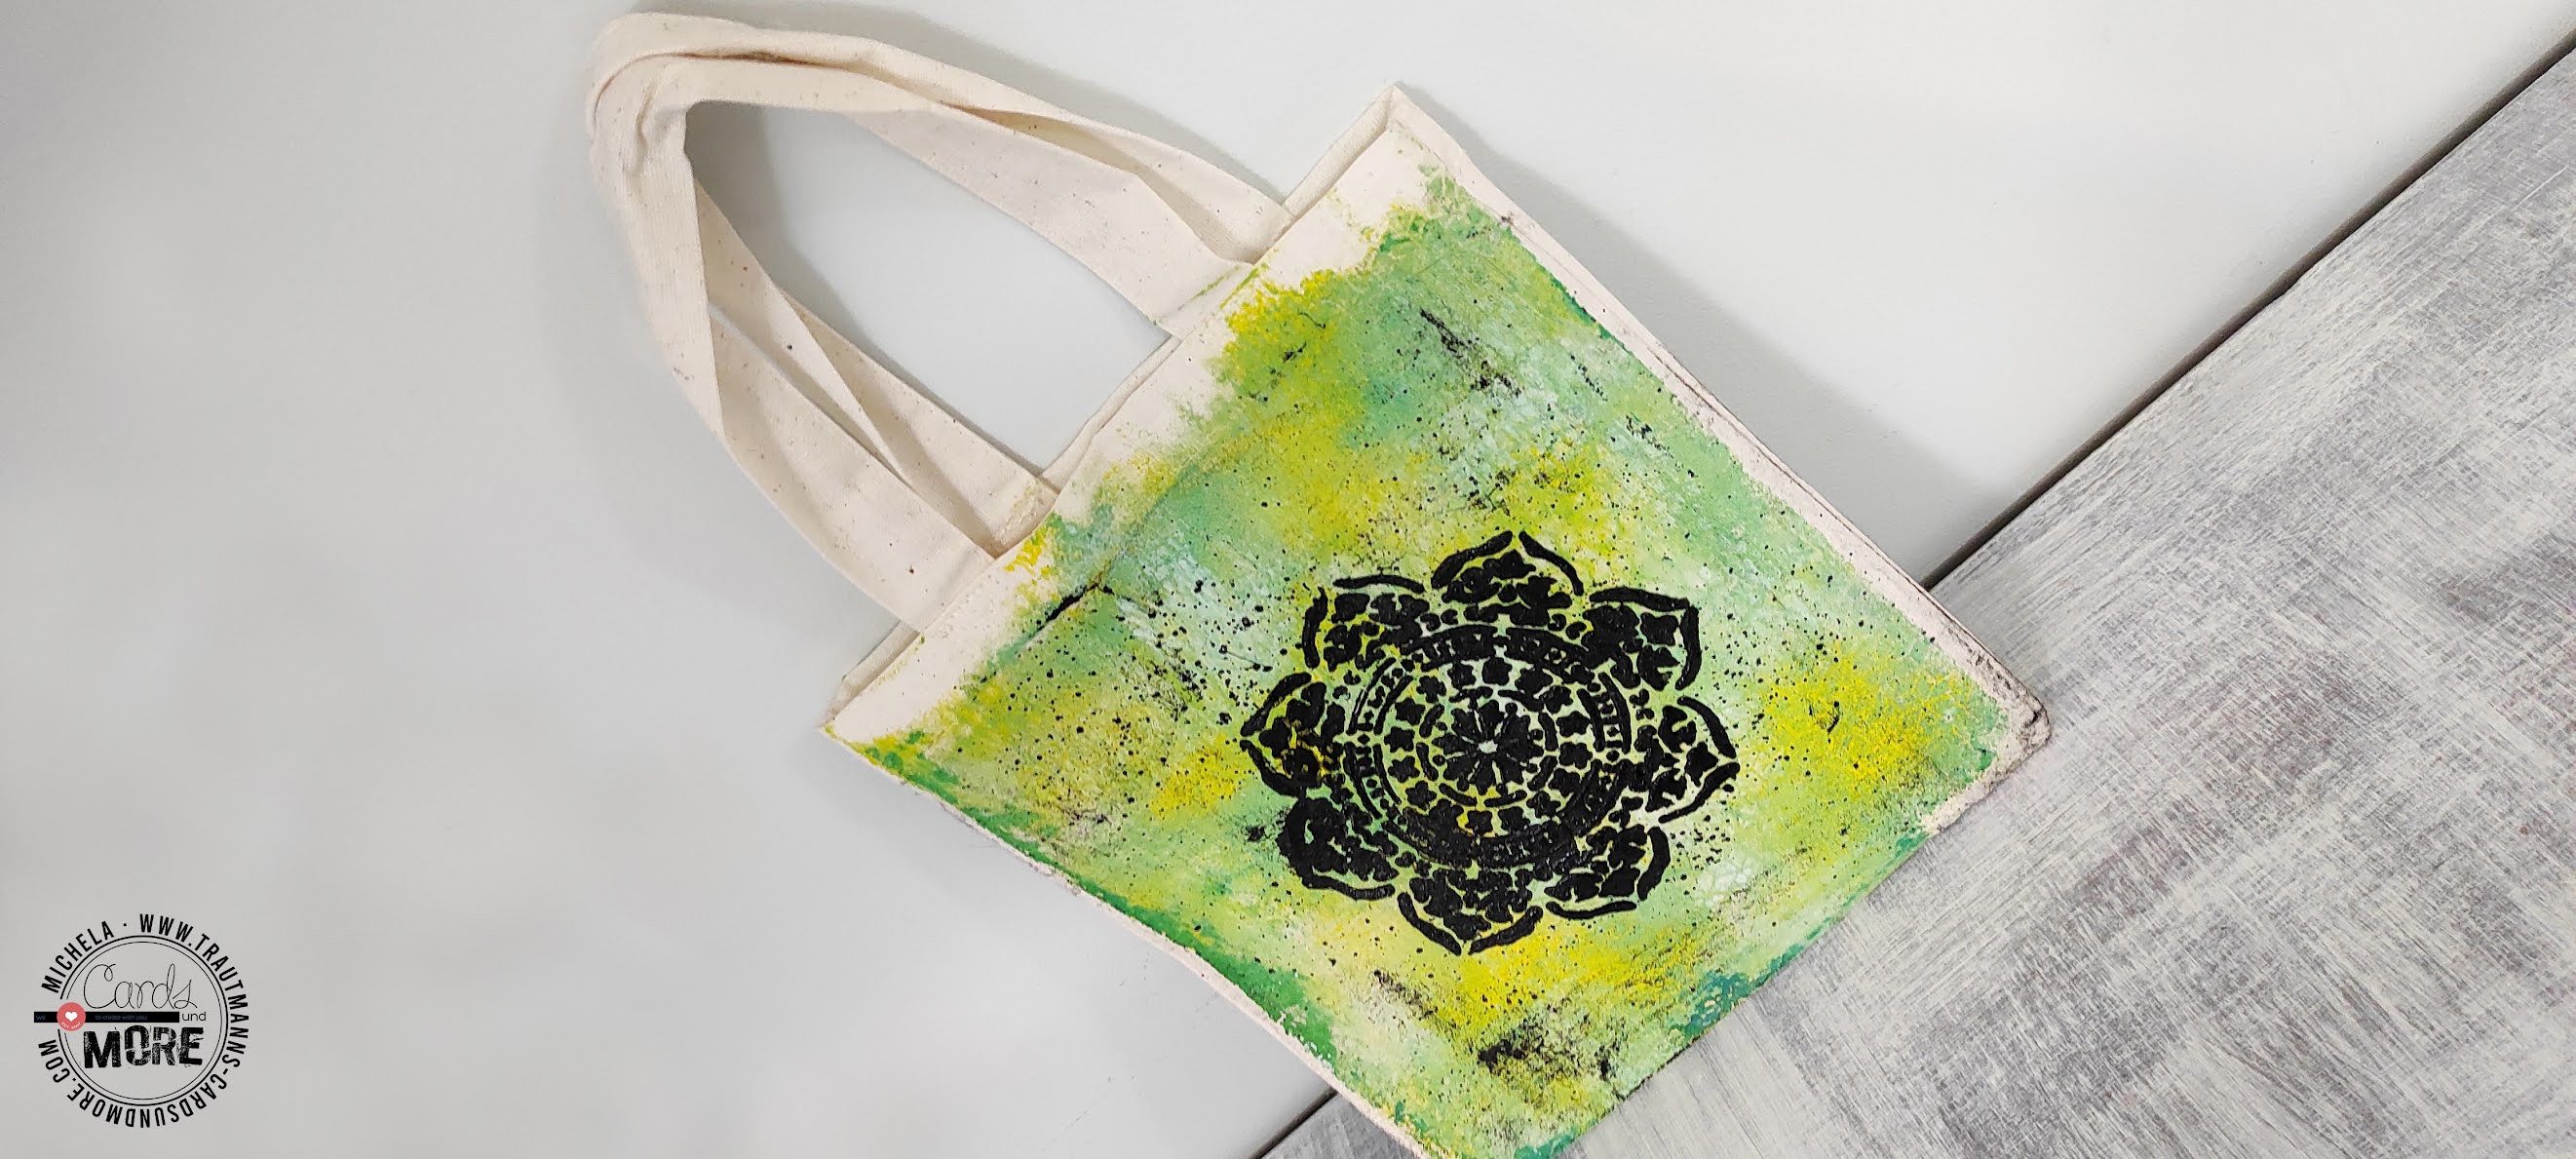
A few months ago I bought, from the Cards Und More shop, a tool I wanted for a long time: the Gel Press! I didn't have enough time to test it immediately but, in the last period, I'm starting to use it assiduously, experimenting with mediums and materials of all kinds.

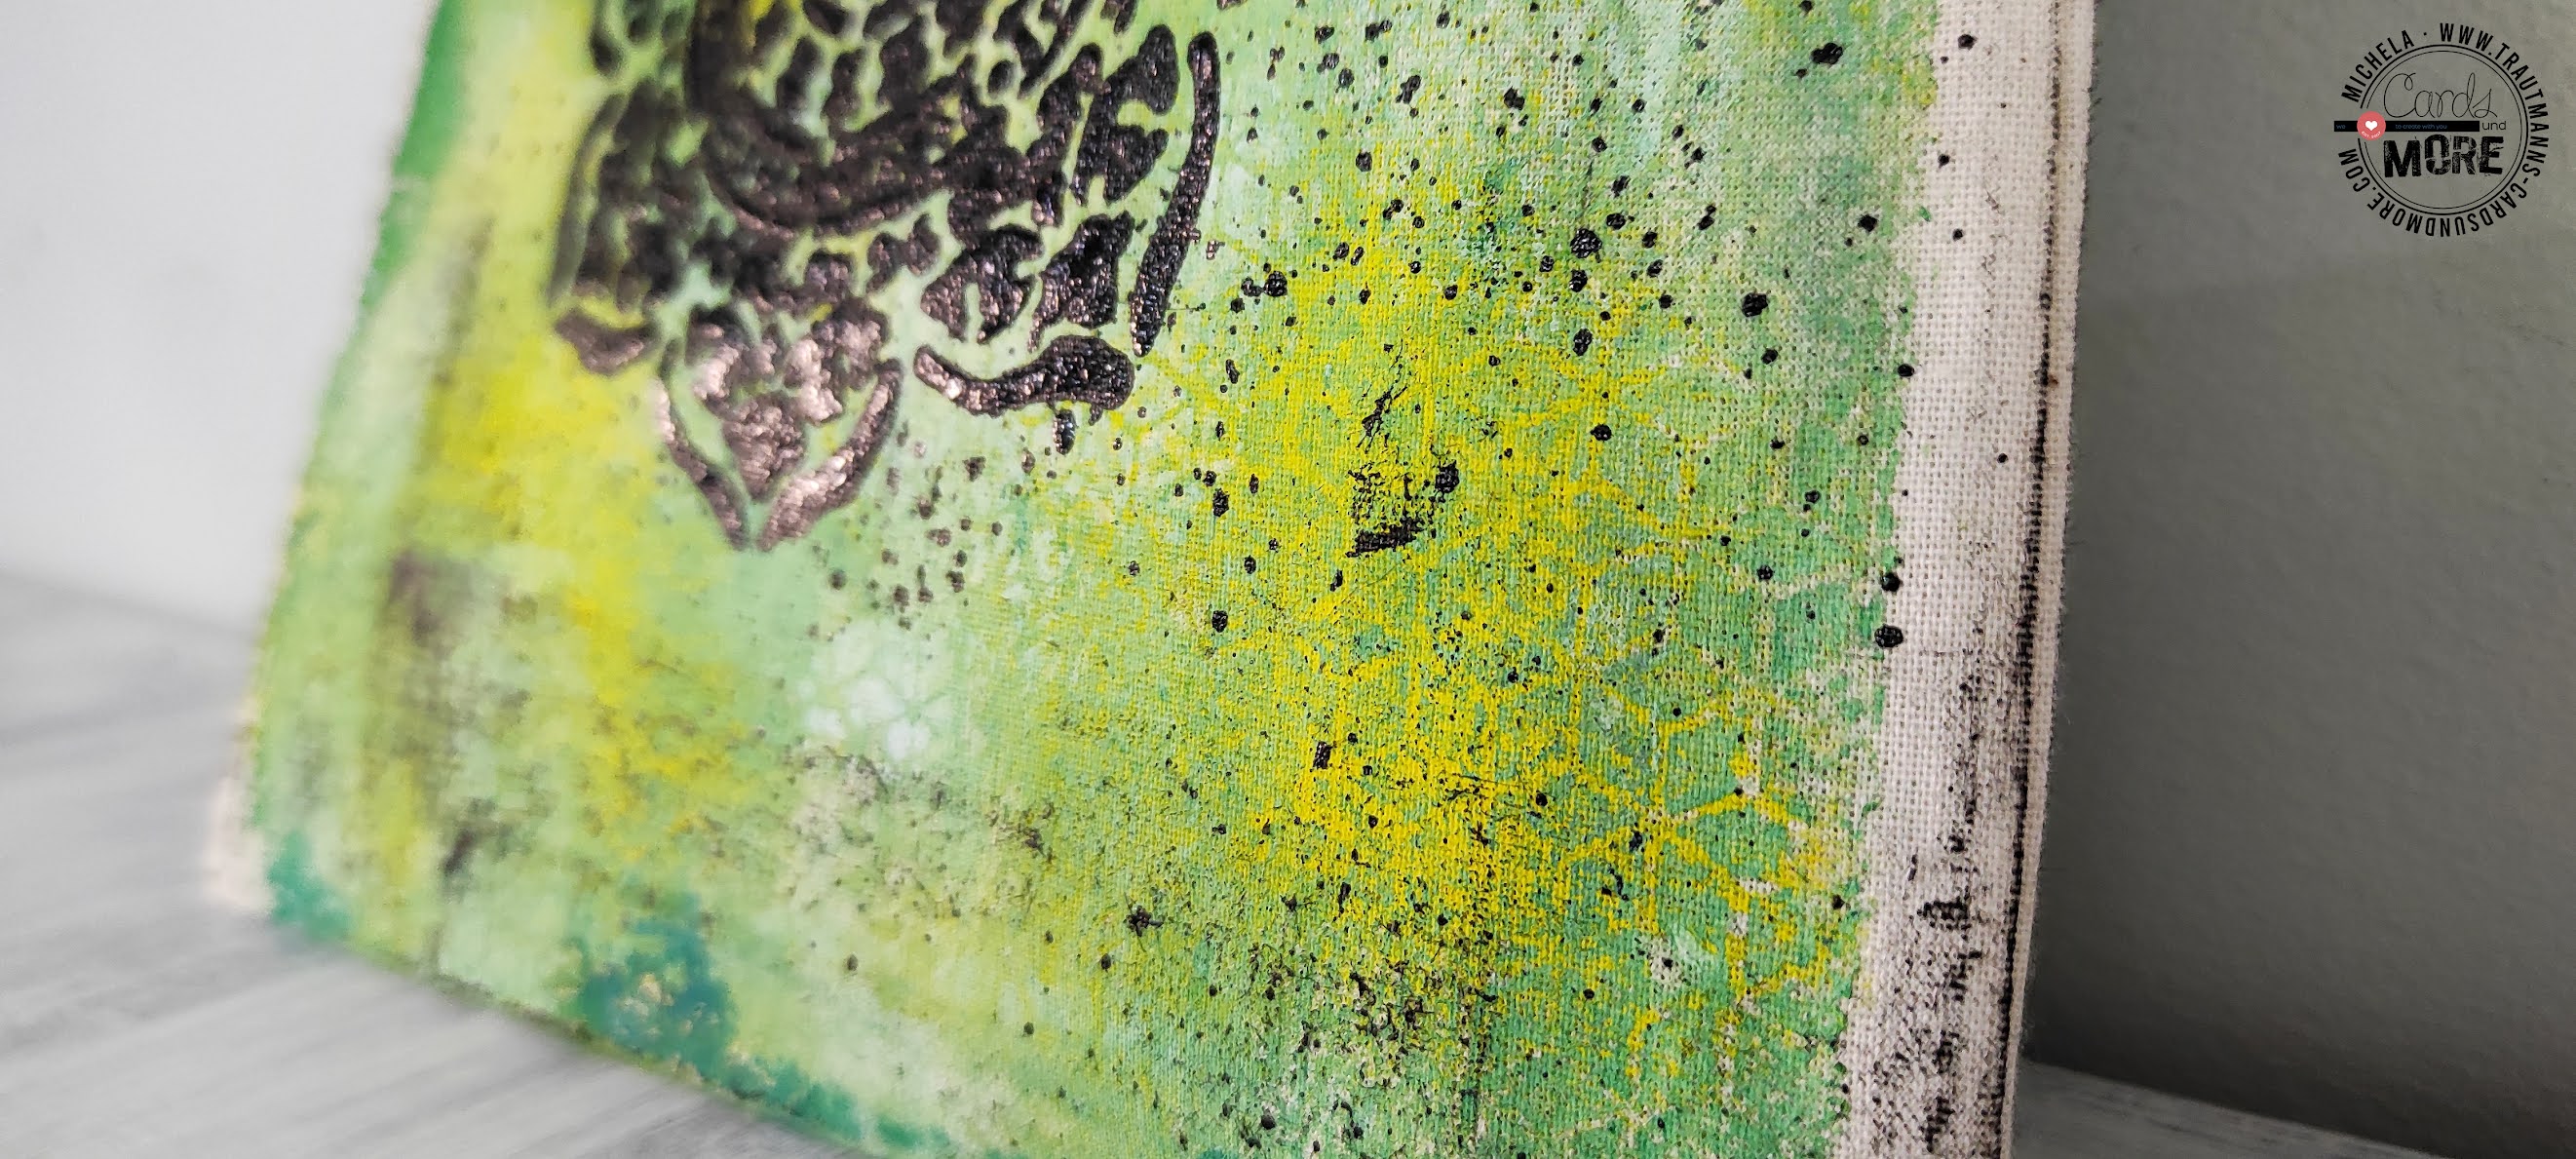
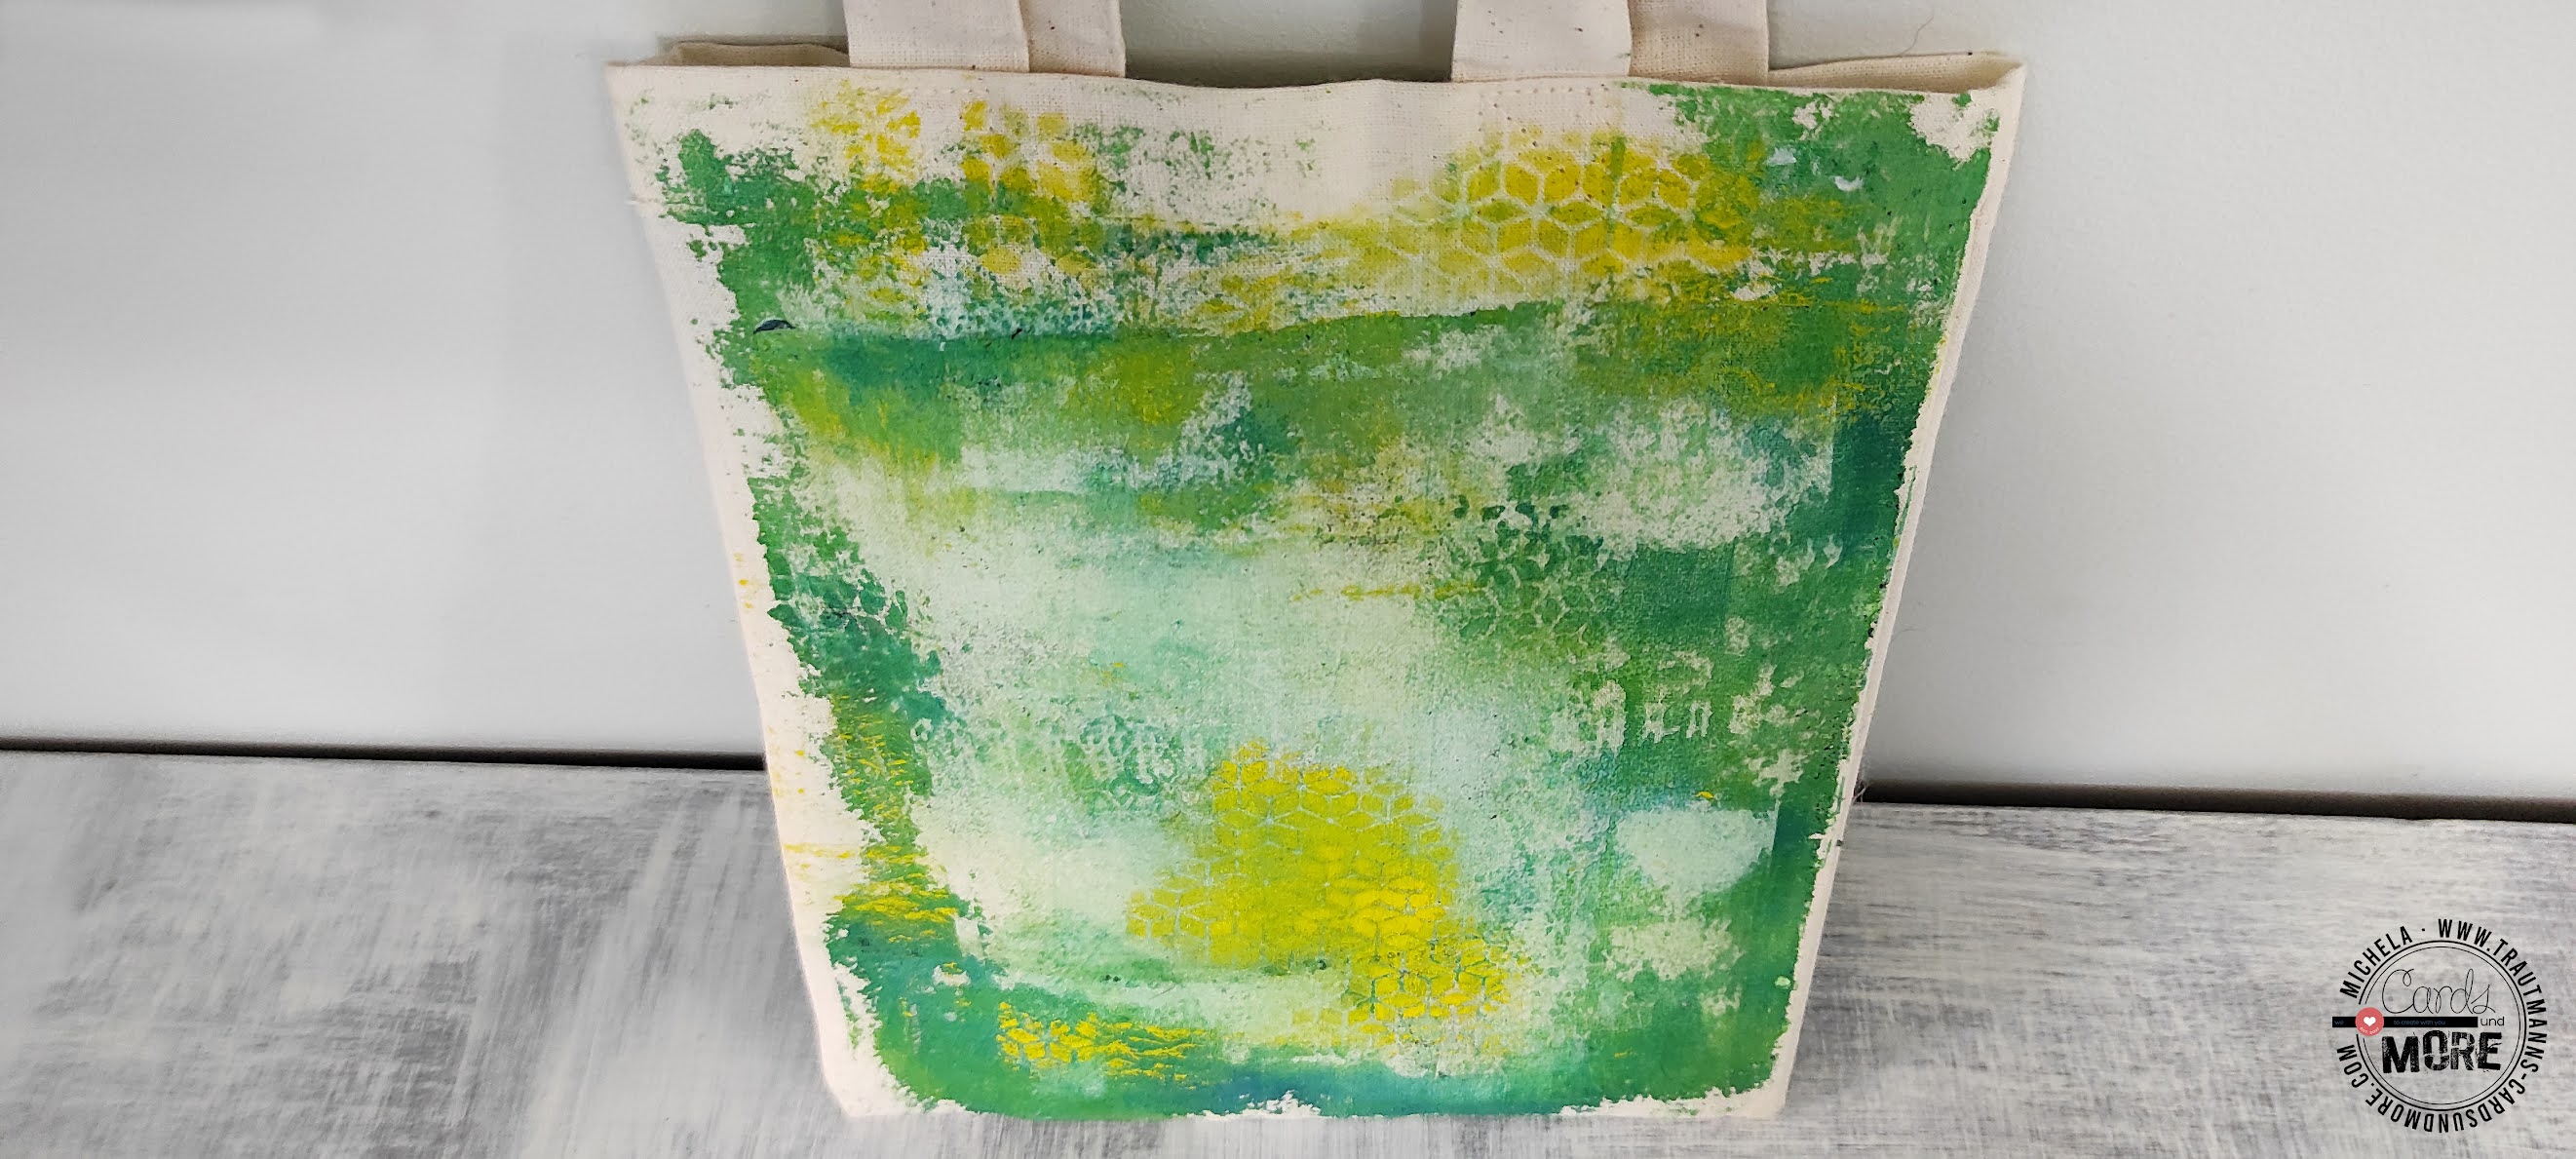
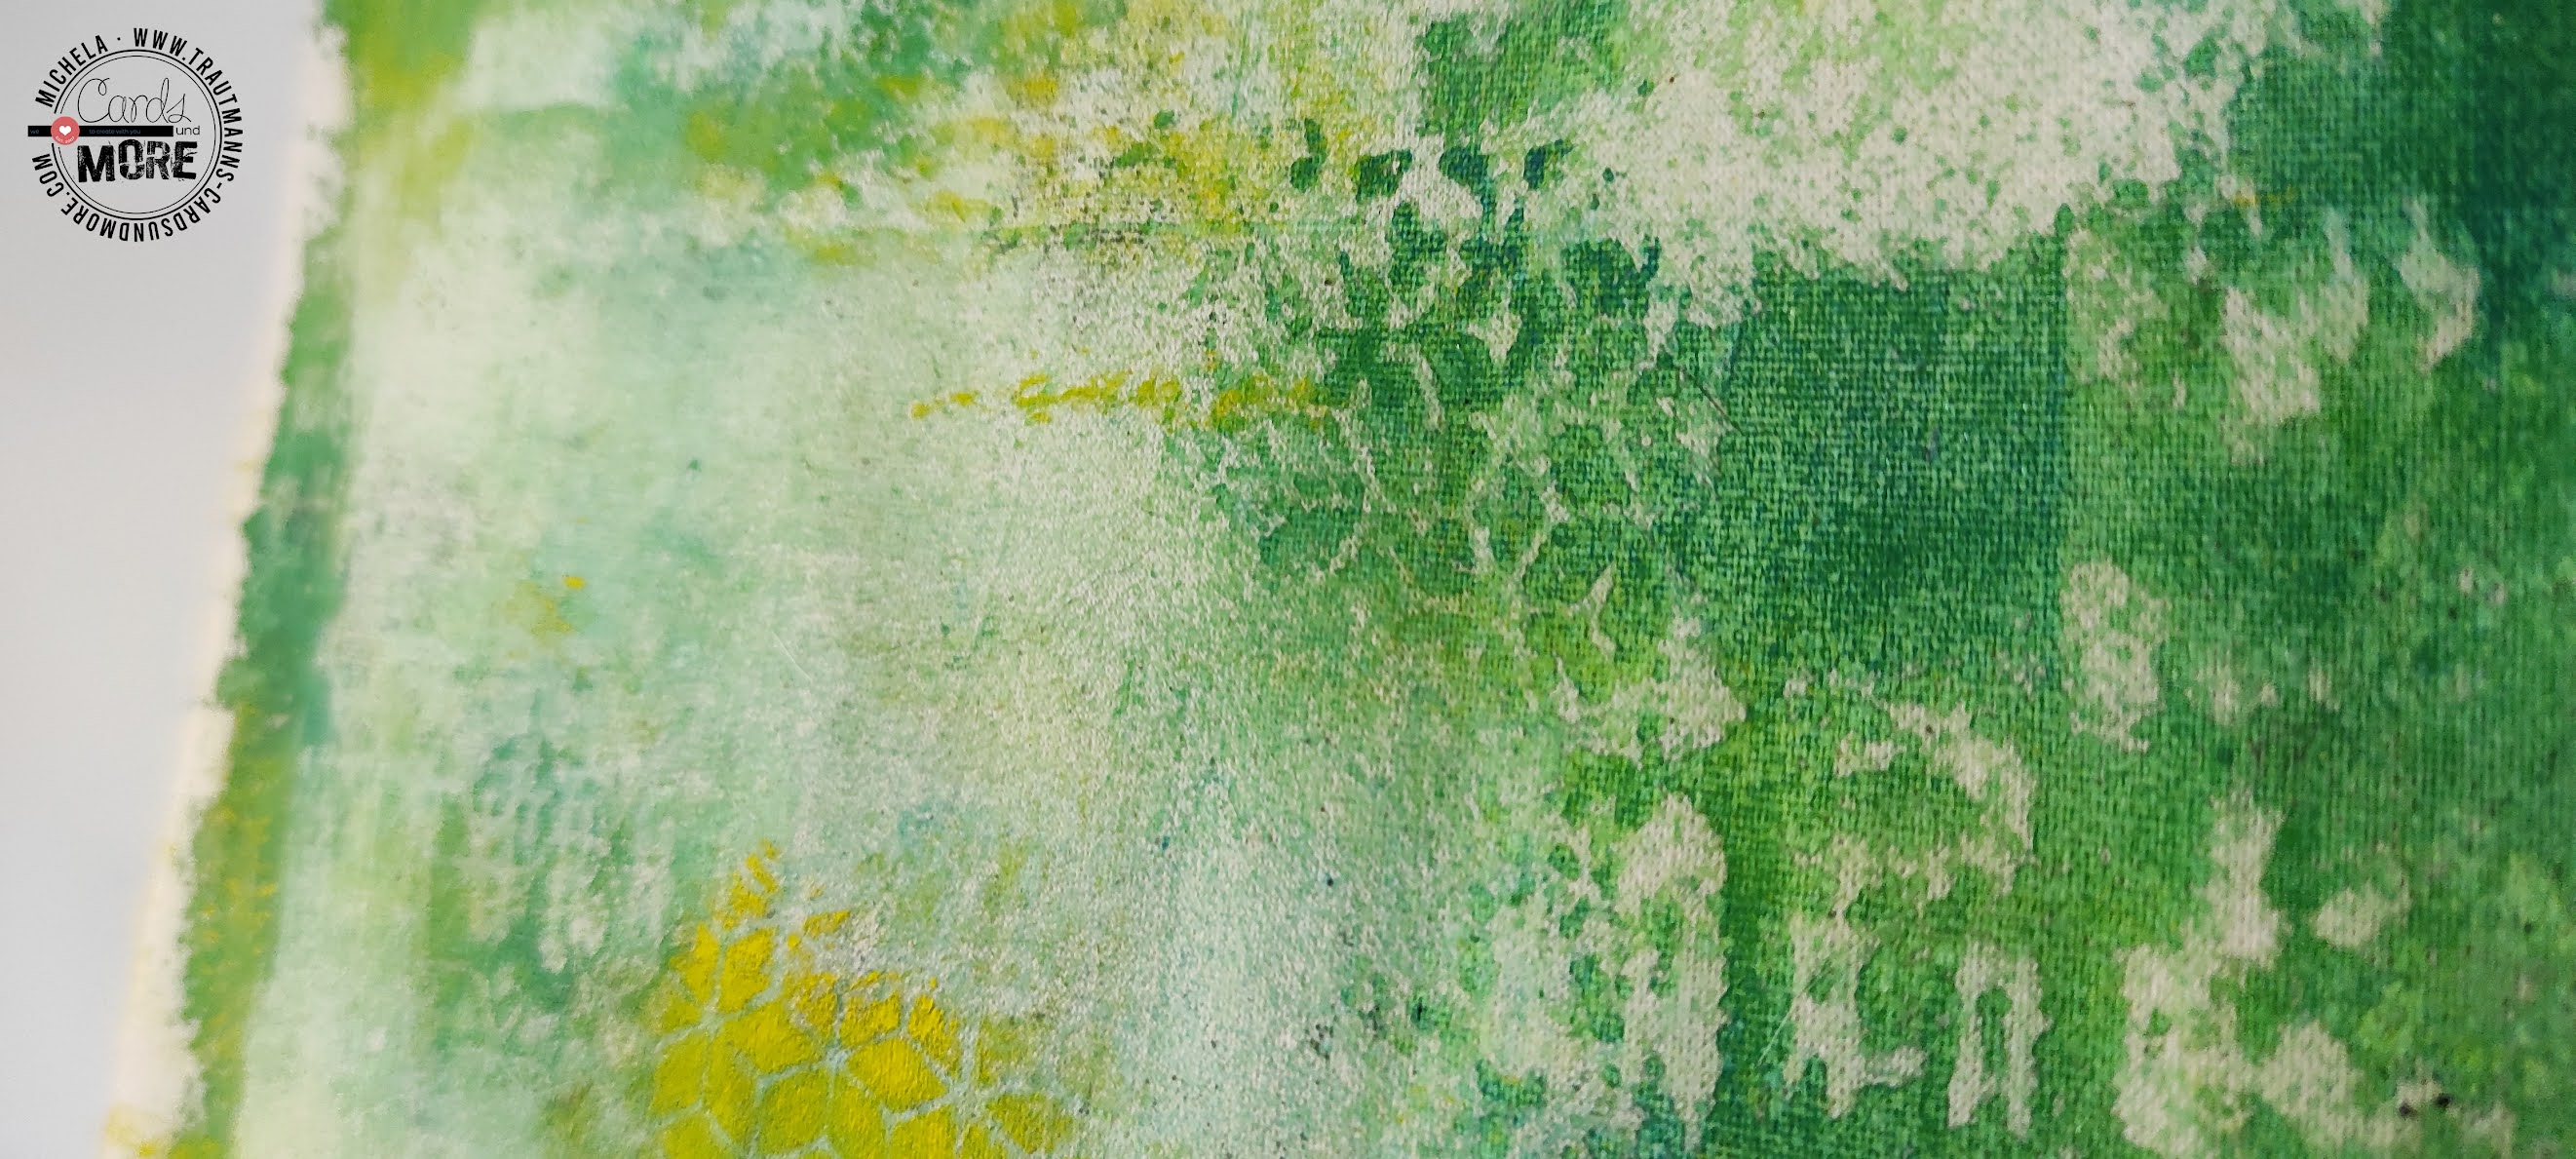
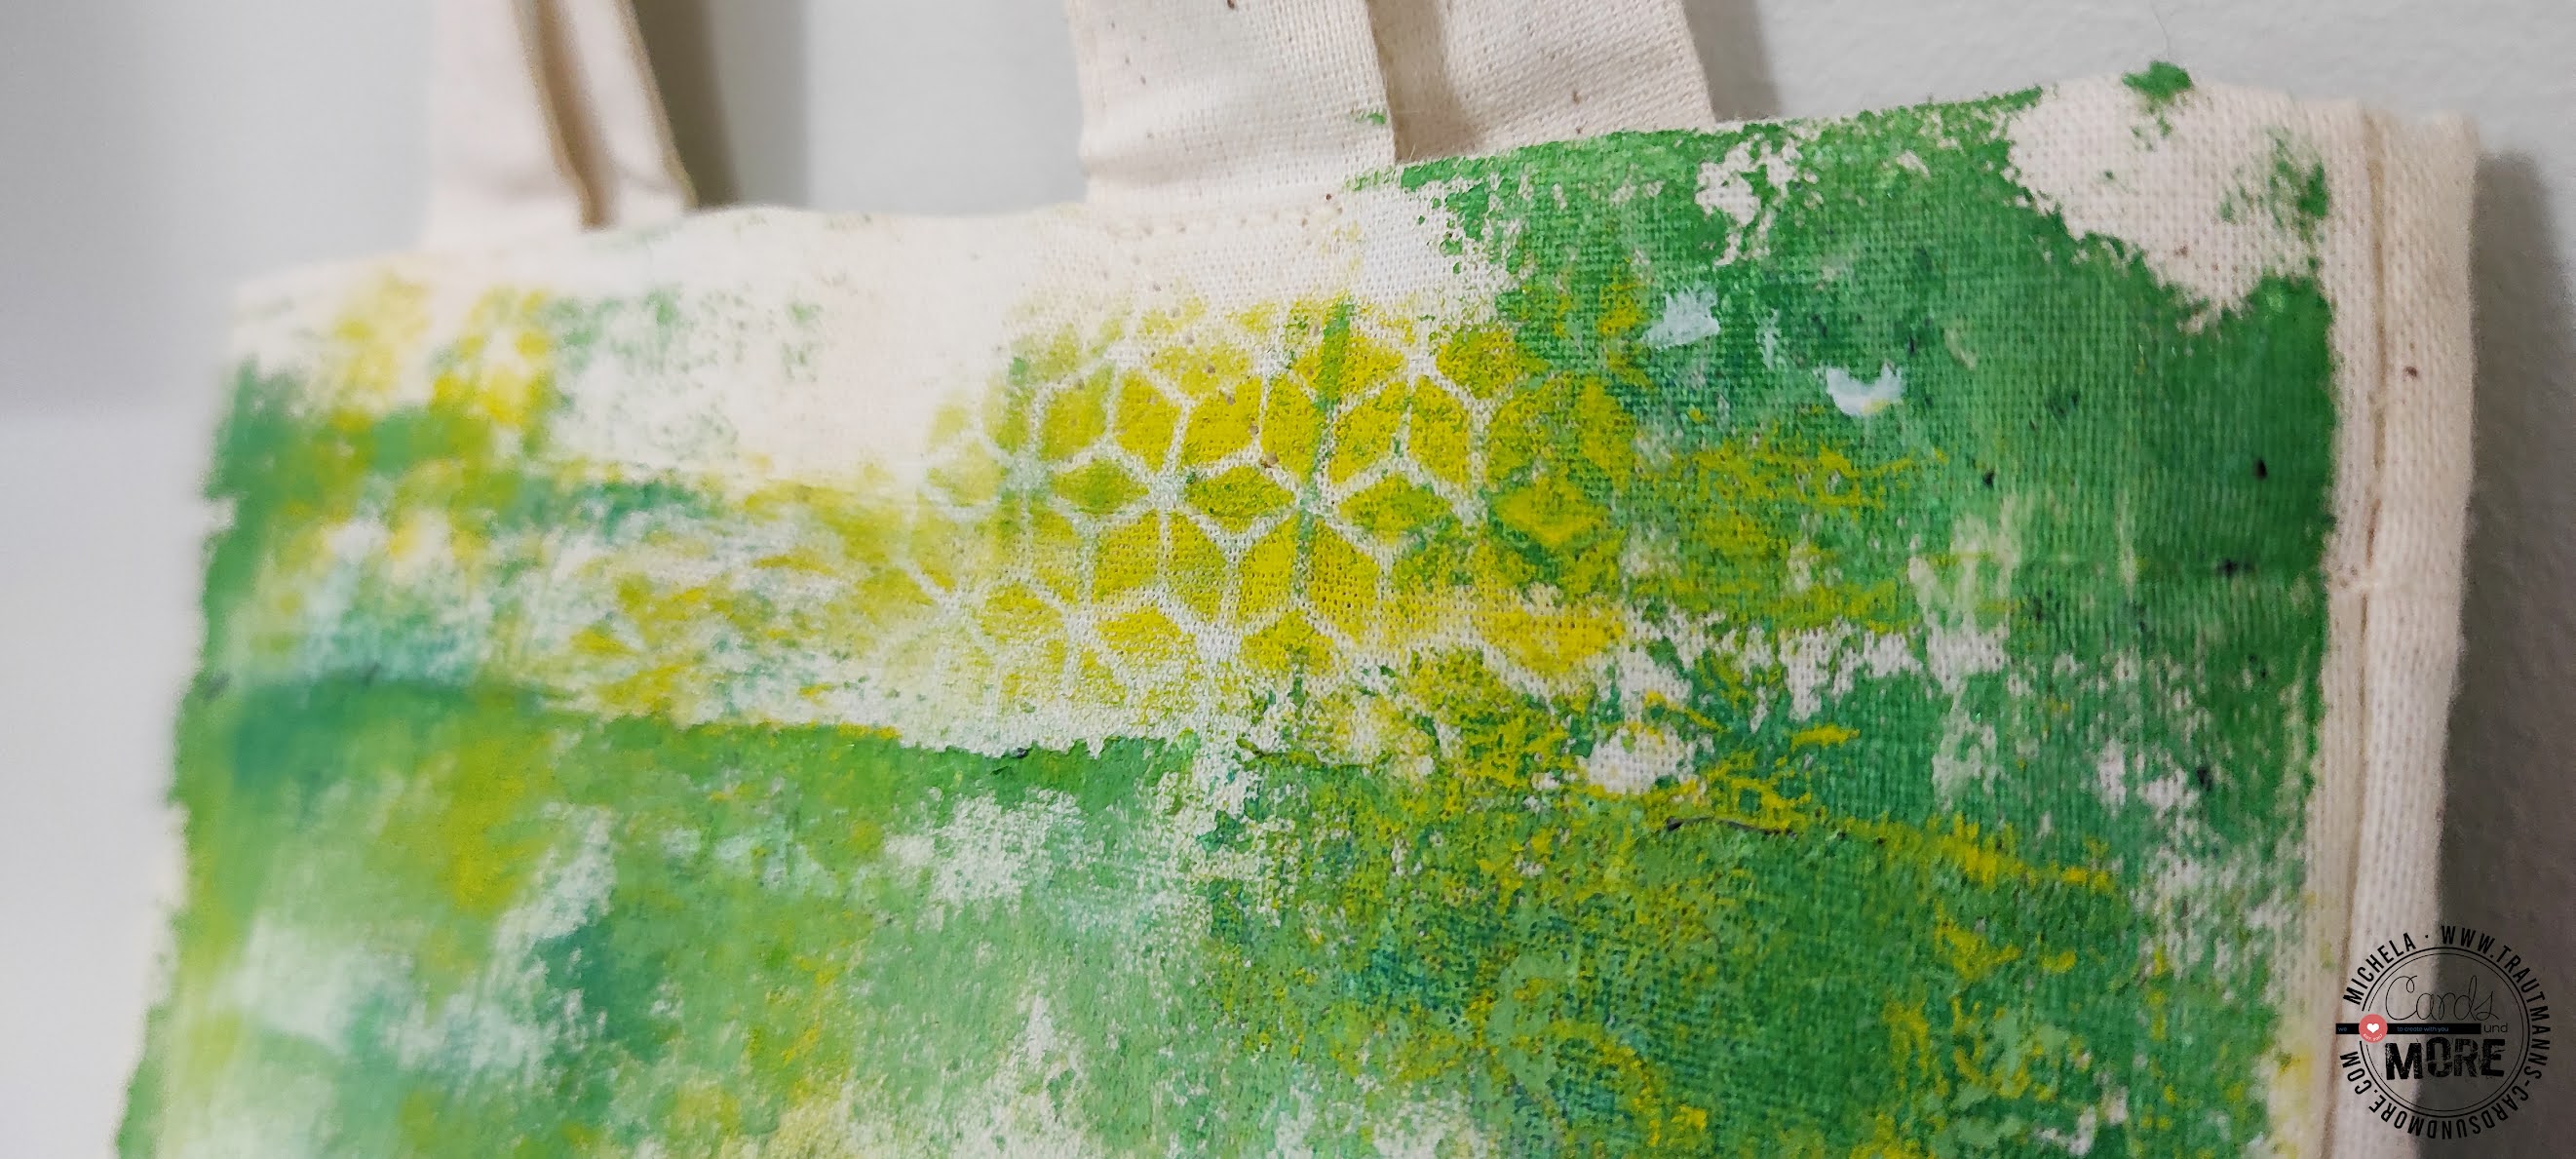
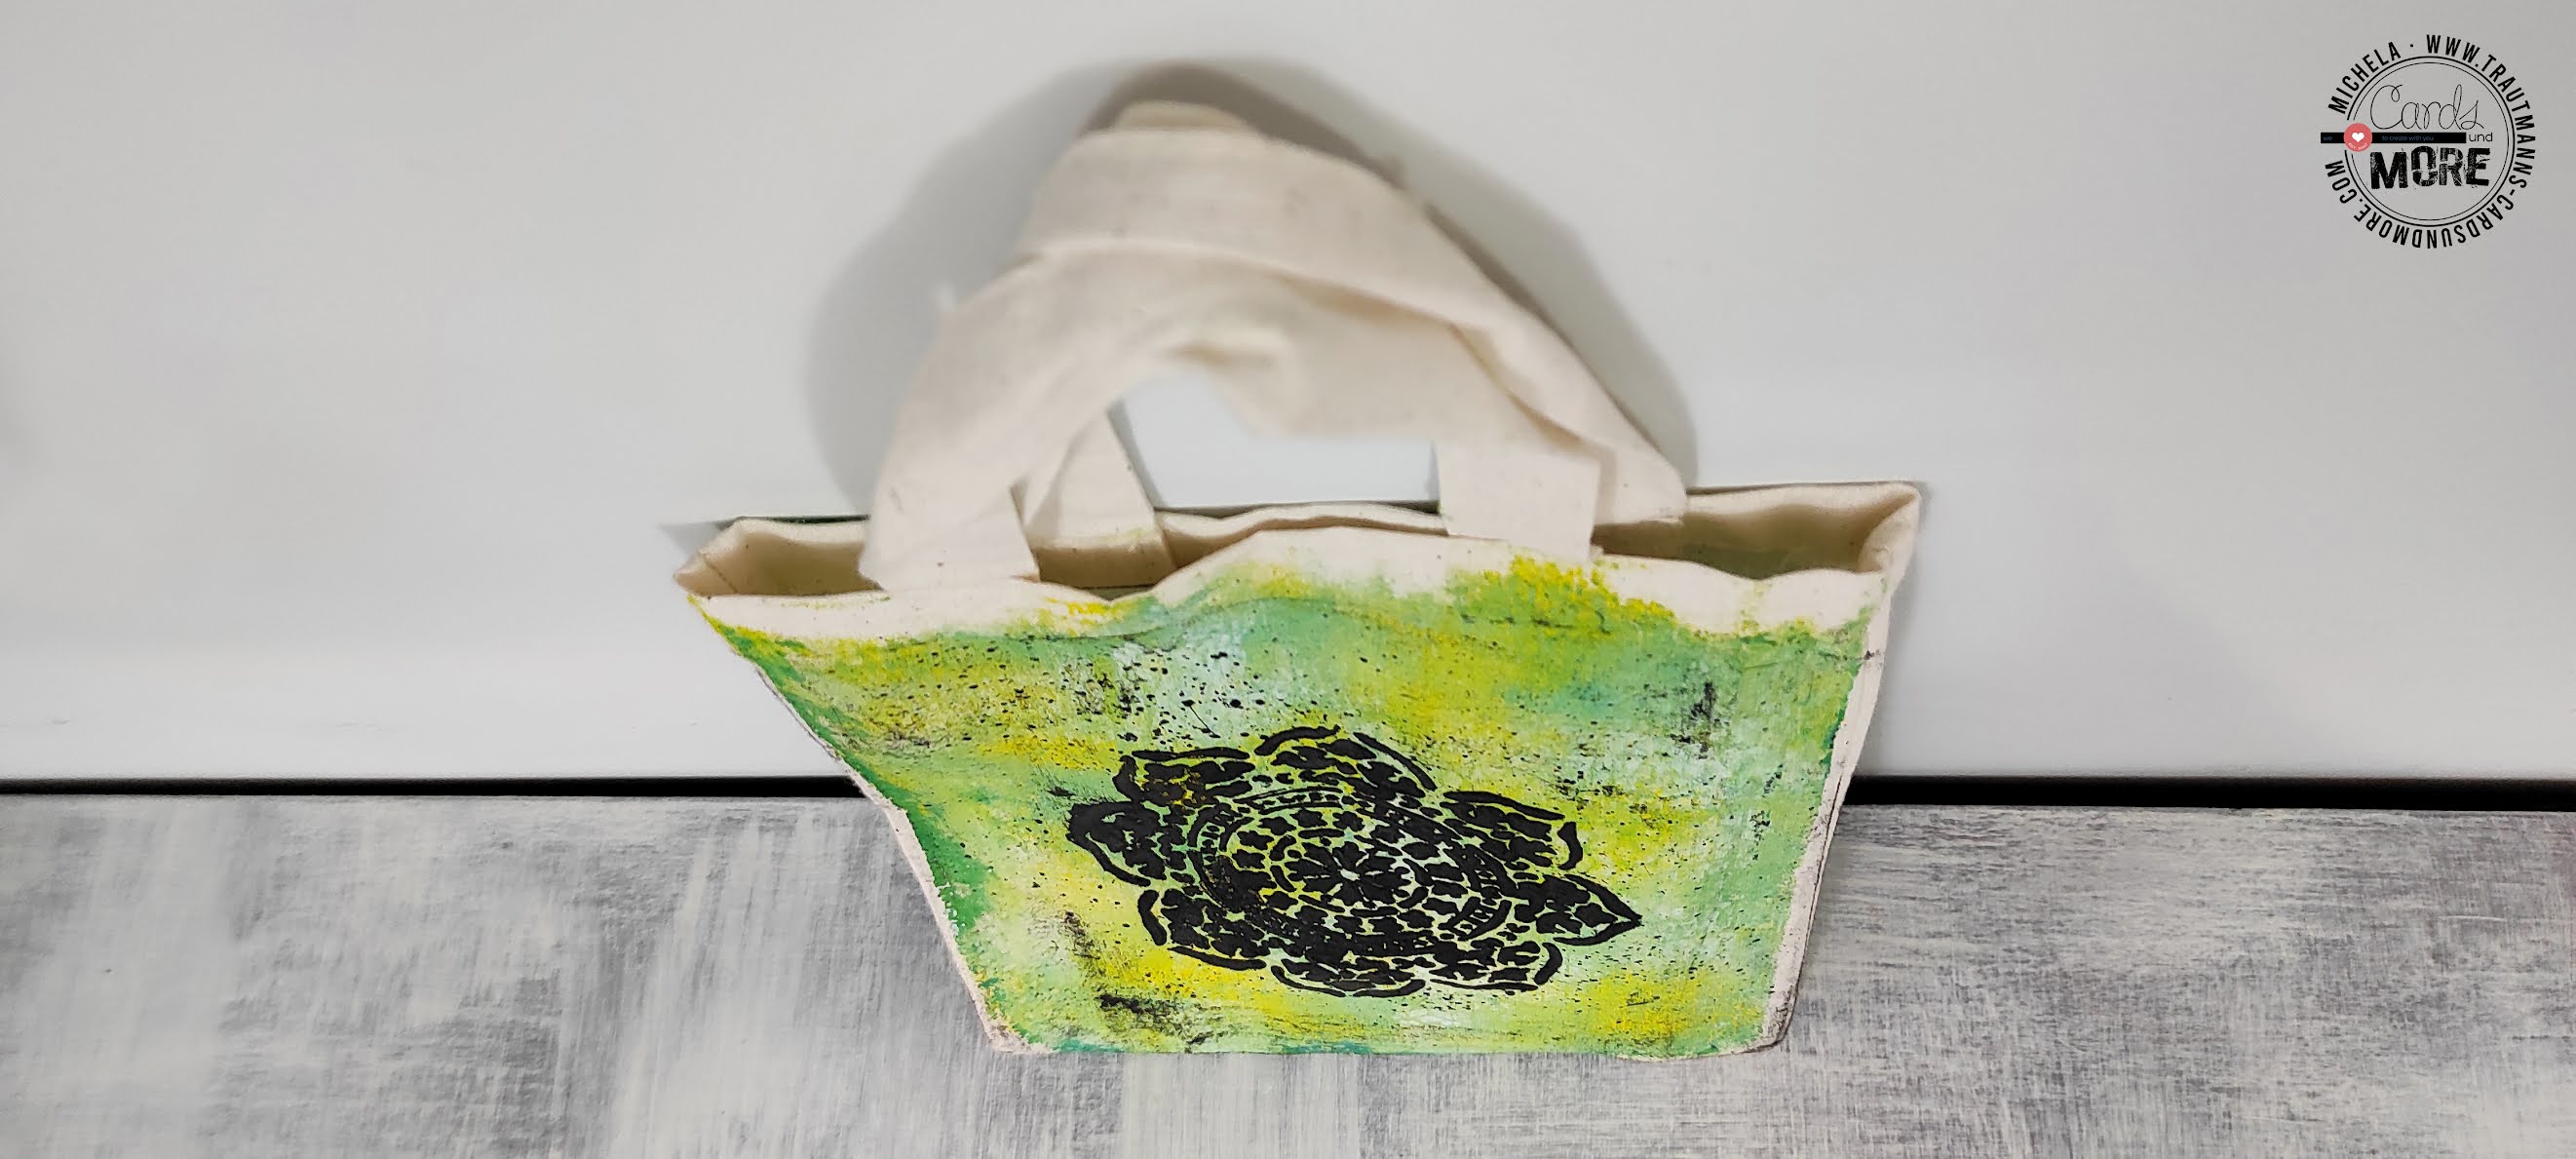
In this post I show you how I decided to try to make prints on the fabric, in this case a (minicotton tote bag.

The procedure is really simple and has no fixed rules.

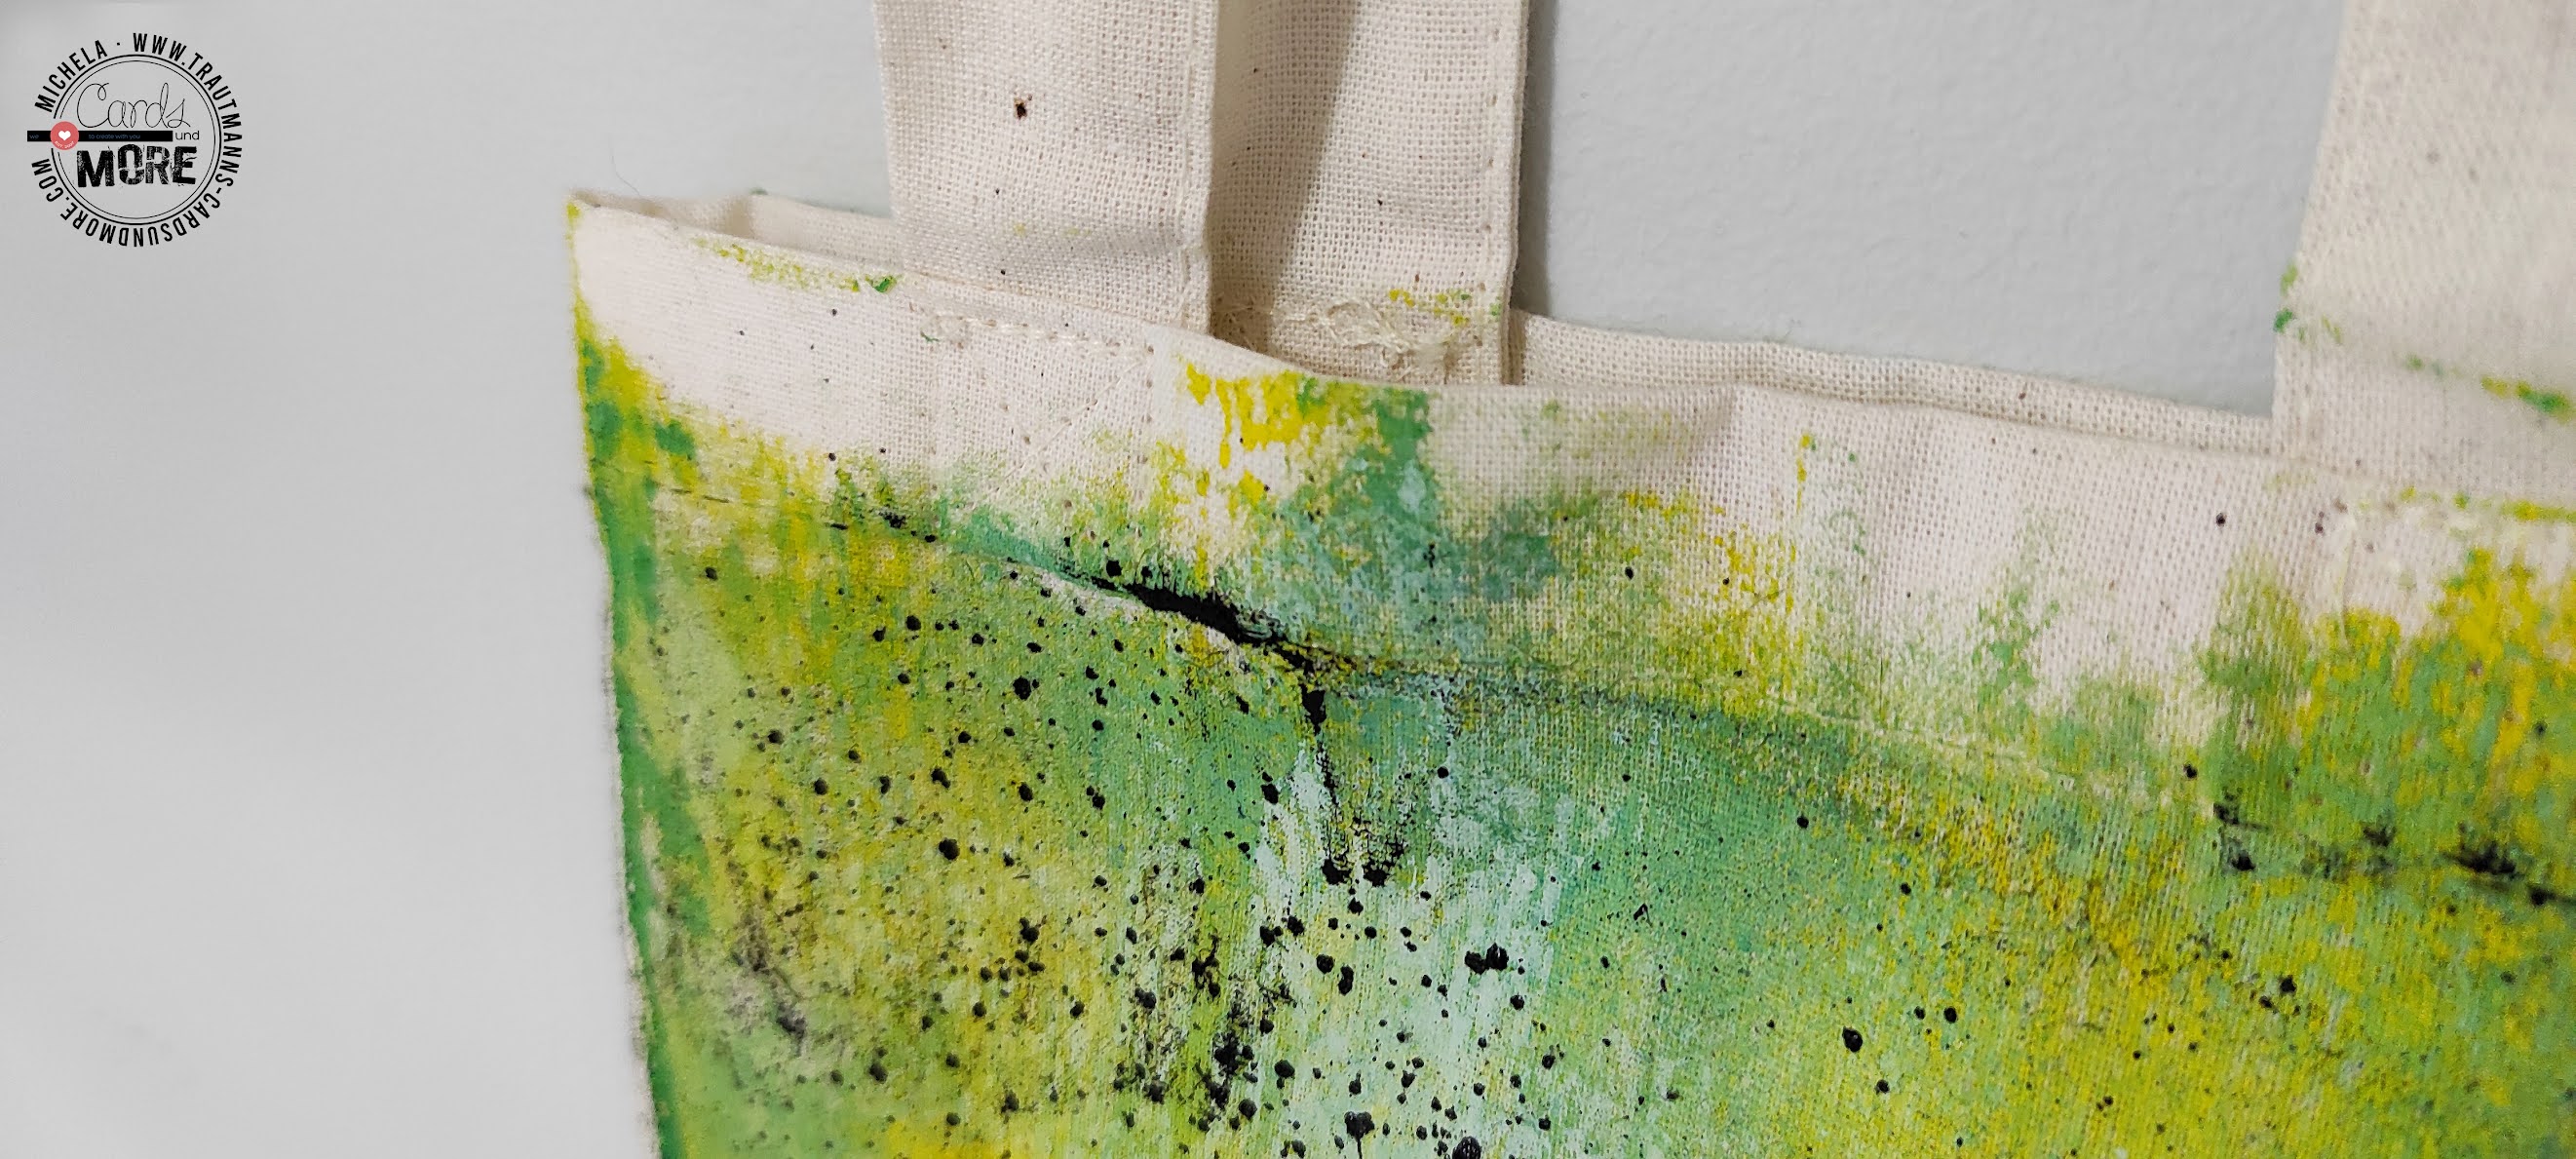
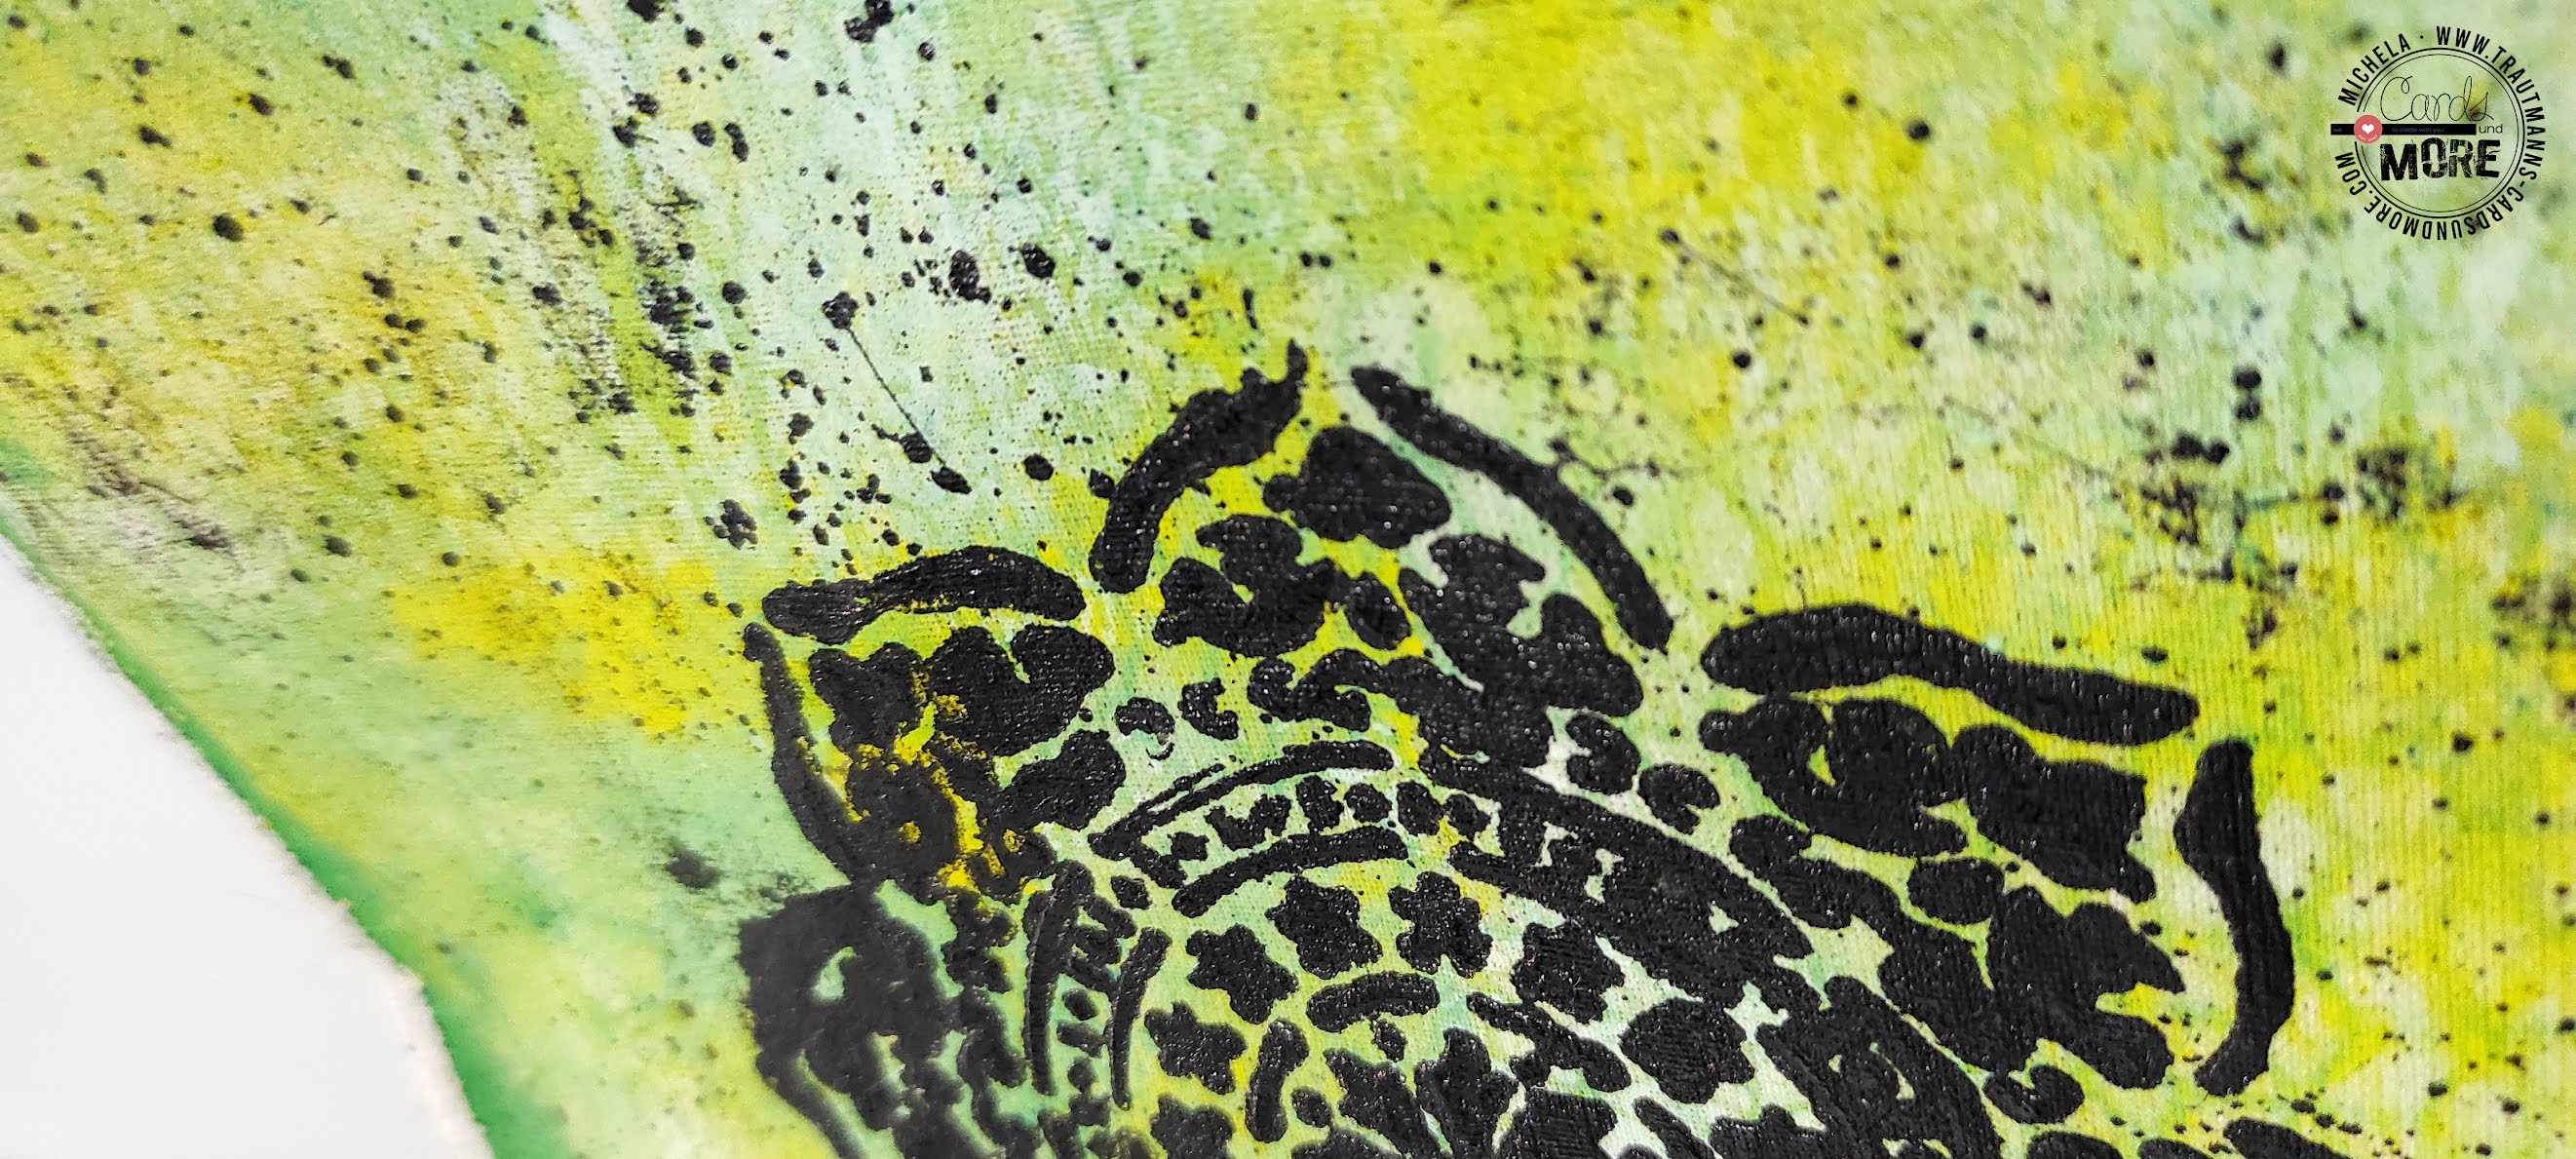
I started by spreading acrylics (and distress... why not?) on the gell press using a roller.
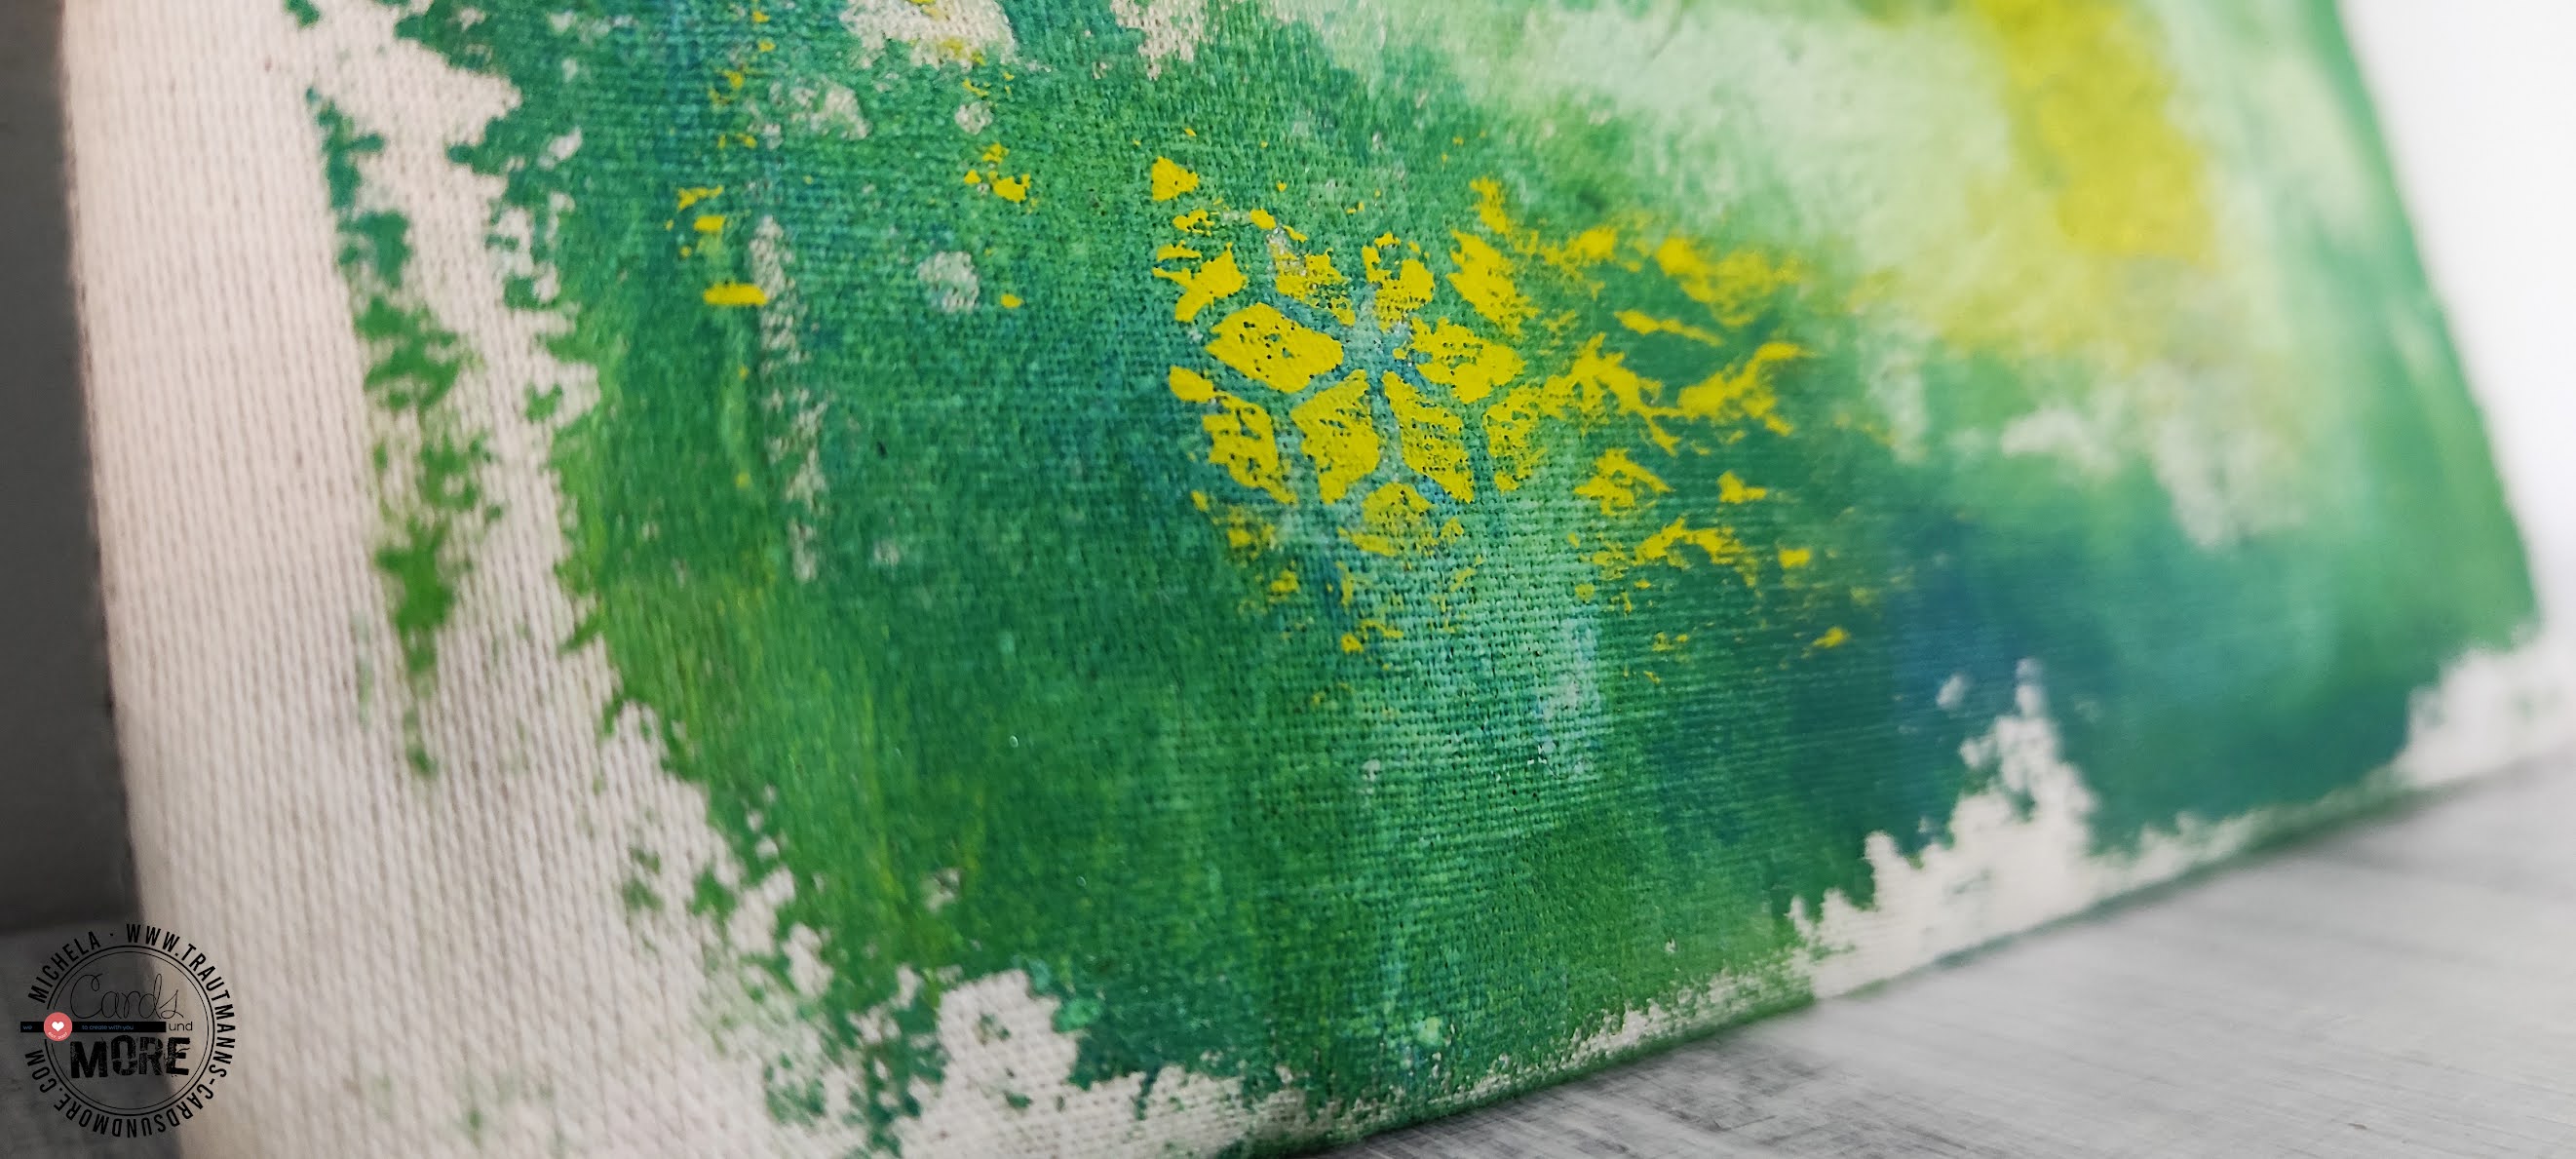
I chose to make a shaded base of various shades of green and to use yellow for highlights.

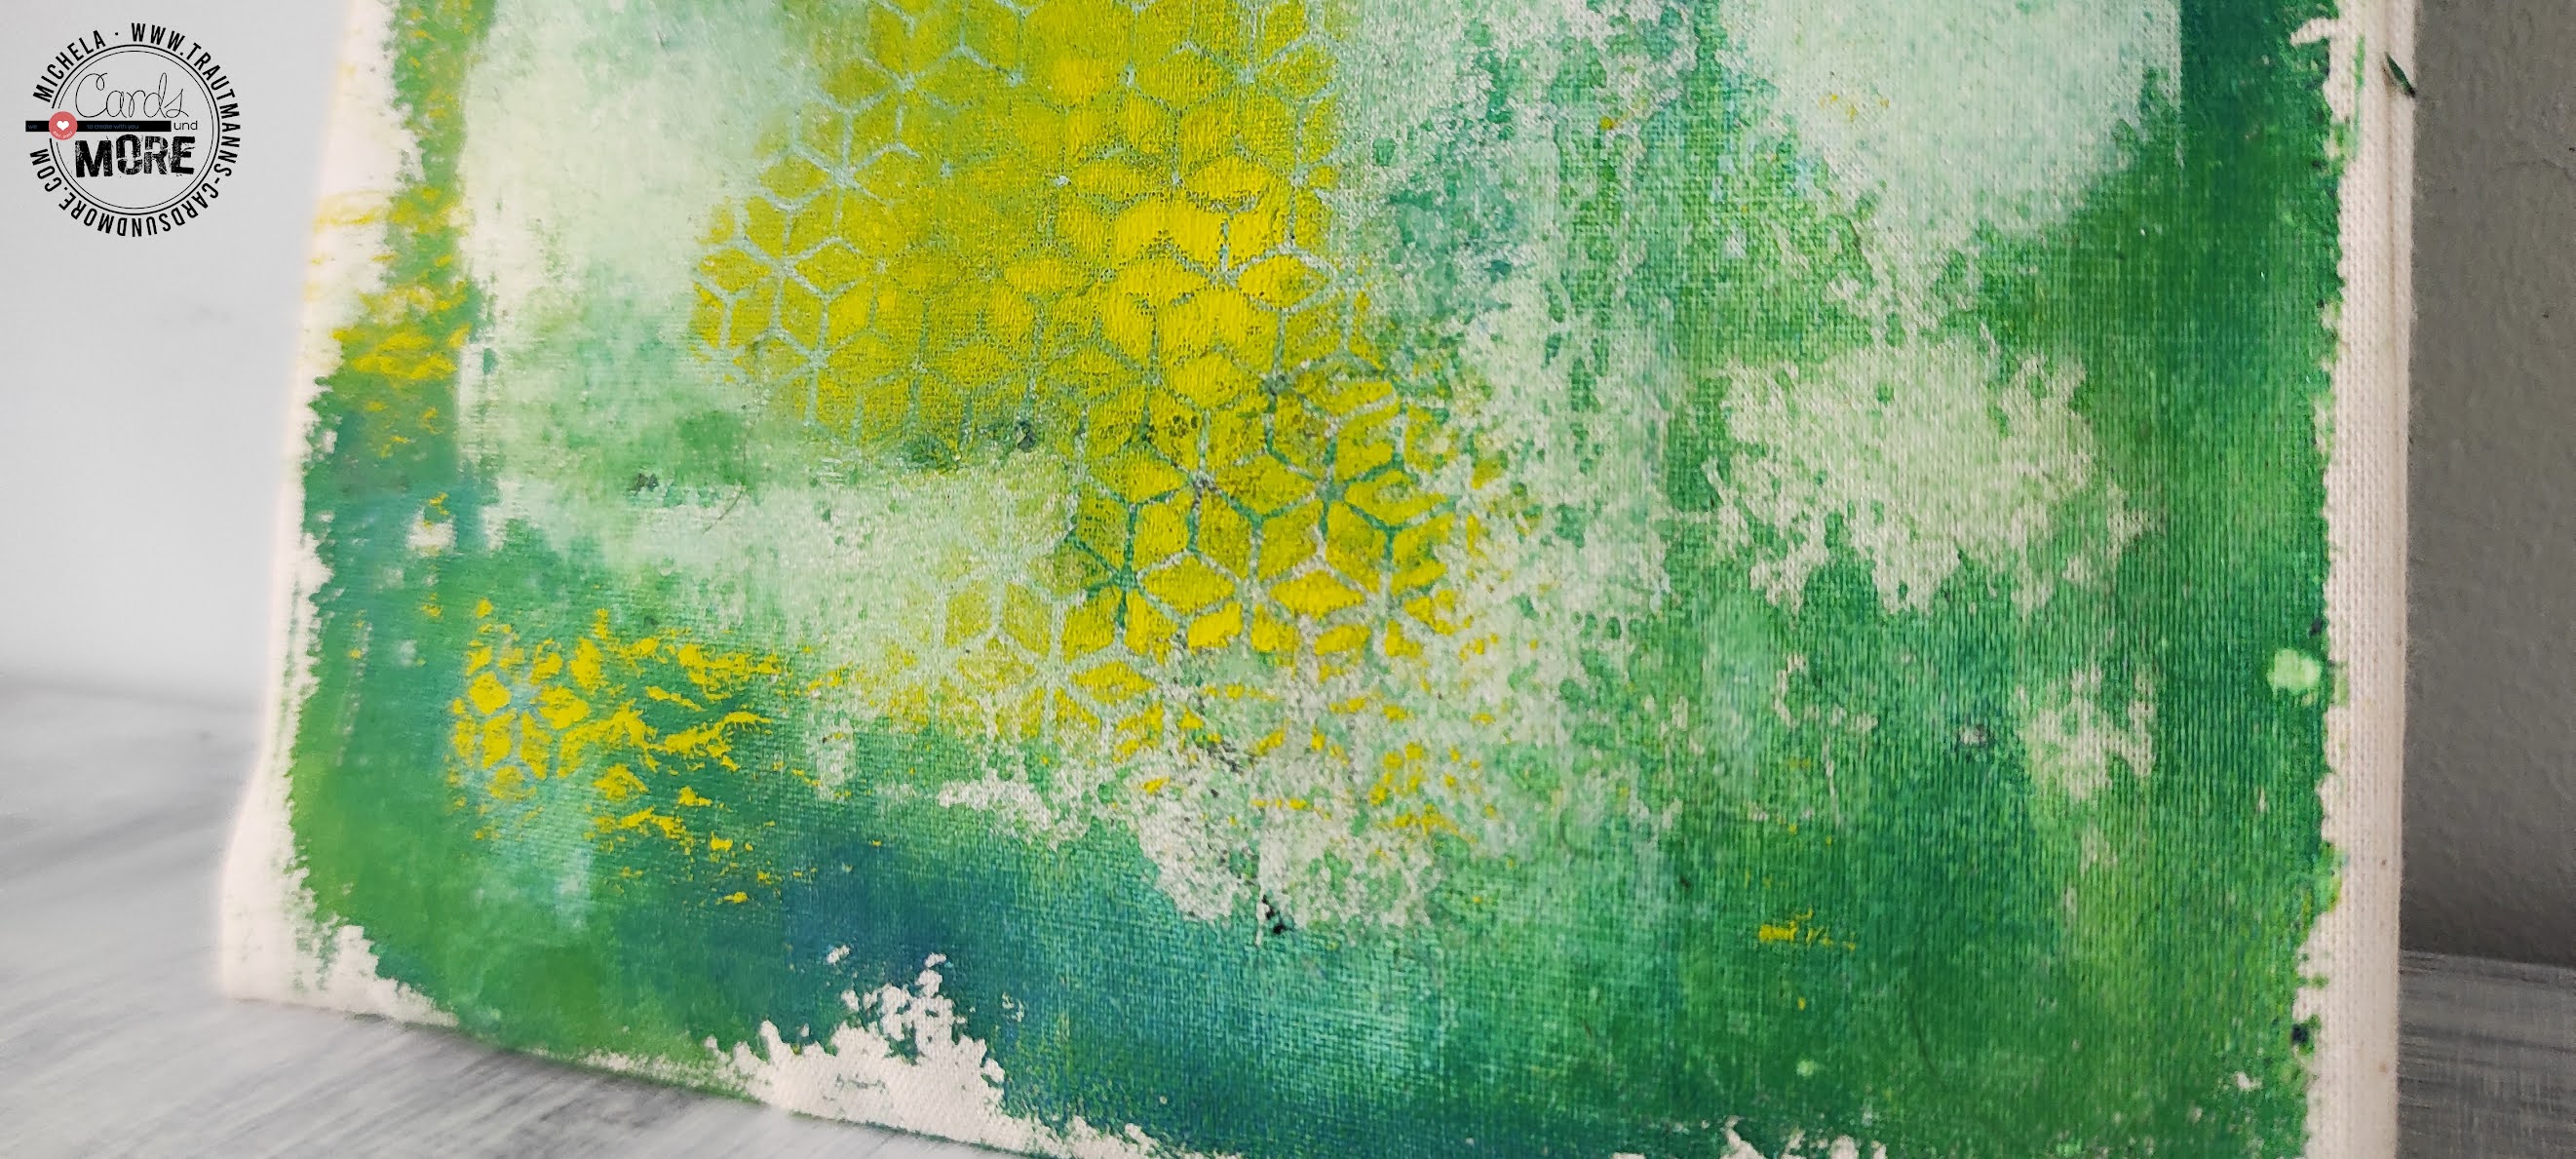
After the first layer has dried, using stencils, I created focal points with the second color. 
I also decided to use the leftover of the color that remained in the stencil so, placing it on a new place, I spread the color using the brayer. Same thing for the back of the stencil.
I continued like this, on both sides of the tote bag, until I was satisfied with the texture.

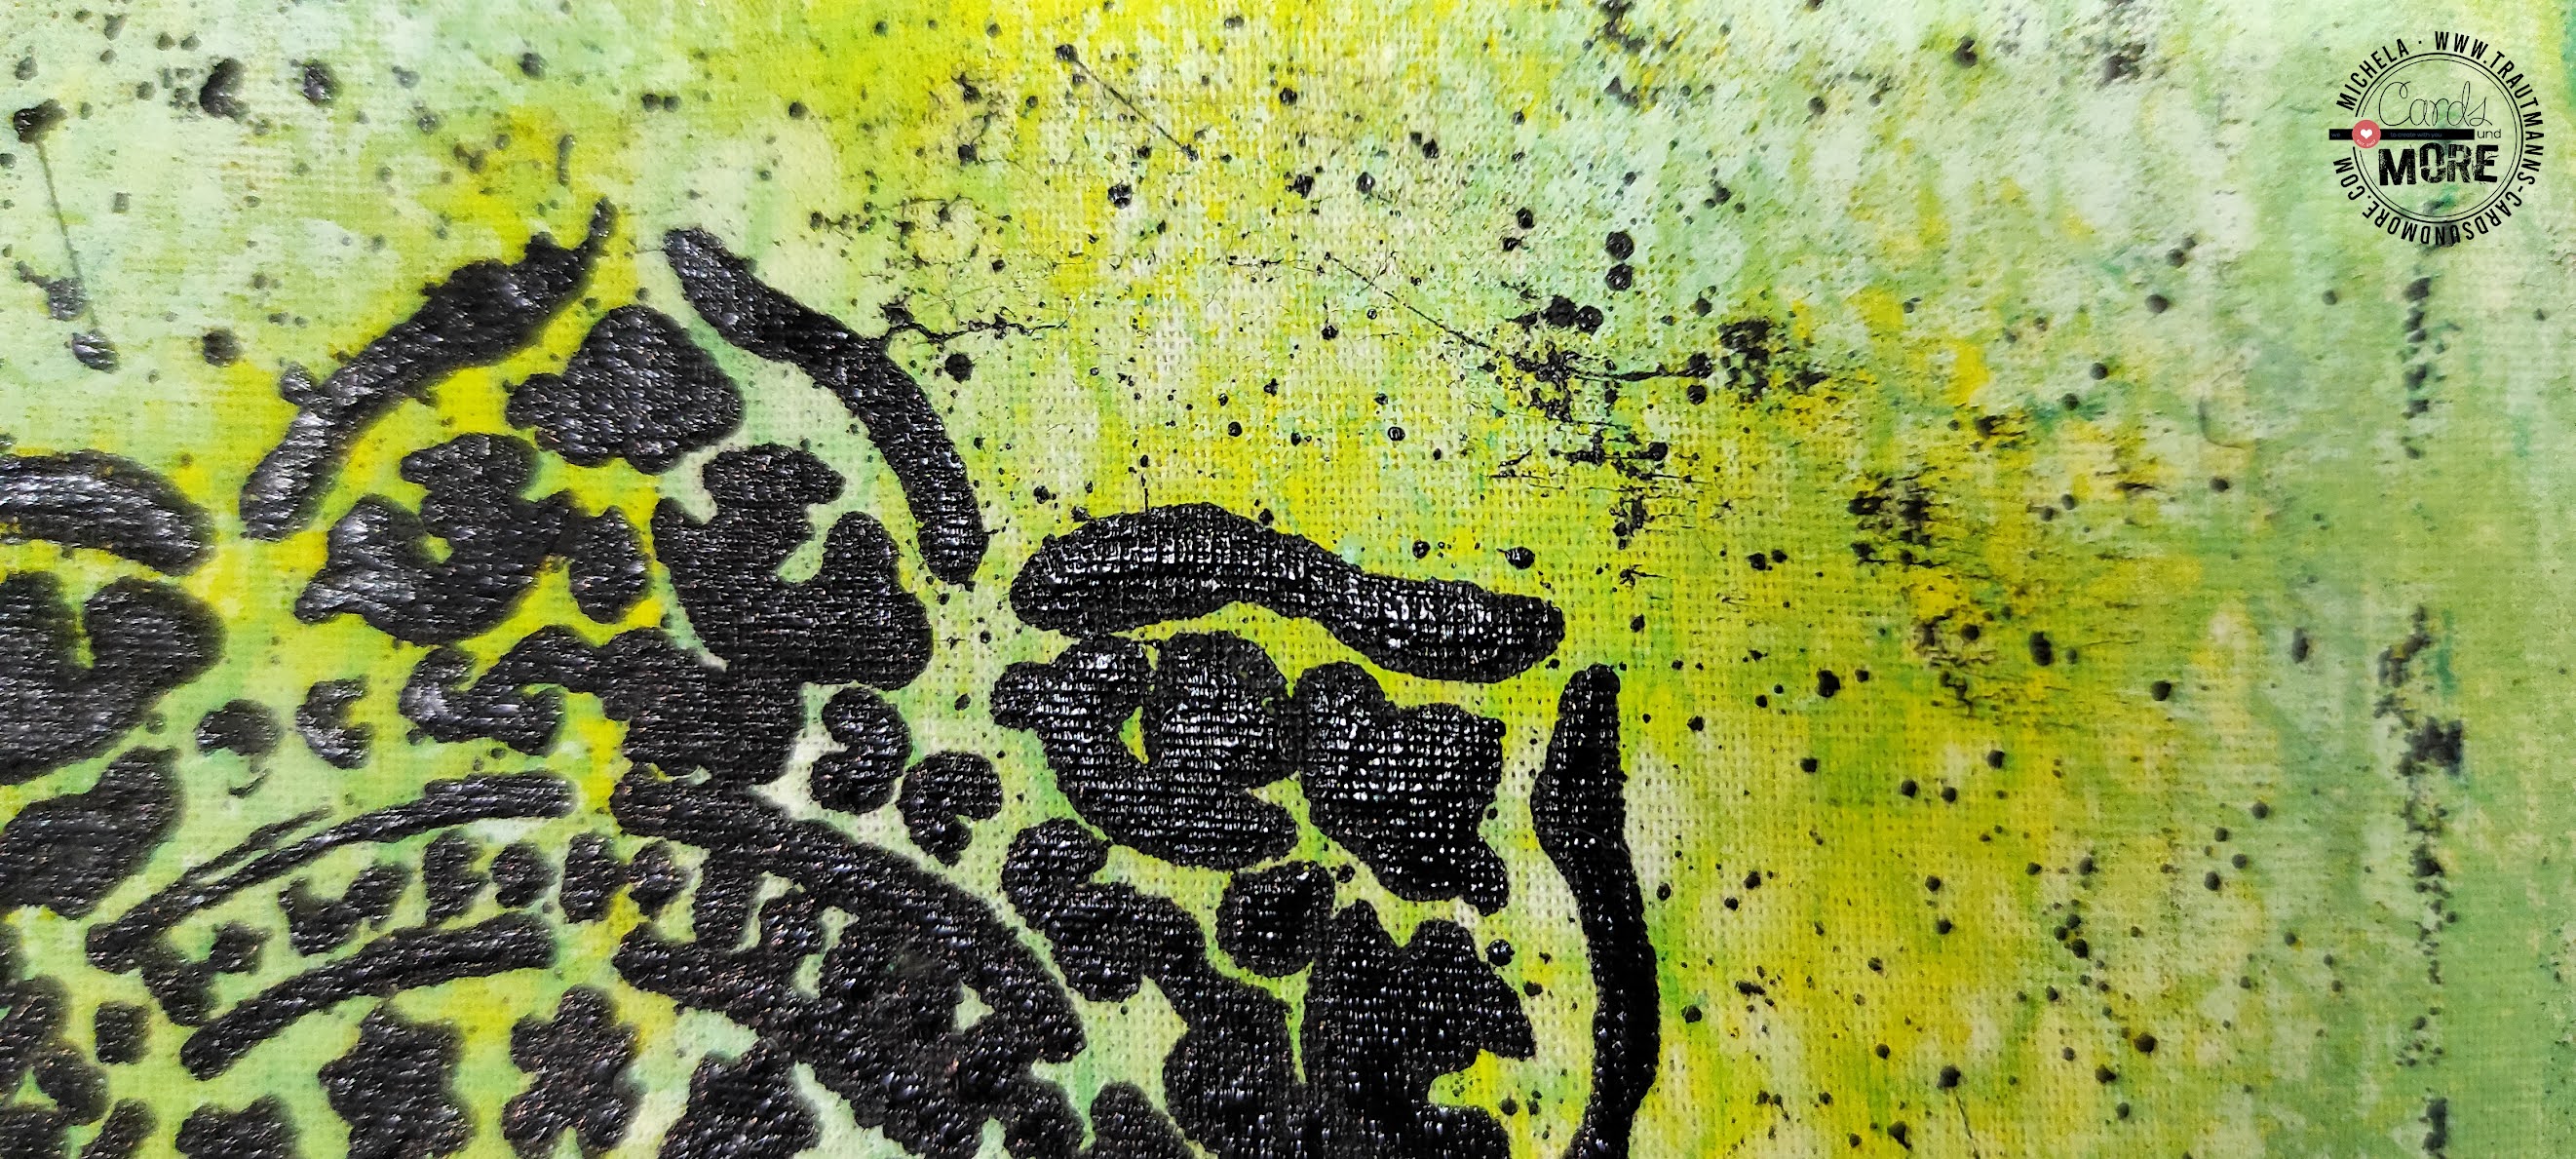
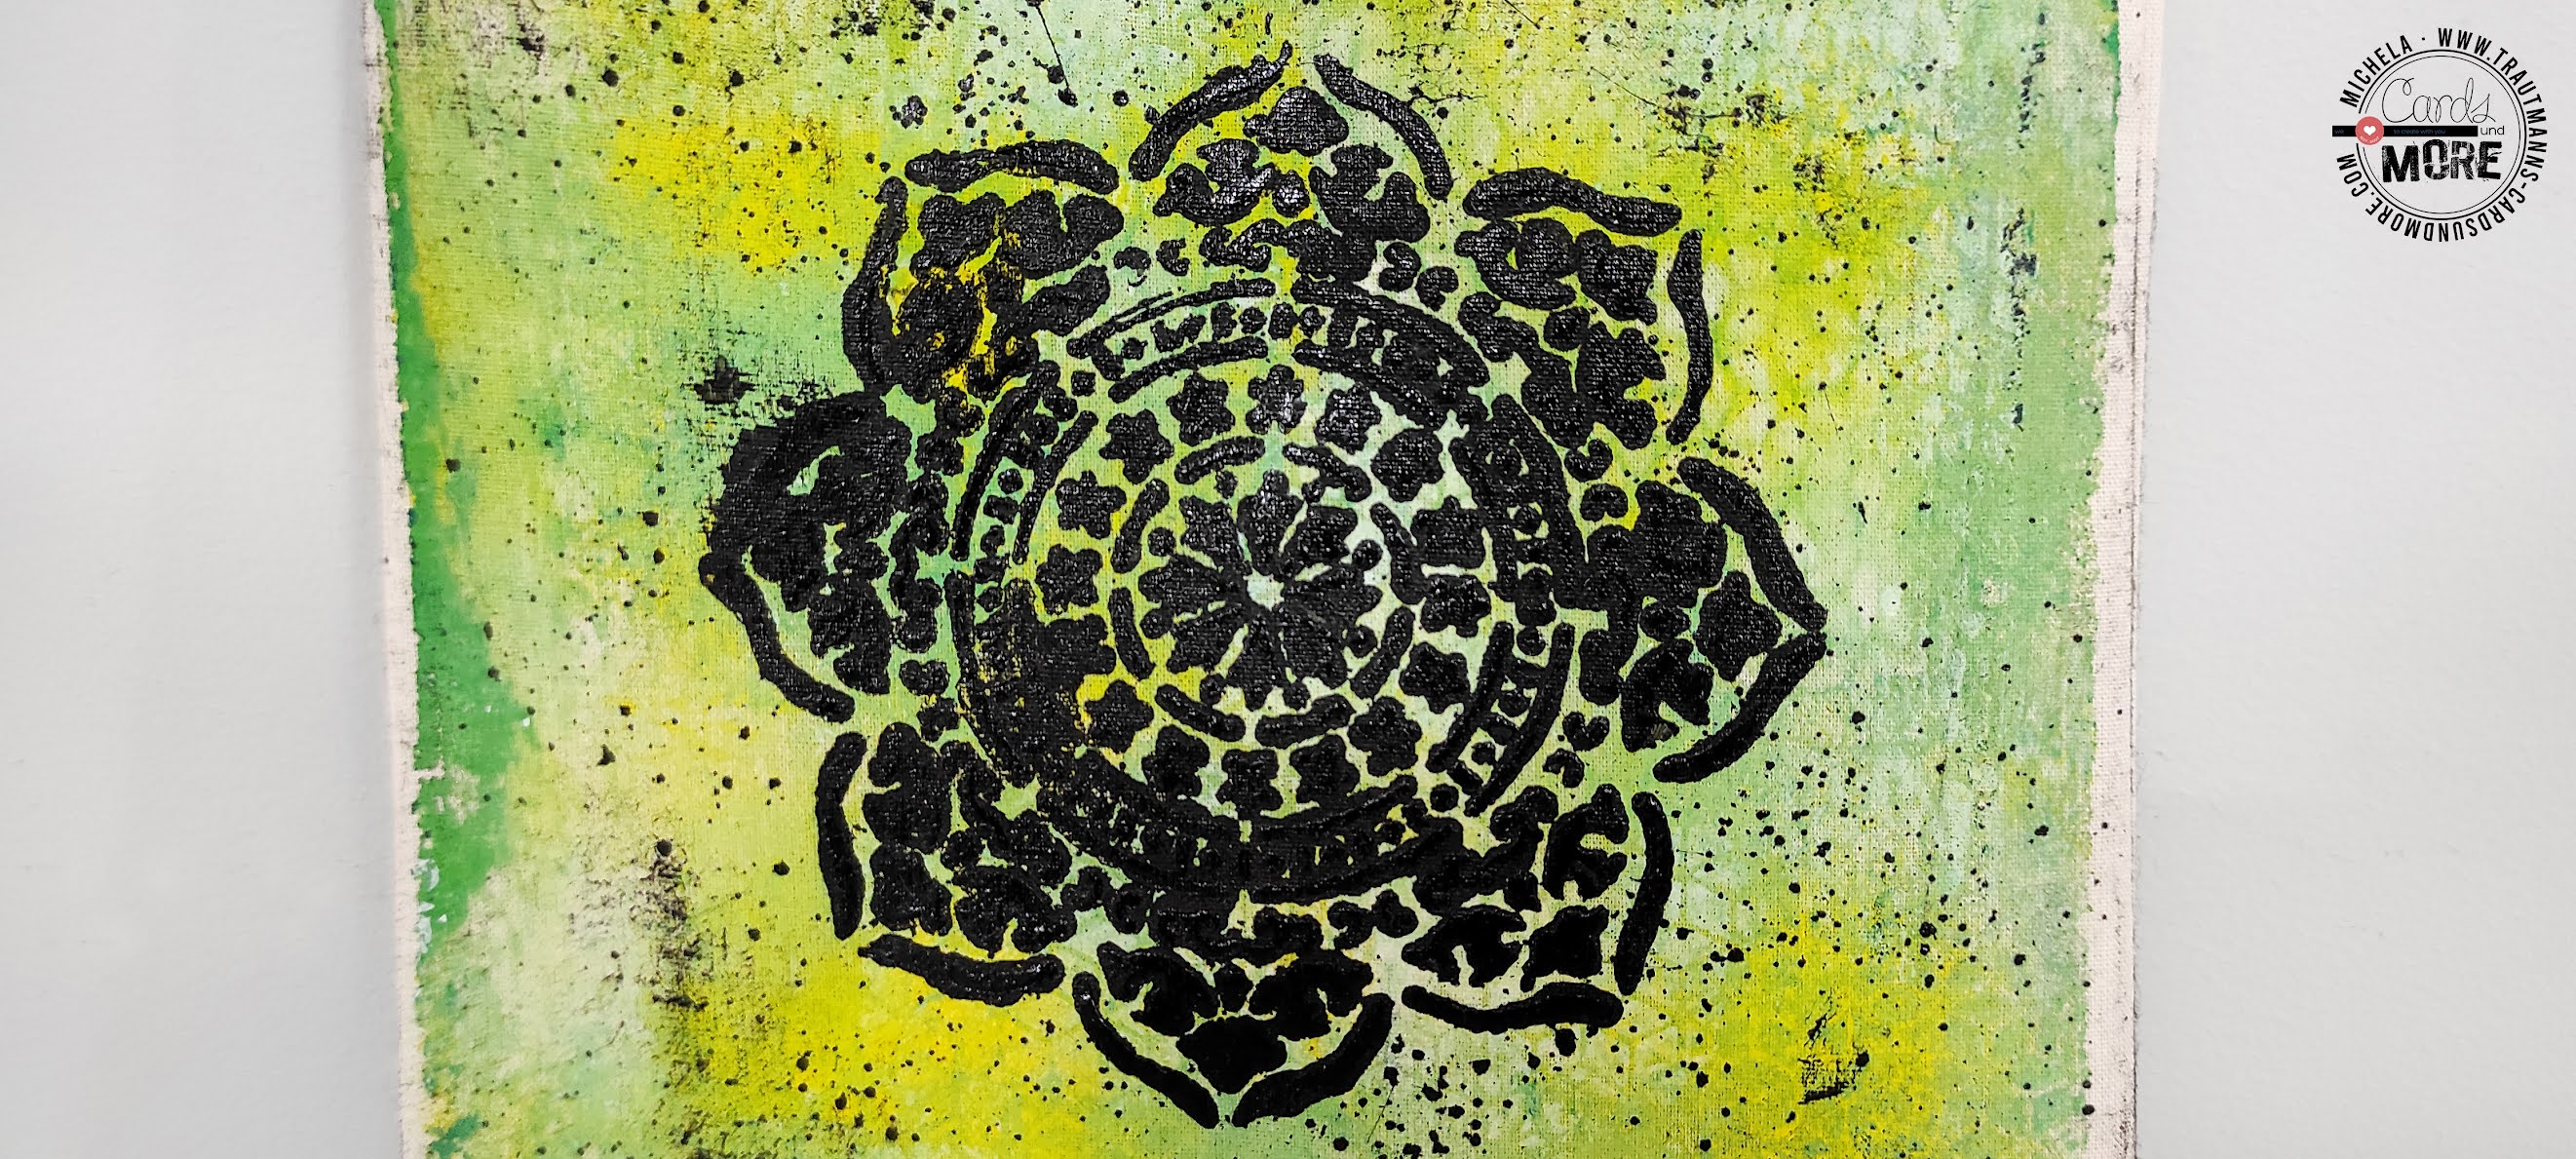
After waiting for everything to dry, I chose the side with less texture and I created a black mandala, using another stencil. At first I tried using stazon ink but the result was too "clean" so I decided to create a more distressed effect by spreading black acrylic with a palette knife and, at the end, making splashes.

Satisfied with the result, I let everything dry... And, then, I hung the bag near my workbench filling it with products to test! :)


Used products:

Hope you liked it and got inspired... See you super soon for a new blog post!


Michela


Freitag, 27. August 2021

Mini Album | Summer 2k21


 Ciao! 😊 


I hope your holidays are going well... Mine, which lasted too short, are over so, in this summer that is coming to an end, I have decided to create a small album to to remember them! ;)

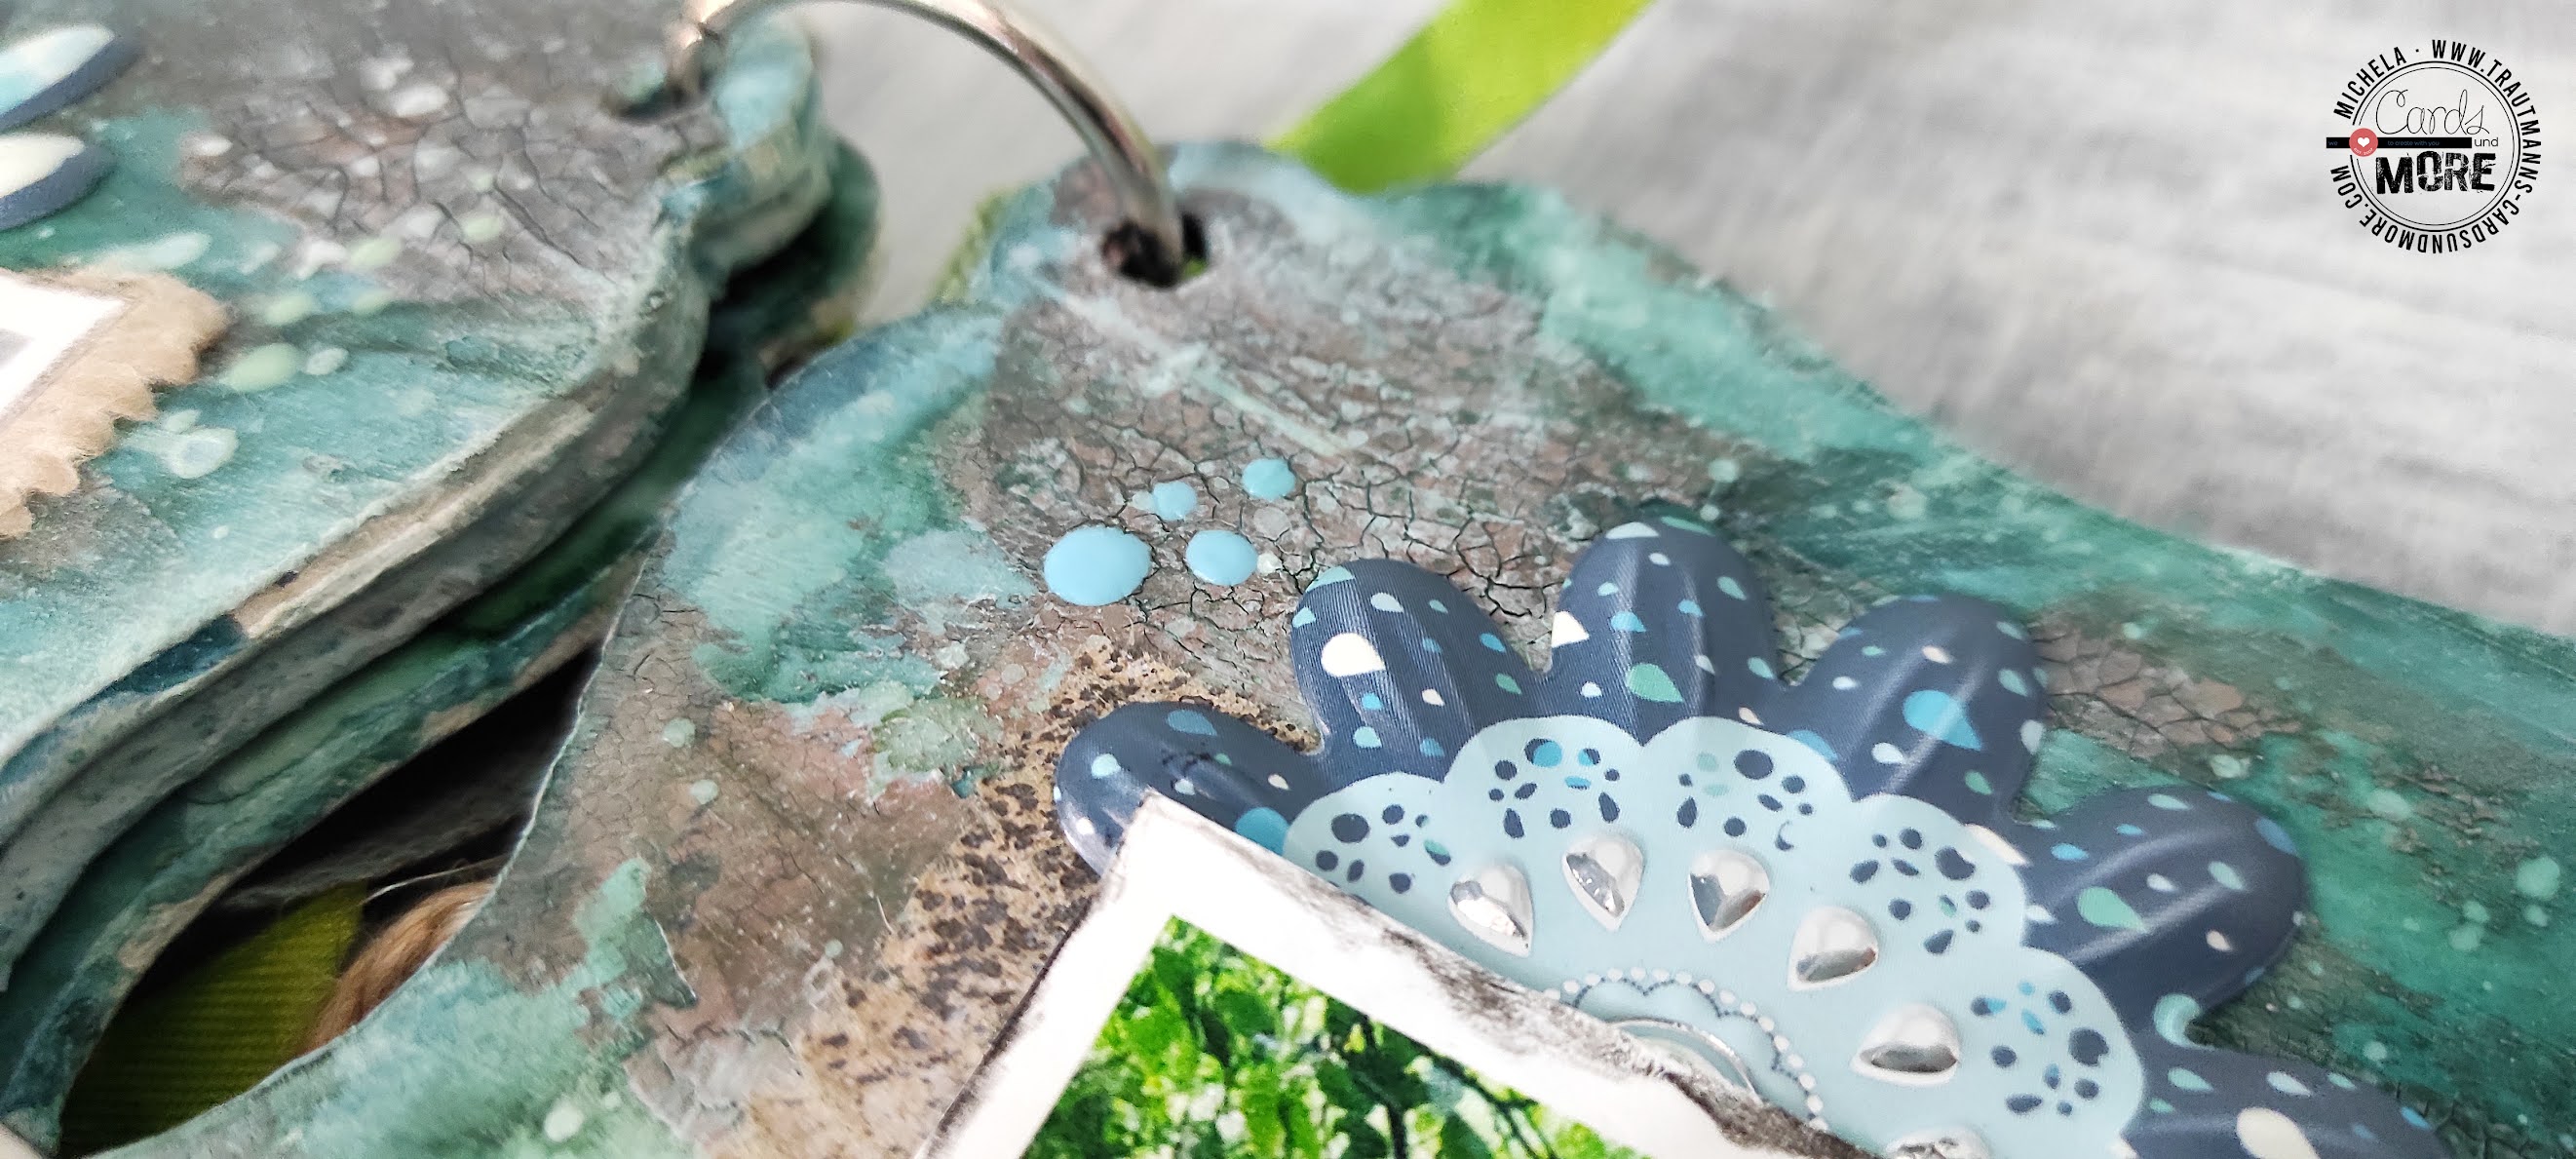
I used as a base a MDF album and, after giving a layer of white chalk, I started to randomly decorate the sides of the album with texture paste and embossing powder.

Once I reached the desired patterns I started coloring with watercolors and acrylics trying to achieve a stained effect in shades of green... since we spent our holidays immersed in nature I thought it was the right choice! 

Once dried, I joined the pages with book rings that I decorated with ribbons and twine sprayed on the same tones.

While everything was drying I printed some photos, cut out with the paper cutting and folding machine and created labels with the dates on which they were taken.


Now every pieces was finished I assembled everything with tacky tape and added some final touches: enamel dots, flourish embellishment, some highlights with black watercolor pencil, distressed pieces of paper and white splashes with gesso... 

Very latest step: date and logo on the back! Finished!


Used products:


Hope you liked it and got inspired... See you super soon for a new blog post!


Michela


Challenge #67 - Anything Goes

Hallo liebe Cards und More Freunde, wir haben heute wieder eine neue Challenge für Euch. Dieses Mal gibt es ein Board für euch, das euch zur...