Hi everyone! I have a new baby card to share with you today in a quite CAS design. I used the adorable Little Dreamers stamp set by Wplus9.

I started by stamping all the images that I wanted to use on kraft paper with Versamark ink and then white heat emboss it. I used the matching dies to cut them out and left aside.
For the background I used a blending brush to add some Faded Jeans Distress Oxide ink onto a piece of white card stock. Then added splotches of water as well as white gouache to create a soft sky. I also white heat embossed some of the little stars that are included in the set.

I die cut the panel with the MFT Stitched Rectangle die and stamped the sentiment with the same Faded Jeans Distress Oxide ink.
Then I foam mounted everything onto the panel and the whole panel onto a light grey card base.

I hope I've given you some inspiration for a quick and easy card design. Thank you for stopping by and I'll see you soon!

Supplies:
Wplu9 Little Dreamers stamp set
Wplus9 Little Dreamers dies
Kraft card stock
Versamark ink
White embossing powder
Heat tool
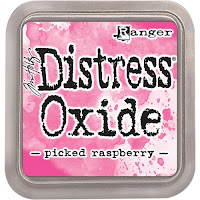
Faded Jeans Distress Oxide
MFT Stitched Rectangle dies
Sizzix Big Shot die cutting machine
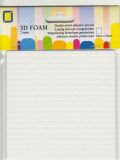
Foam squares
I started by stamping all the images that I wanted to use on kraft paper with Versamark ink and then white heat emboss it. I used the matching dies to cut them out and left aside.
For the background I used a blending brush to add some Faded Jeans Distress Oxide ink onto a piece of white card stock. Then added splotches of water as well as white gouache to create a soft sky. I also white heat embossed some of the little stars that are included in the set.
I die cut the panel with the MFT Stitched Rectangle die and stamped the sentiment with the same Faded Jeans Distress Oxide ink.
Then I foam mounted everything onto the panel and the whole panel onto a light grey card base.
I hope I've given you some inspiration for a quick and easy card design. Thank you for stopping by and I'll see you soon!

Supplies:
Wplu9 Little Dreamers stamp set
Wplus9 Little Dreamers dies
Kraft card stock
Versamark ink
White embossing powder
Heat tool
Faded Jeans Distress Oxide
MFT Stitched Rectangle dies
Sizzix Big Shot die cutting machine
Foam squares