Ciao! 😊
A few months ago I bought, from the Cards Und More shop, a tool I wanted for a long time: the Gel Press! I didn't have enough time to test it immediately but, in the last period, I'm starting to use it assiduously, experimenting with mediums and materials of all kinds.
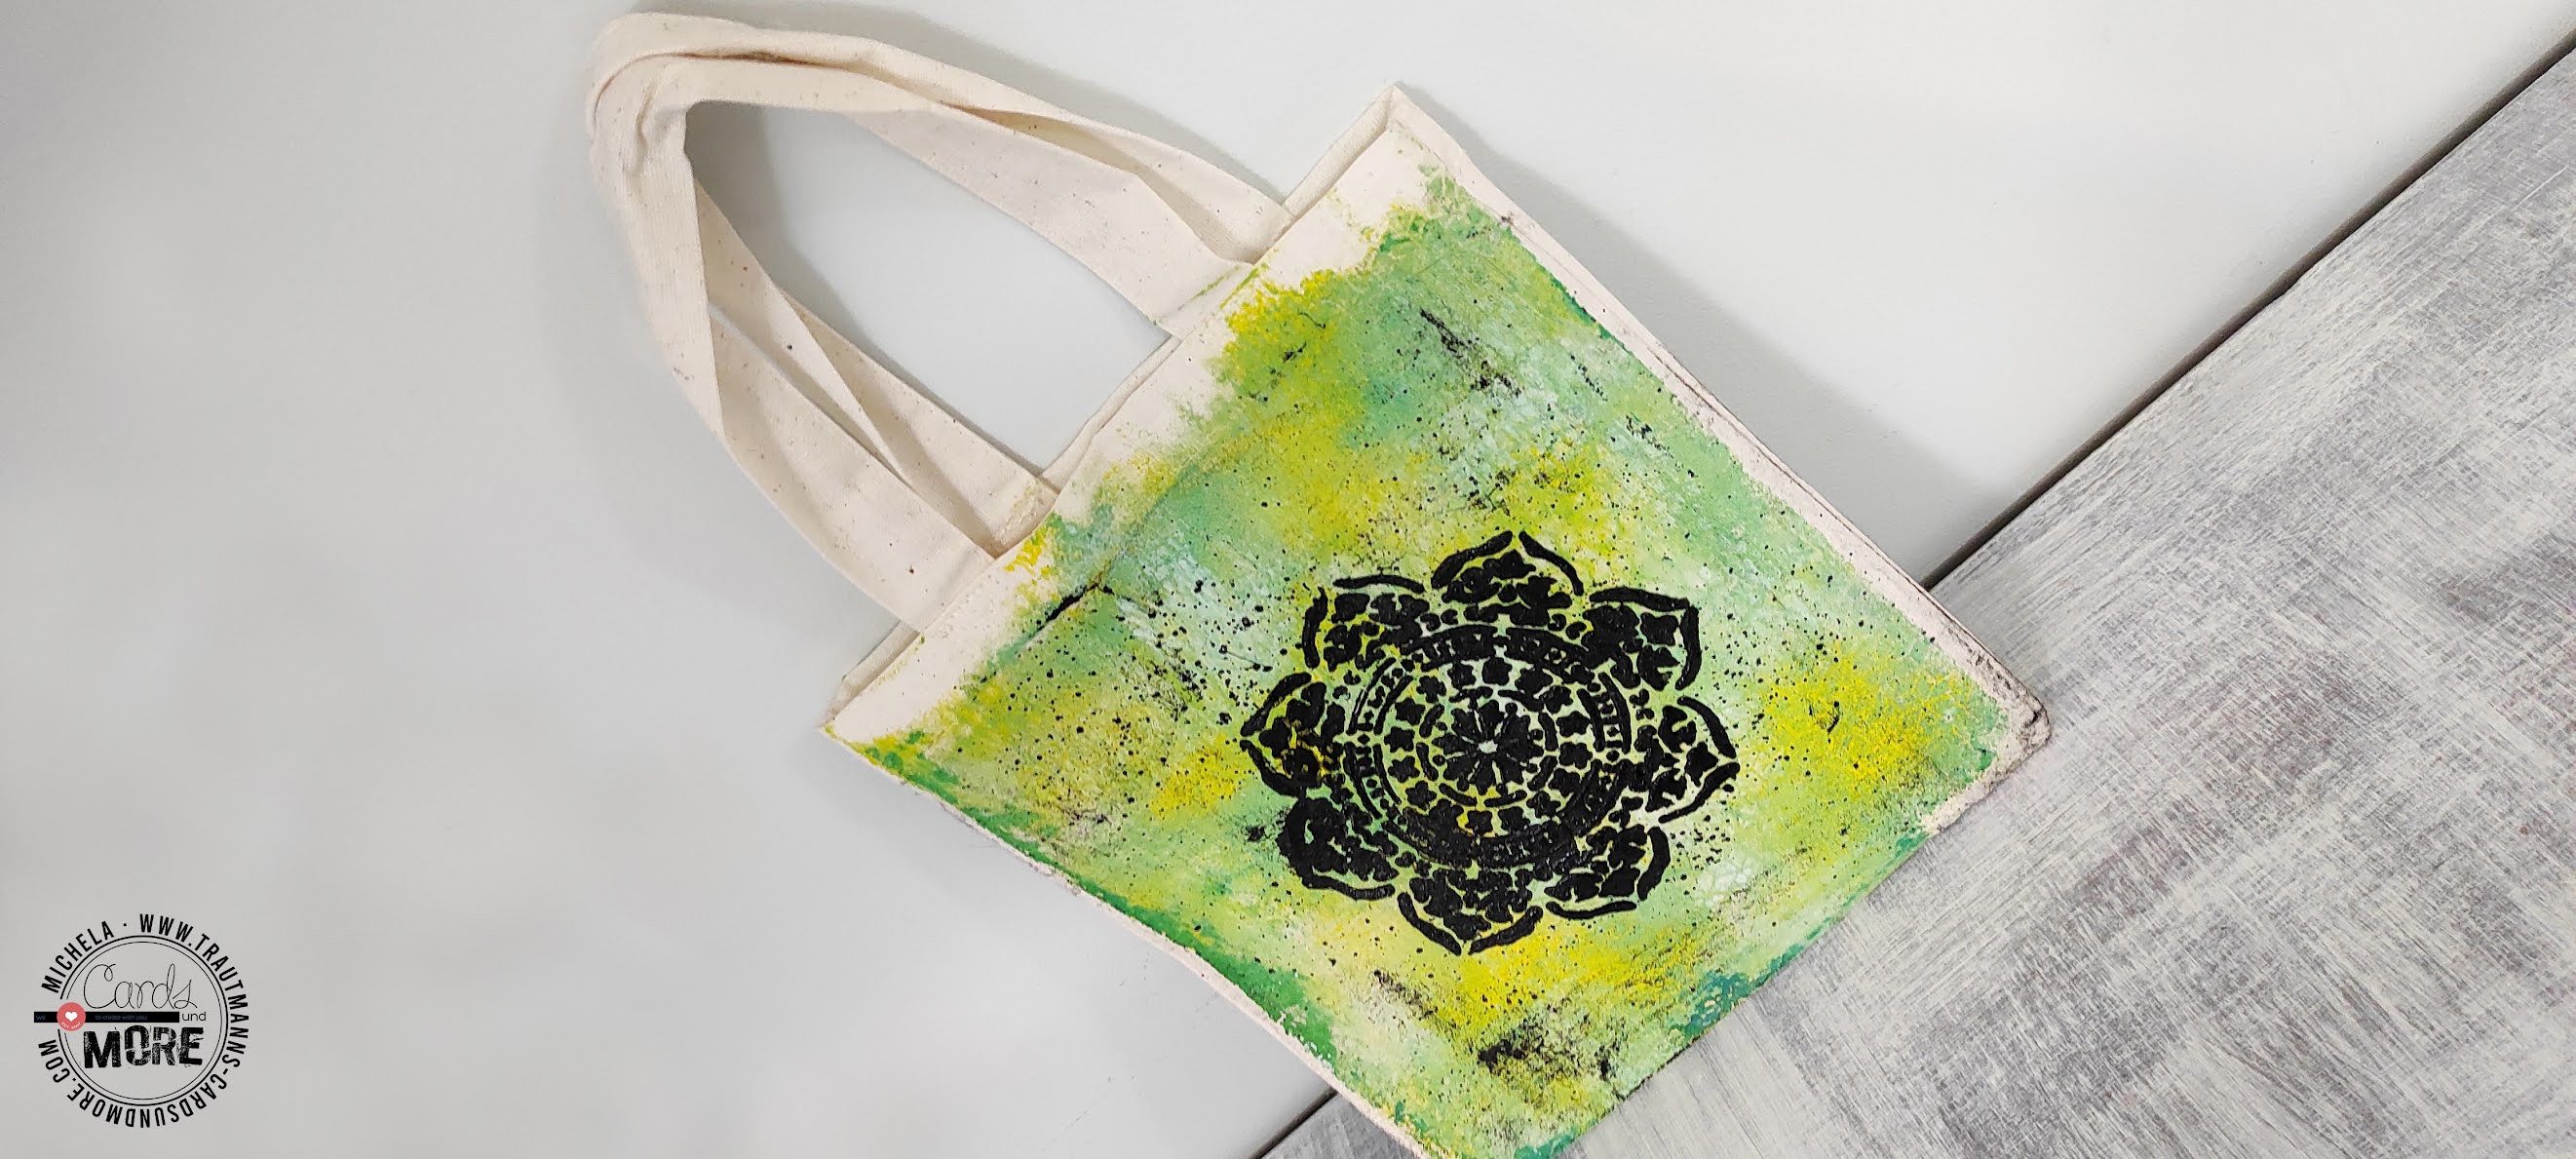
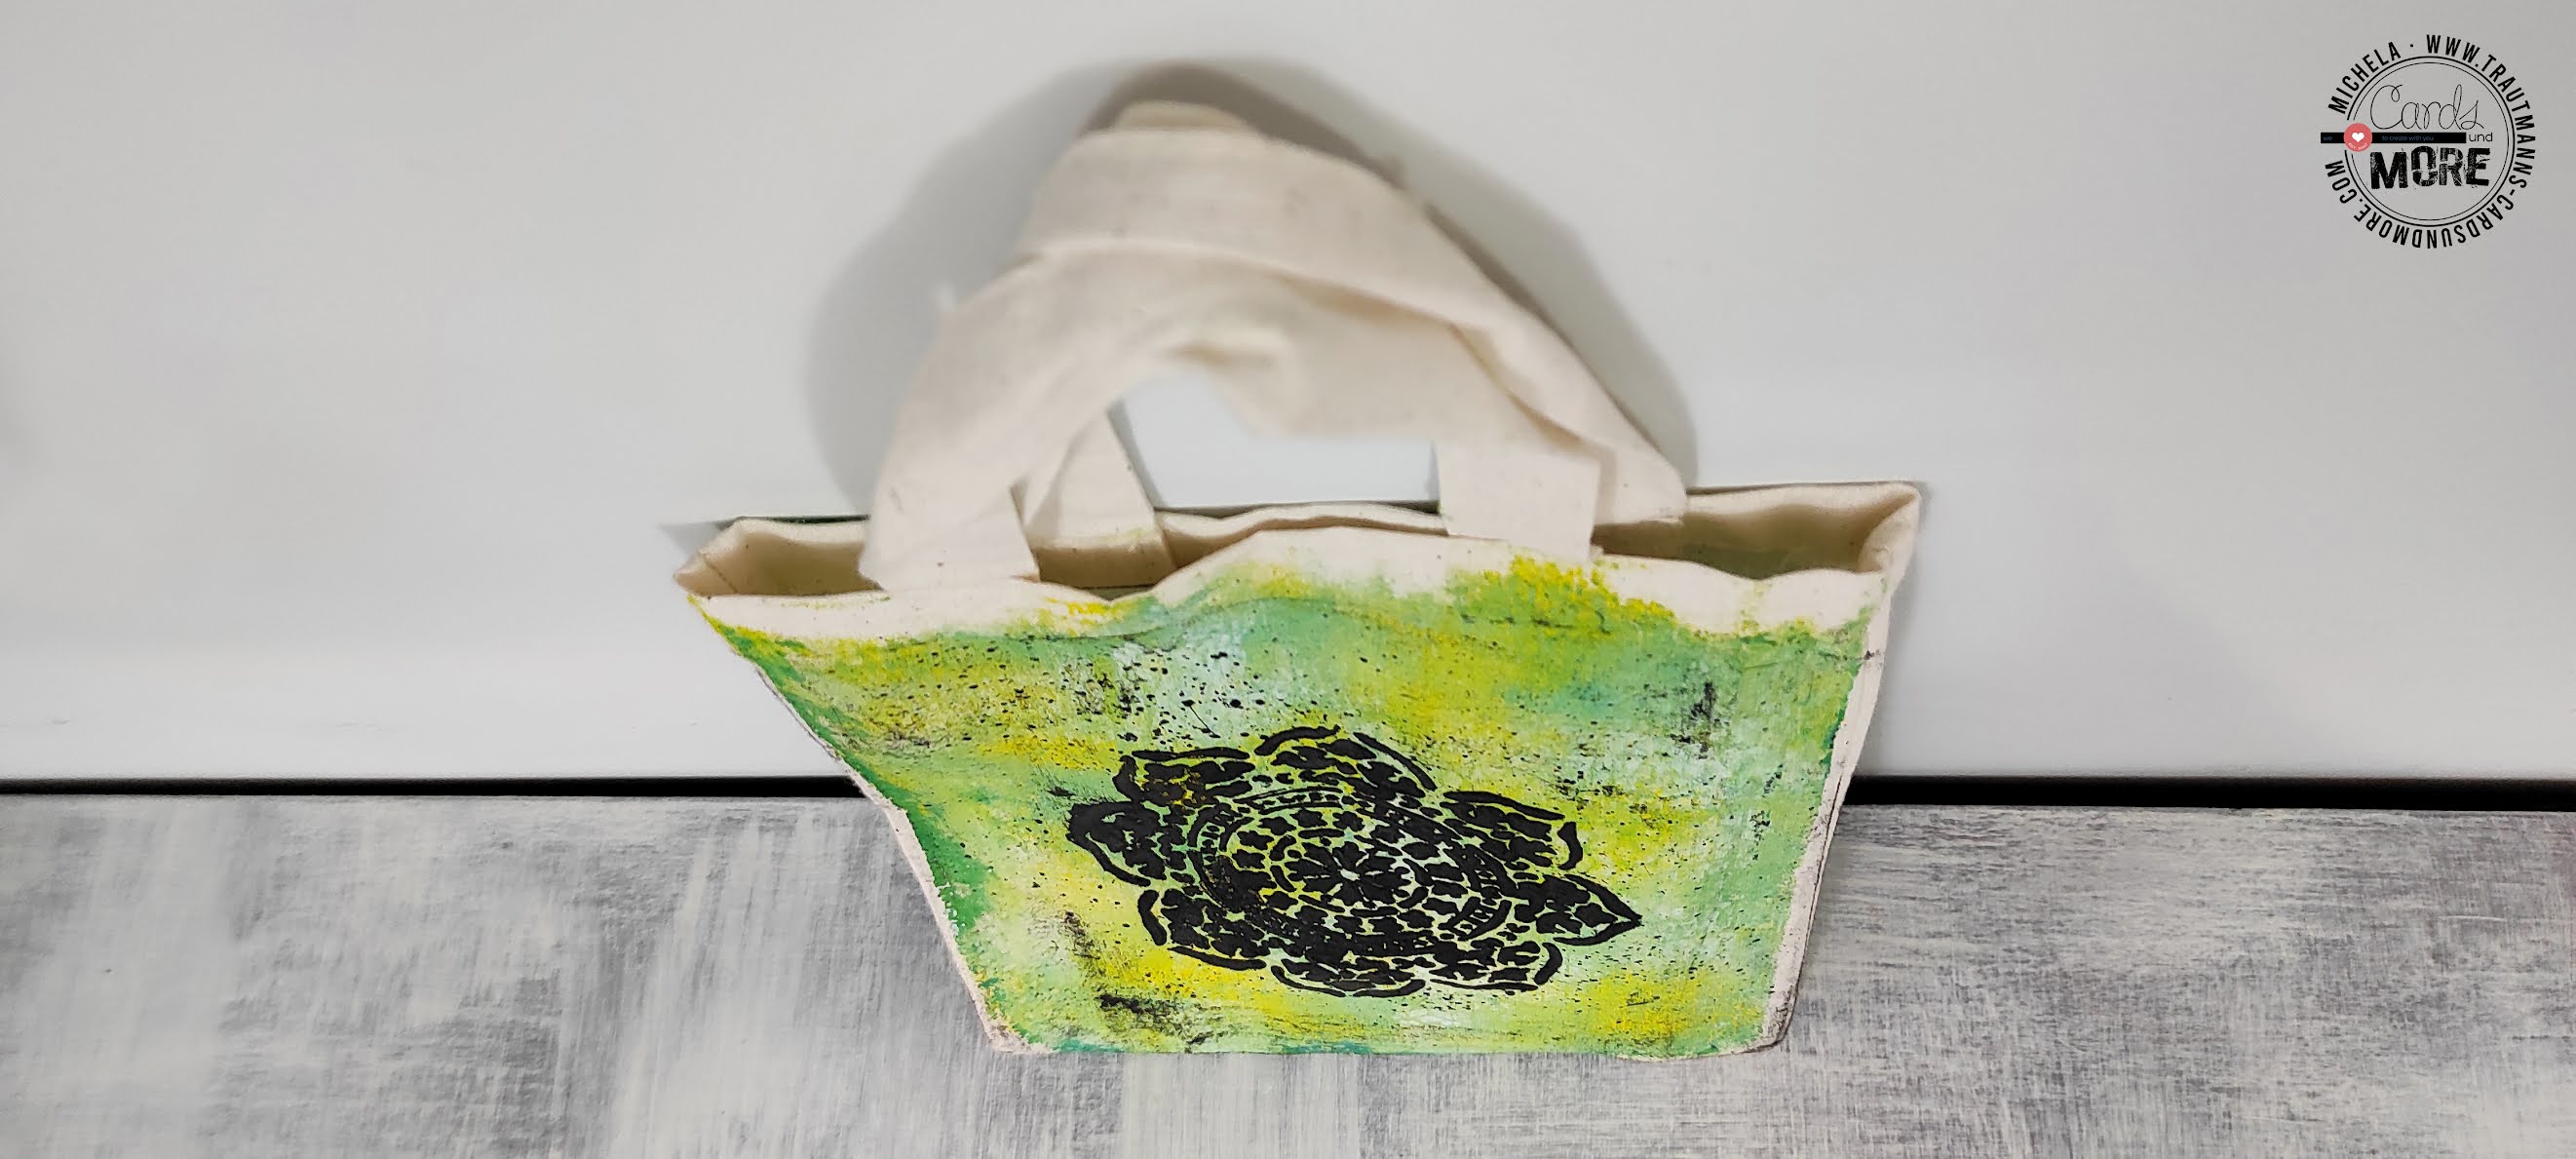
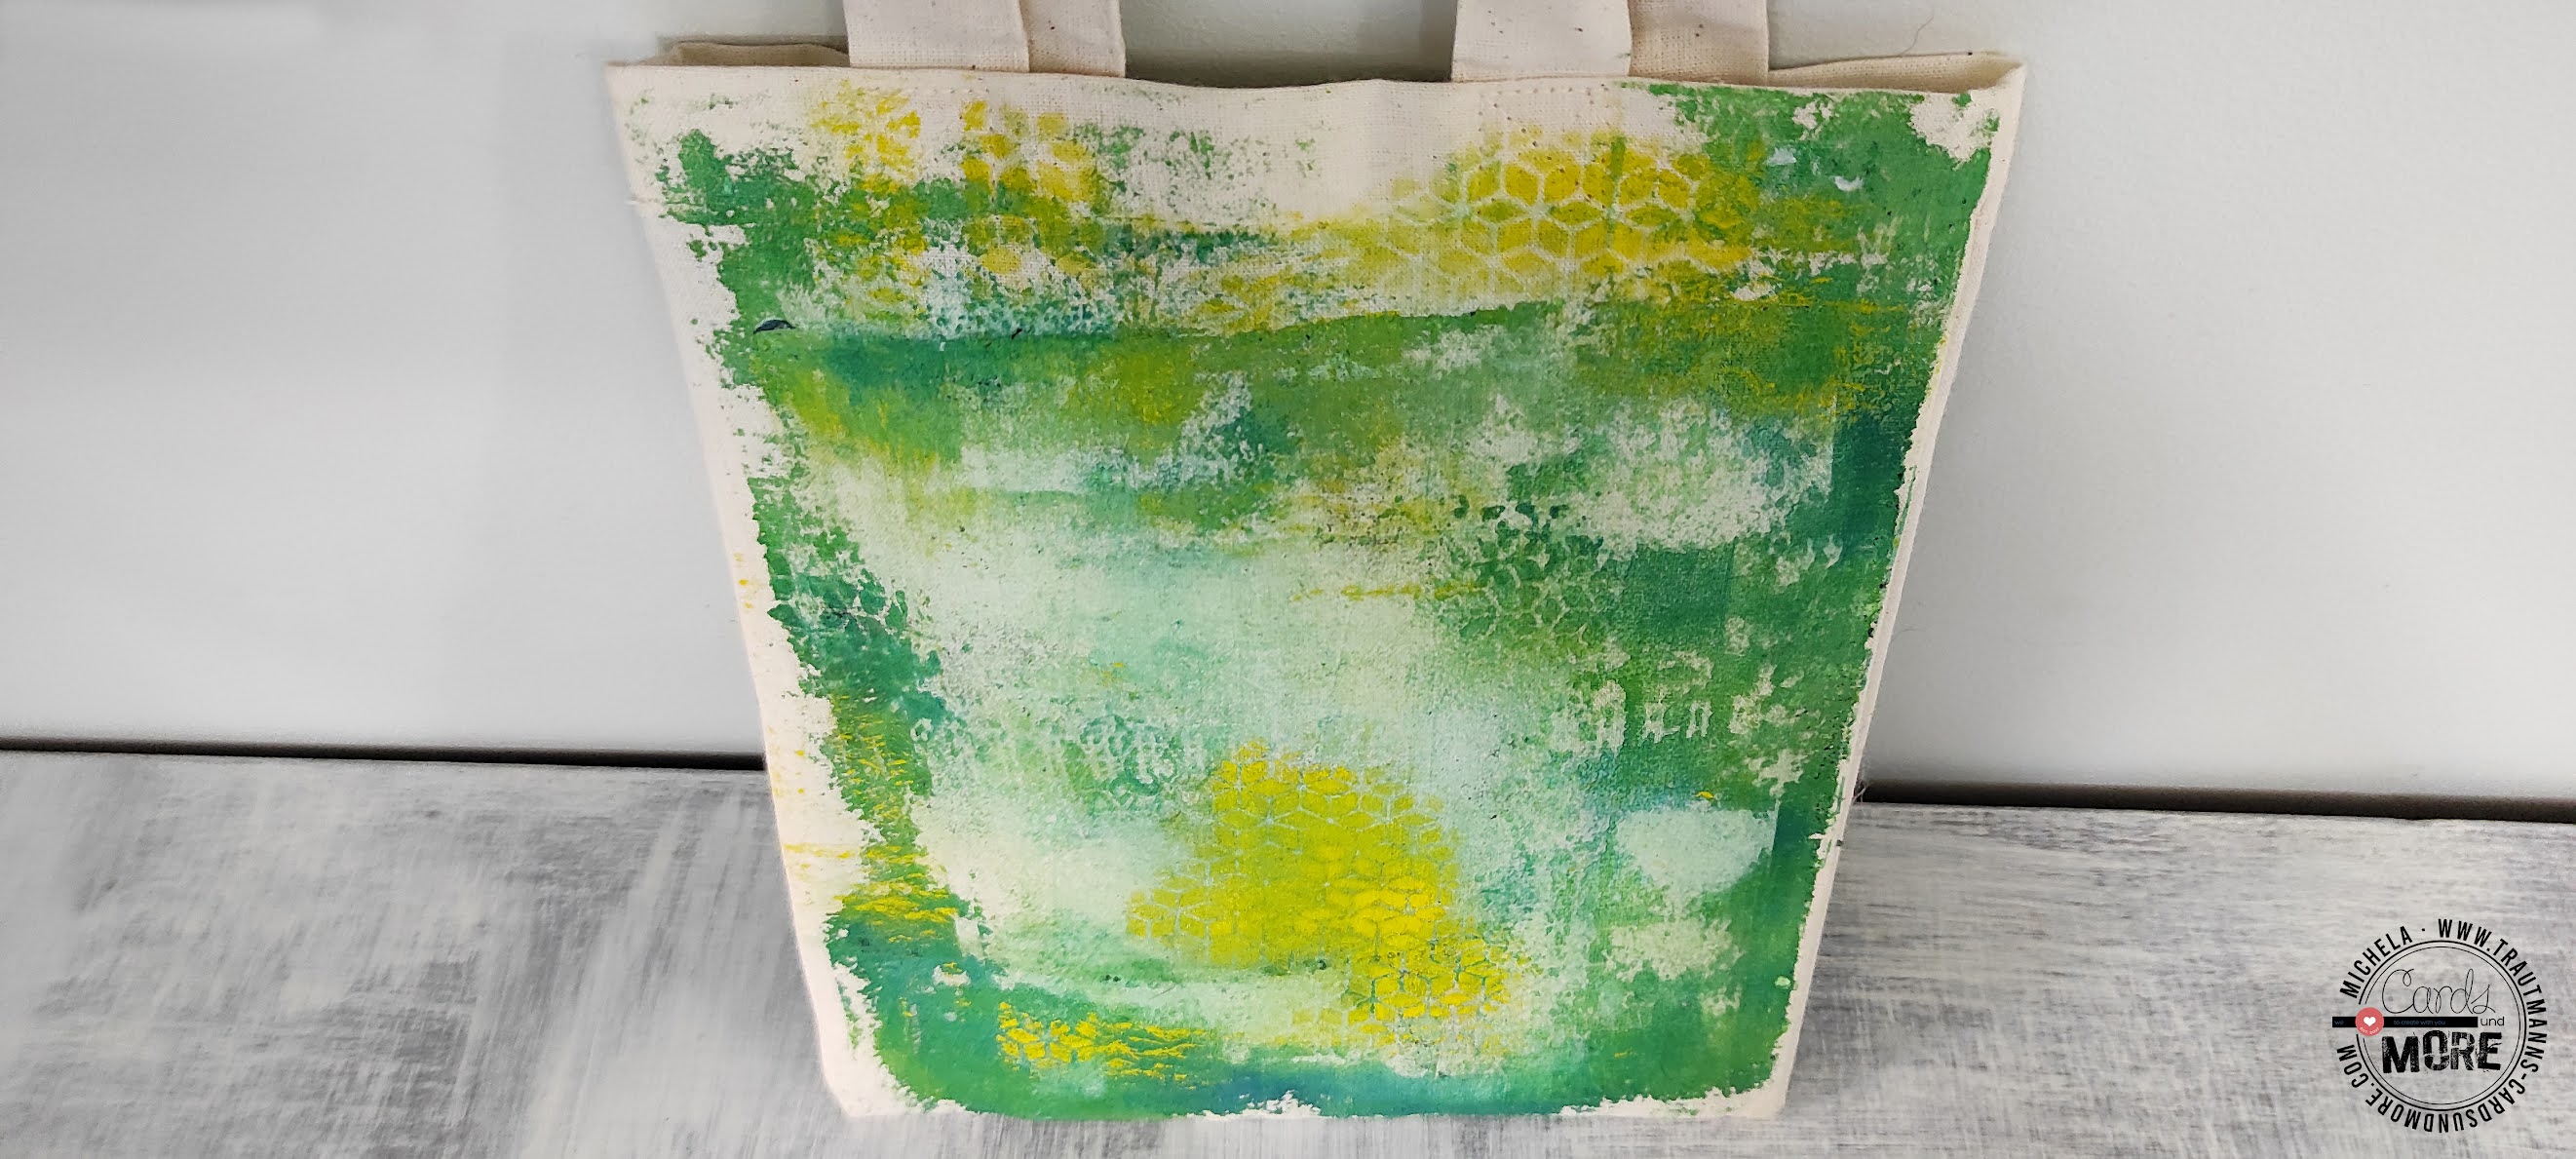
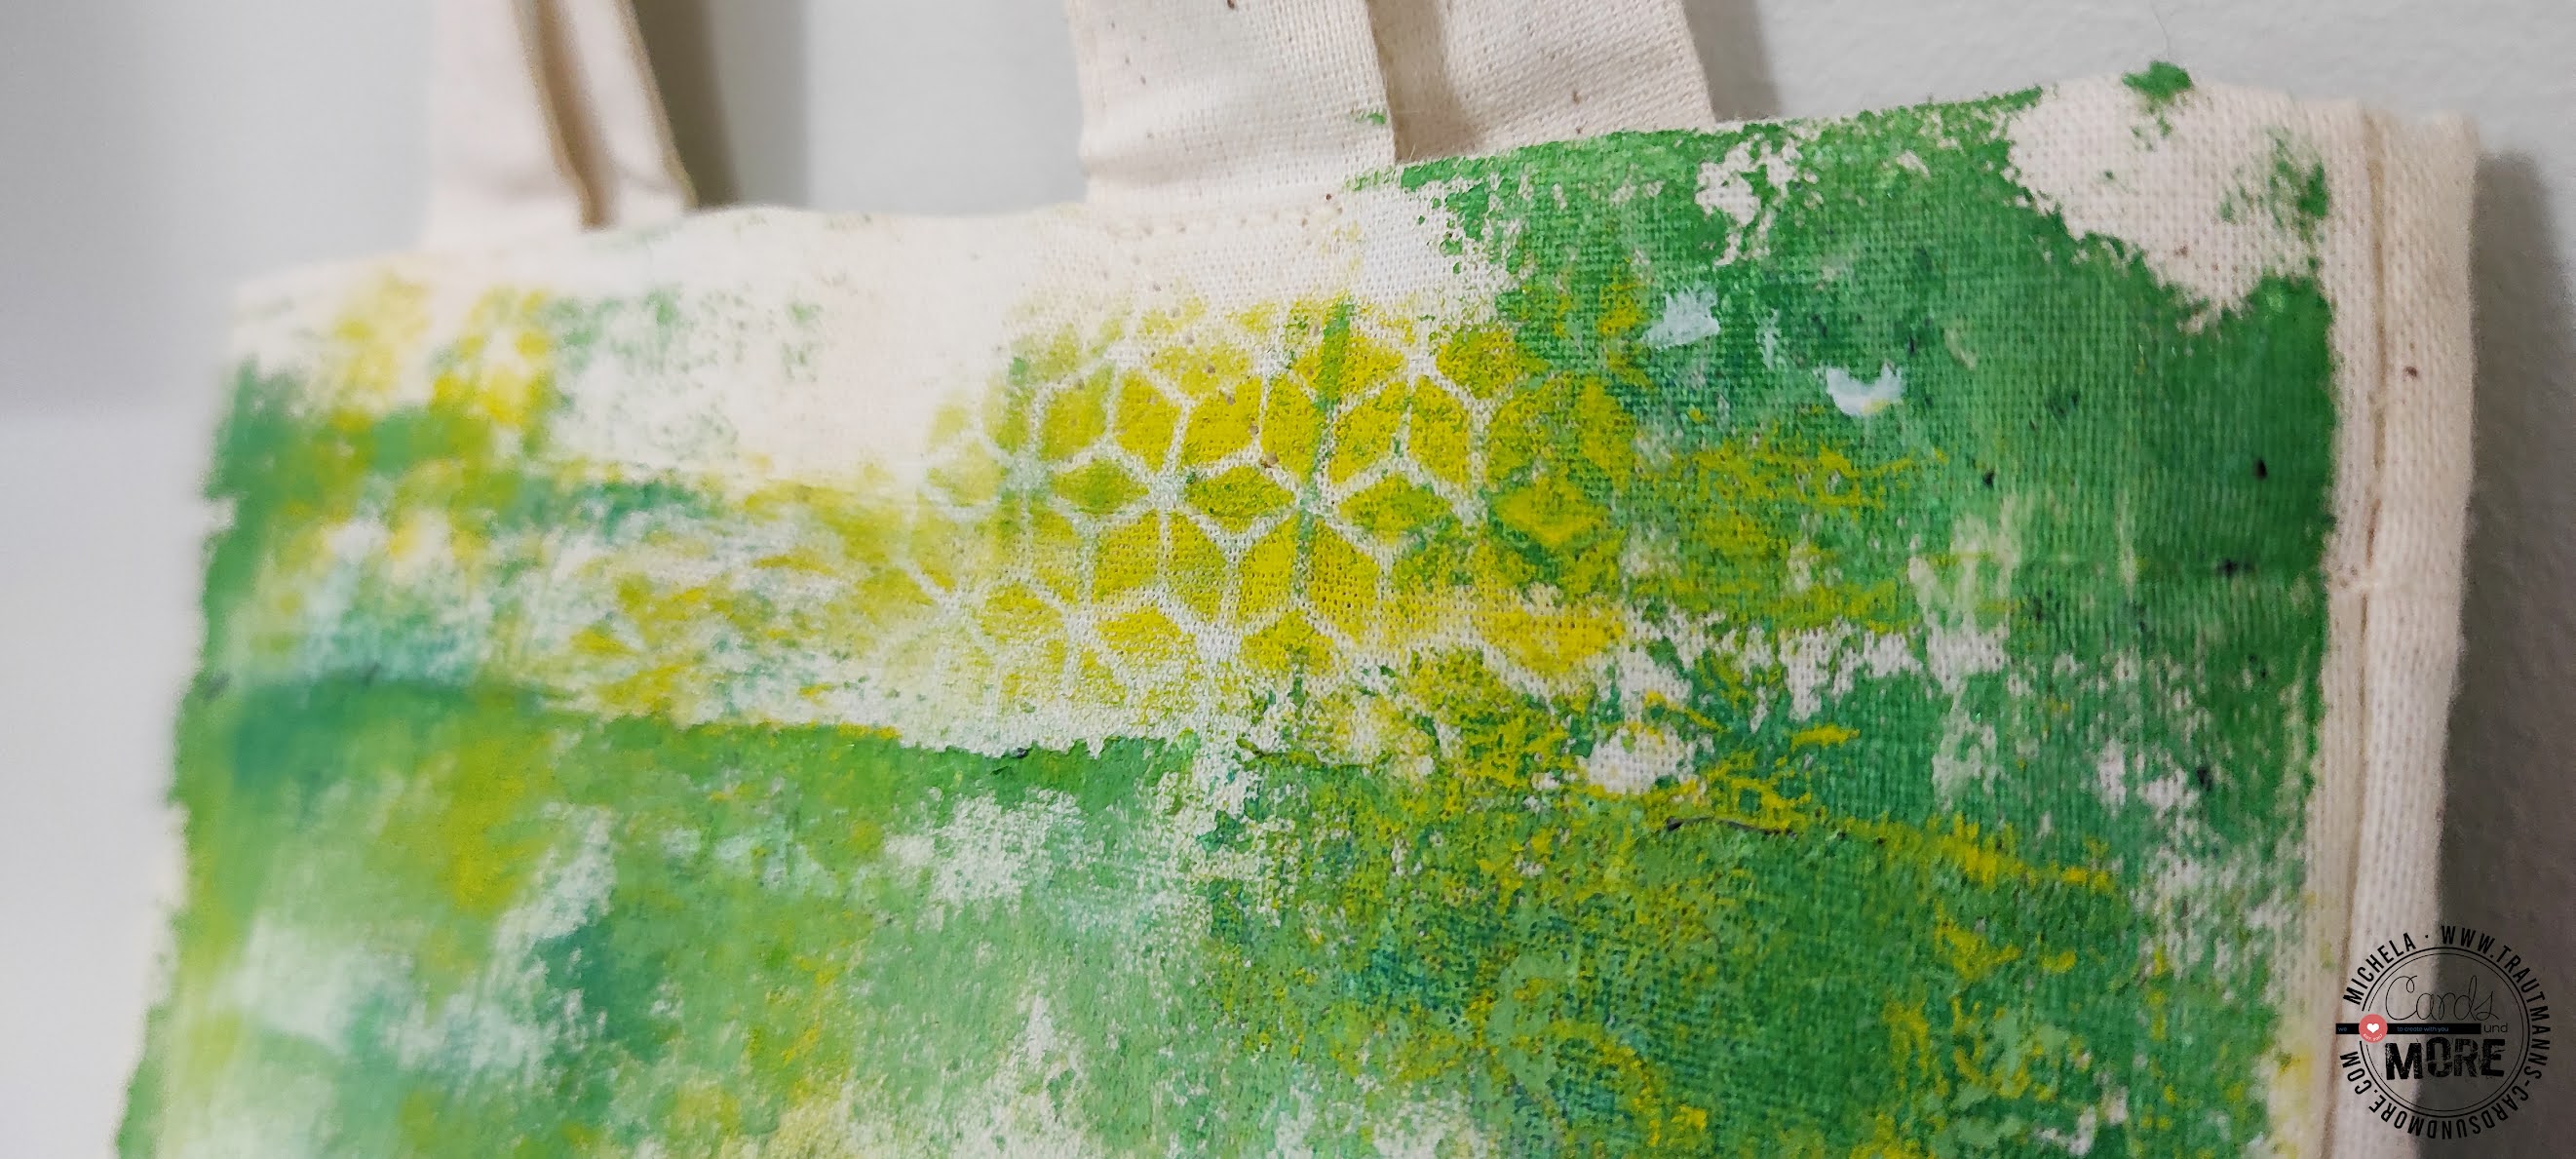
In this post I show you how I decided to try to make prints on the fabric, in this case a (mini) cotton tote bag.
The procedure is really simple and has no fixed rules.
I started by spreading acrylics (and distress... why not?) on the gell press using a roller.
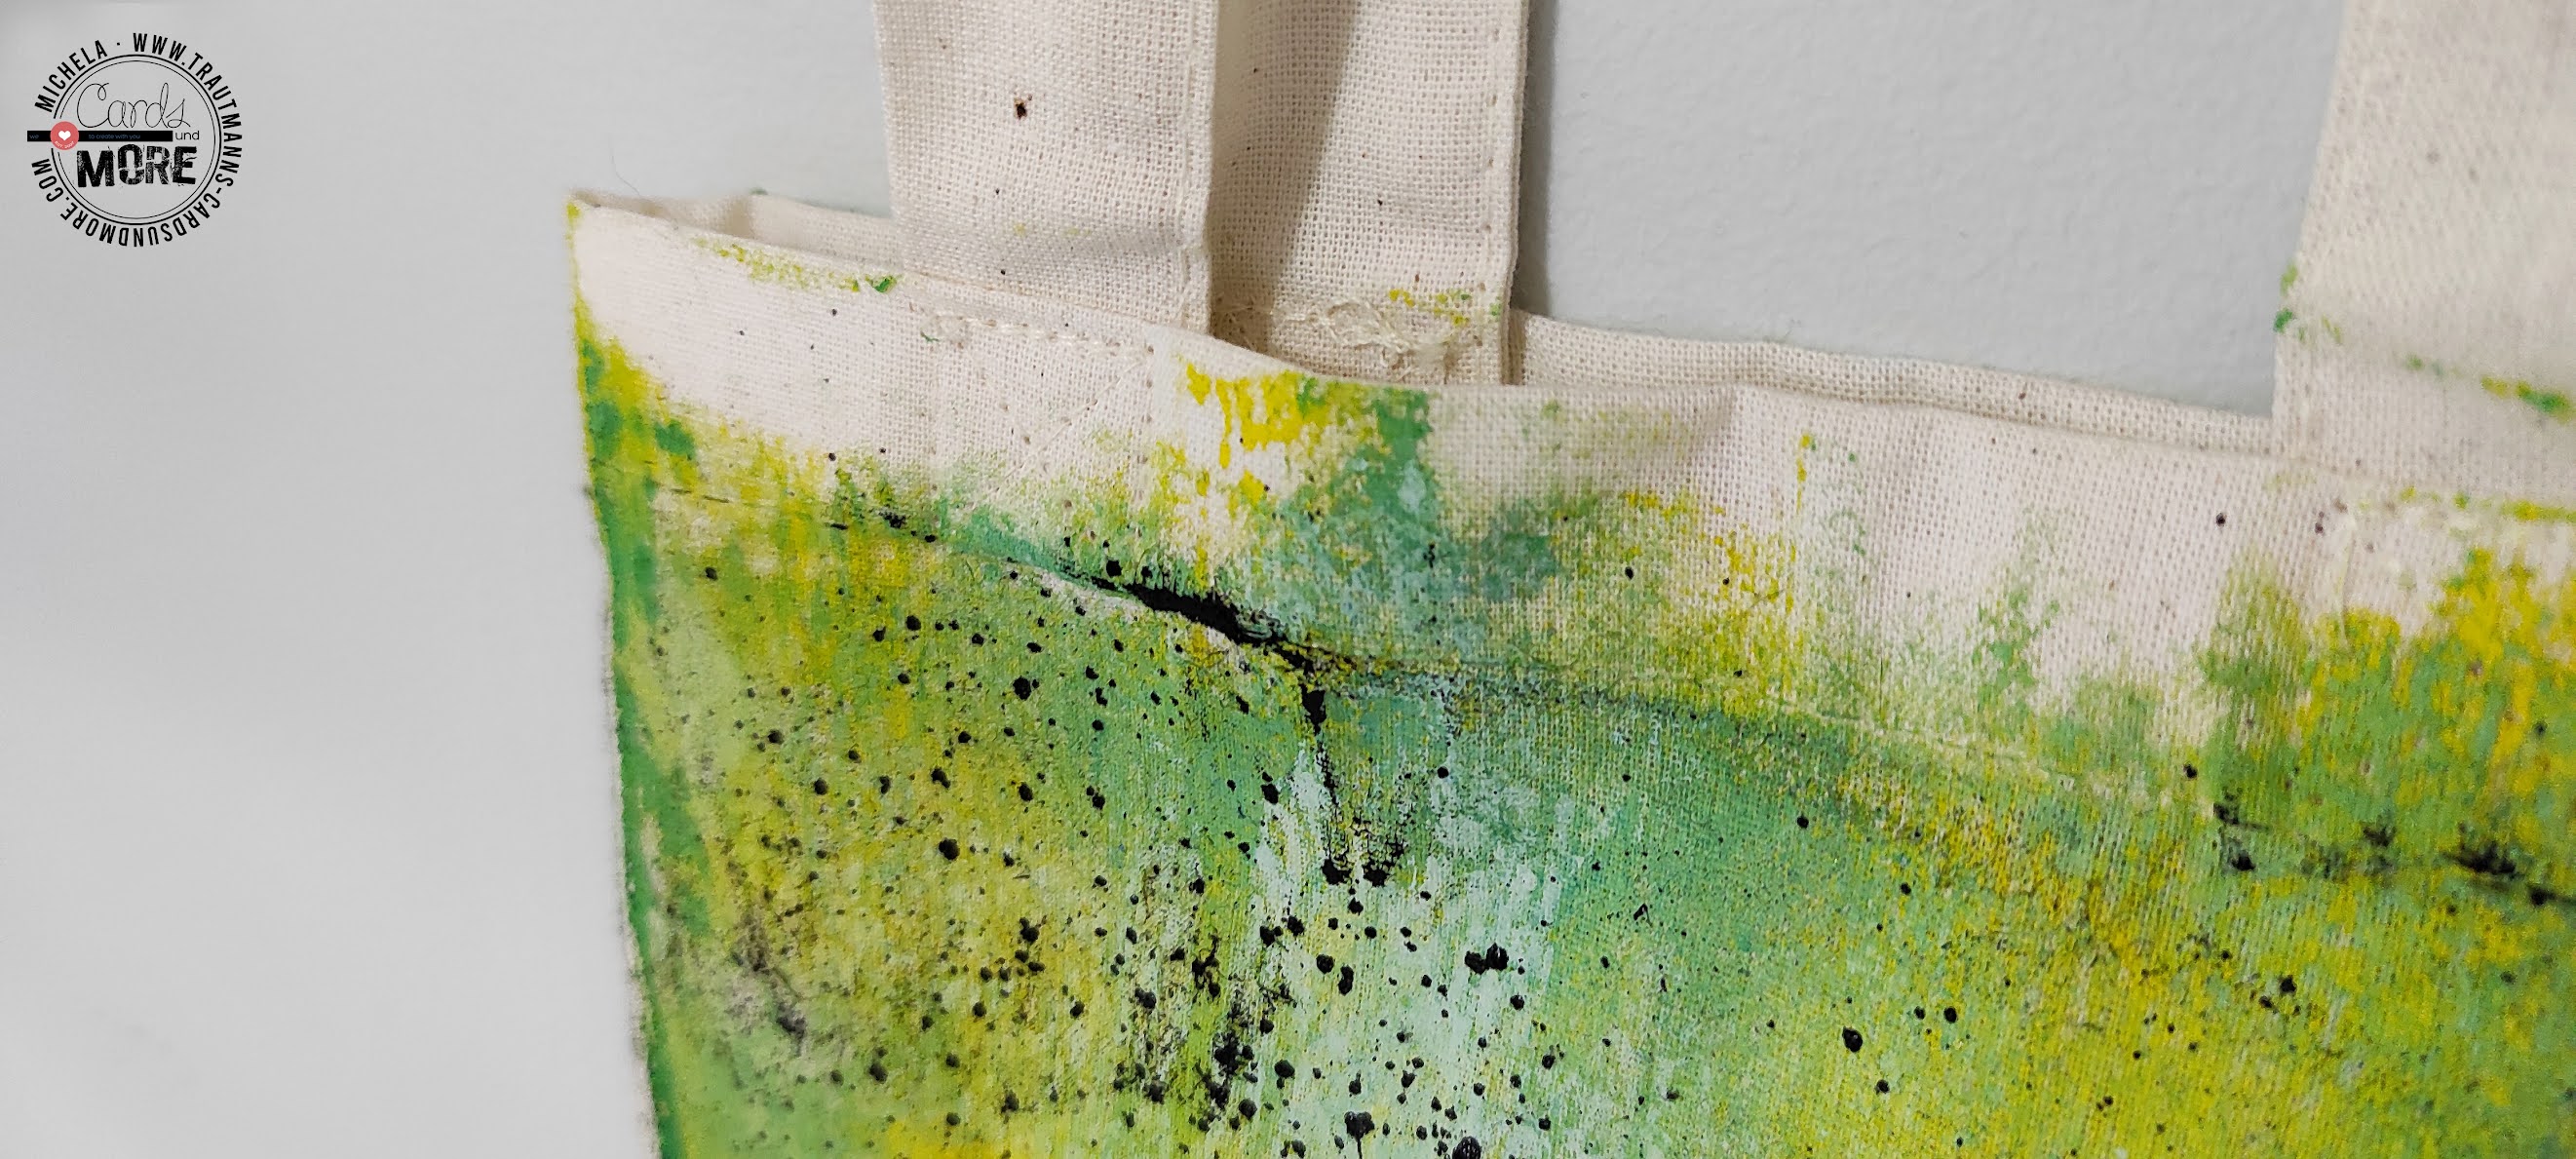
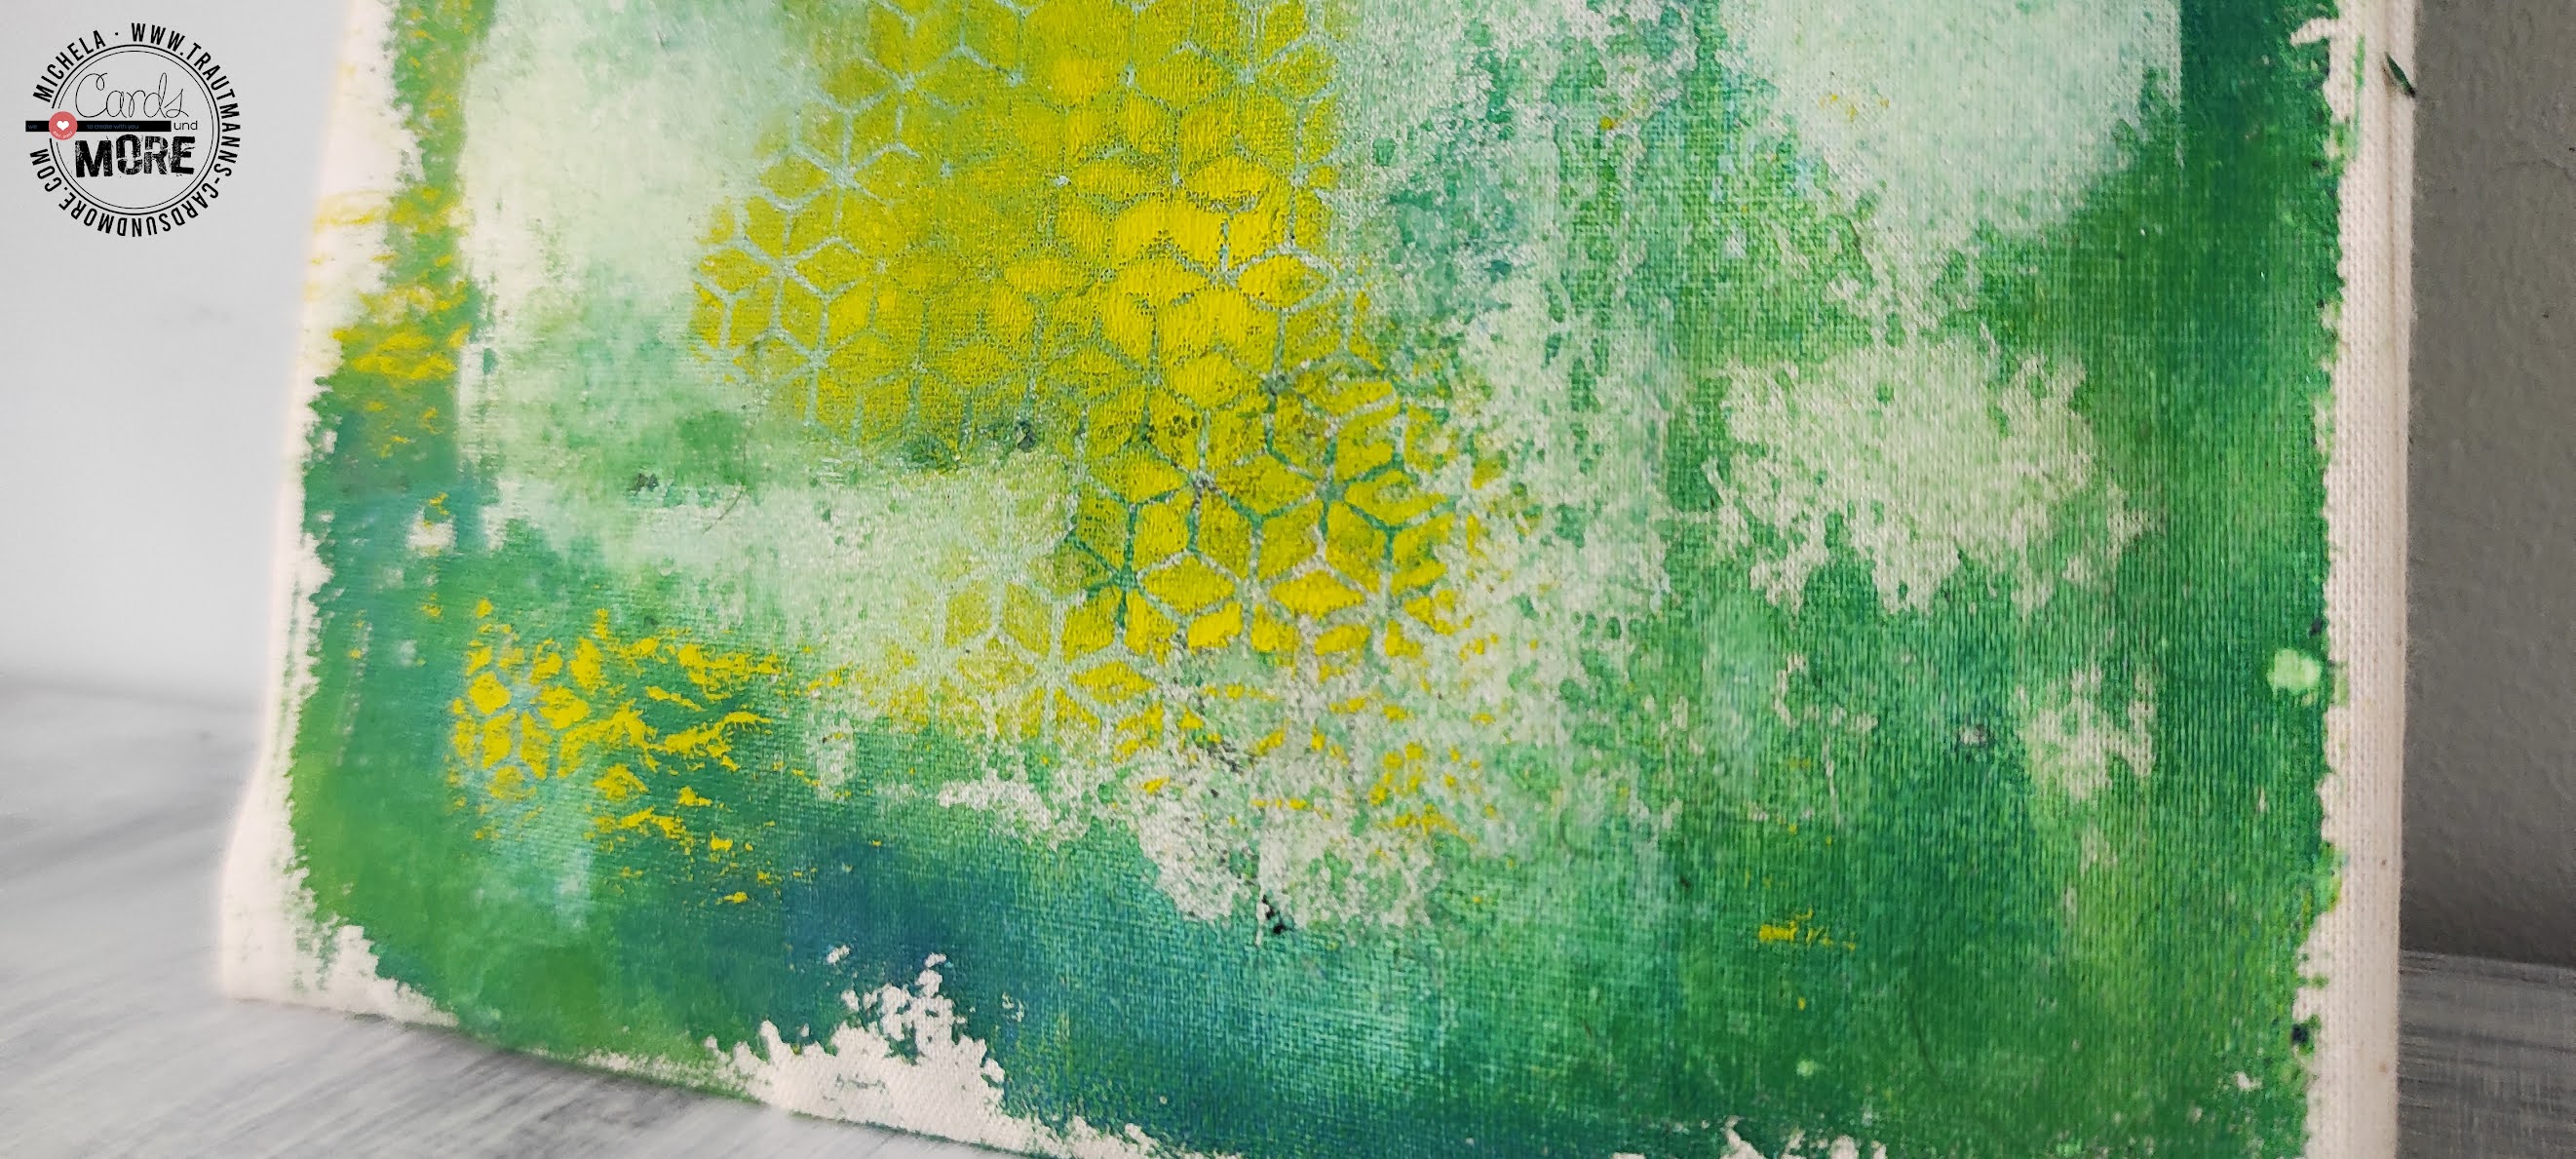
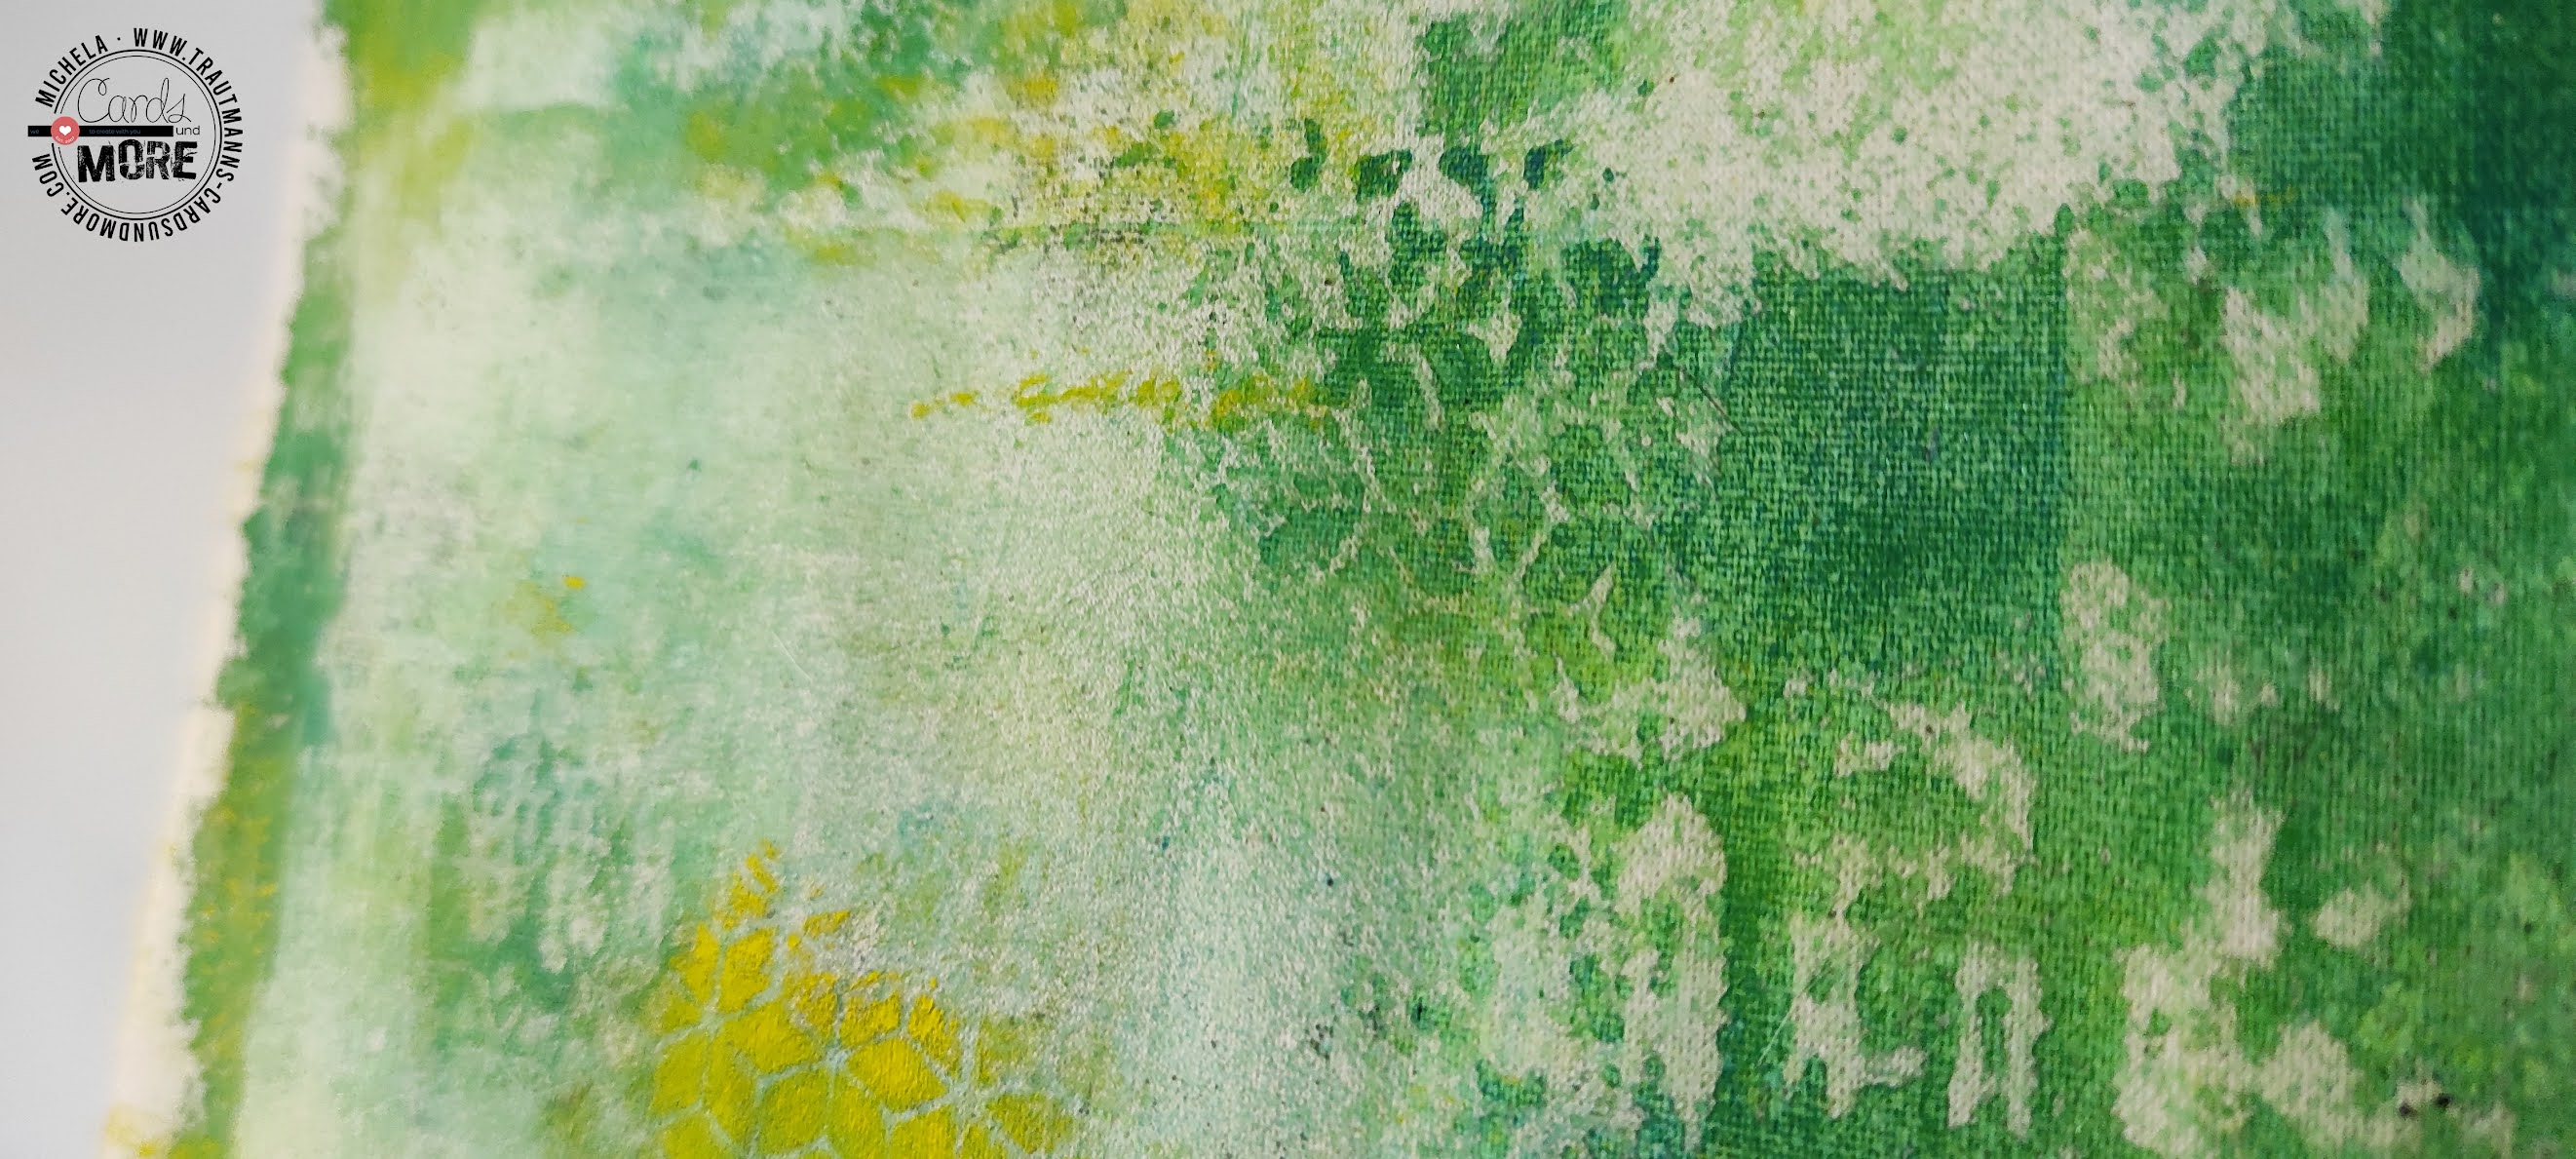
I chose to make a shaded base of various shades of green and to use yellow for highlights.
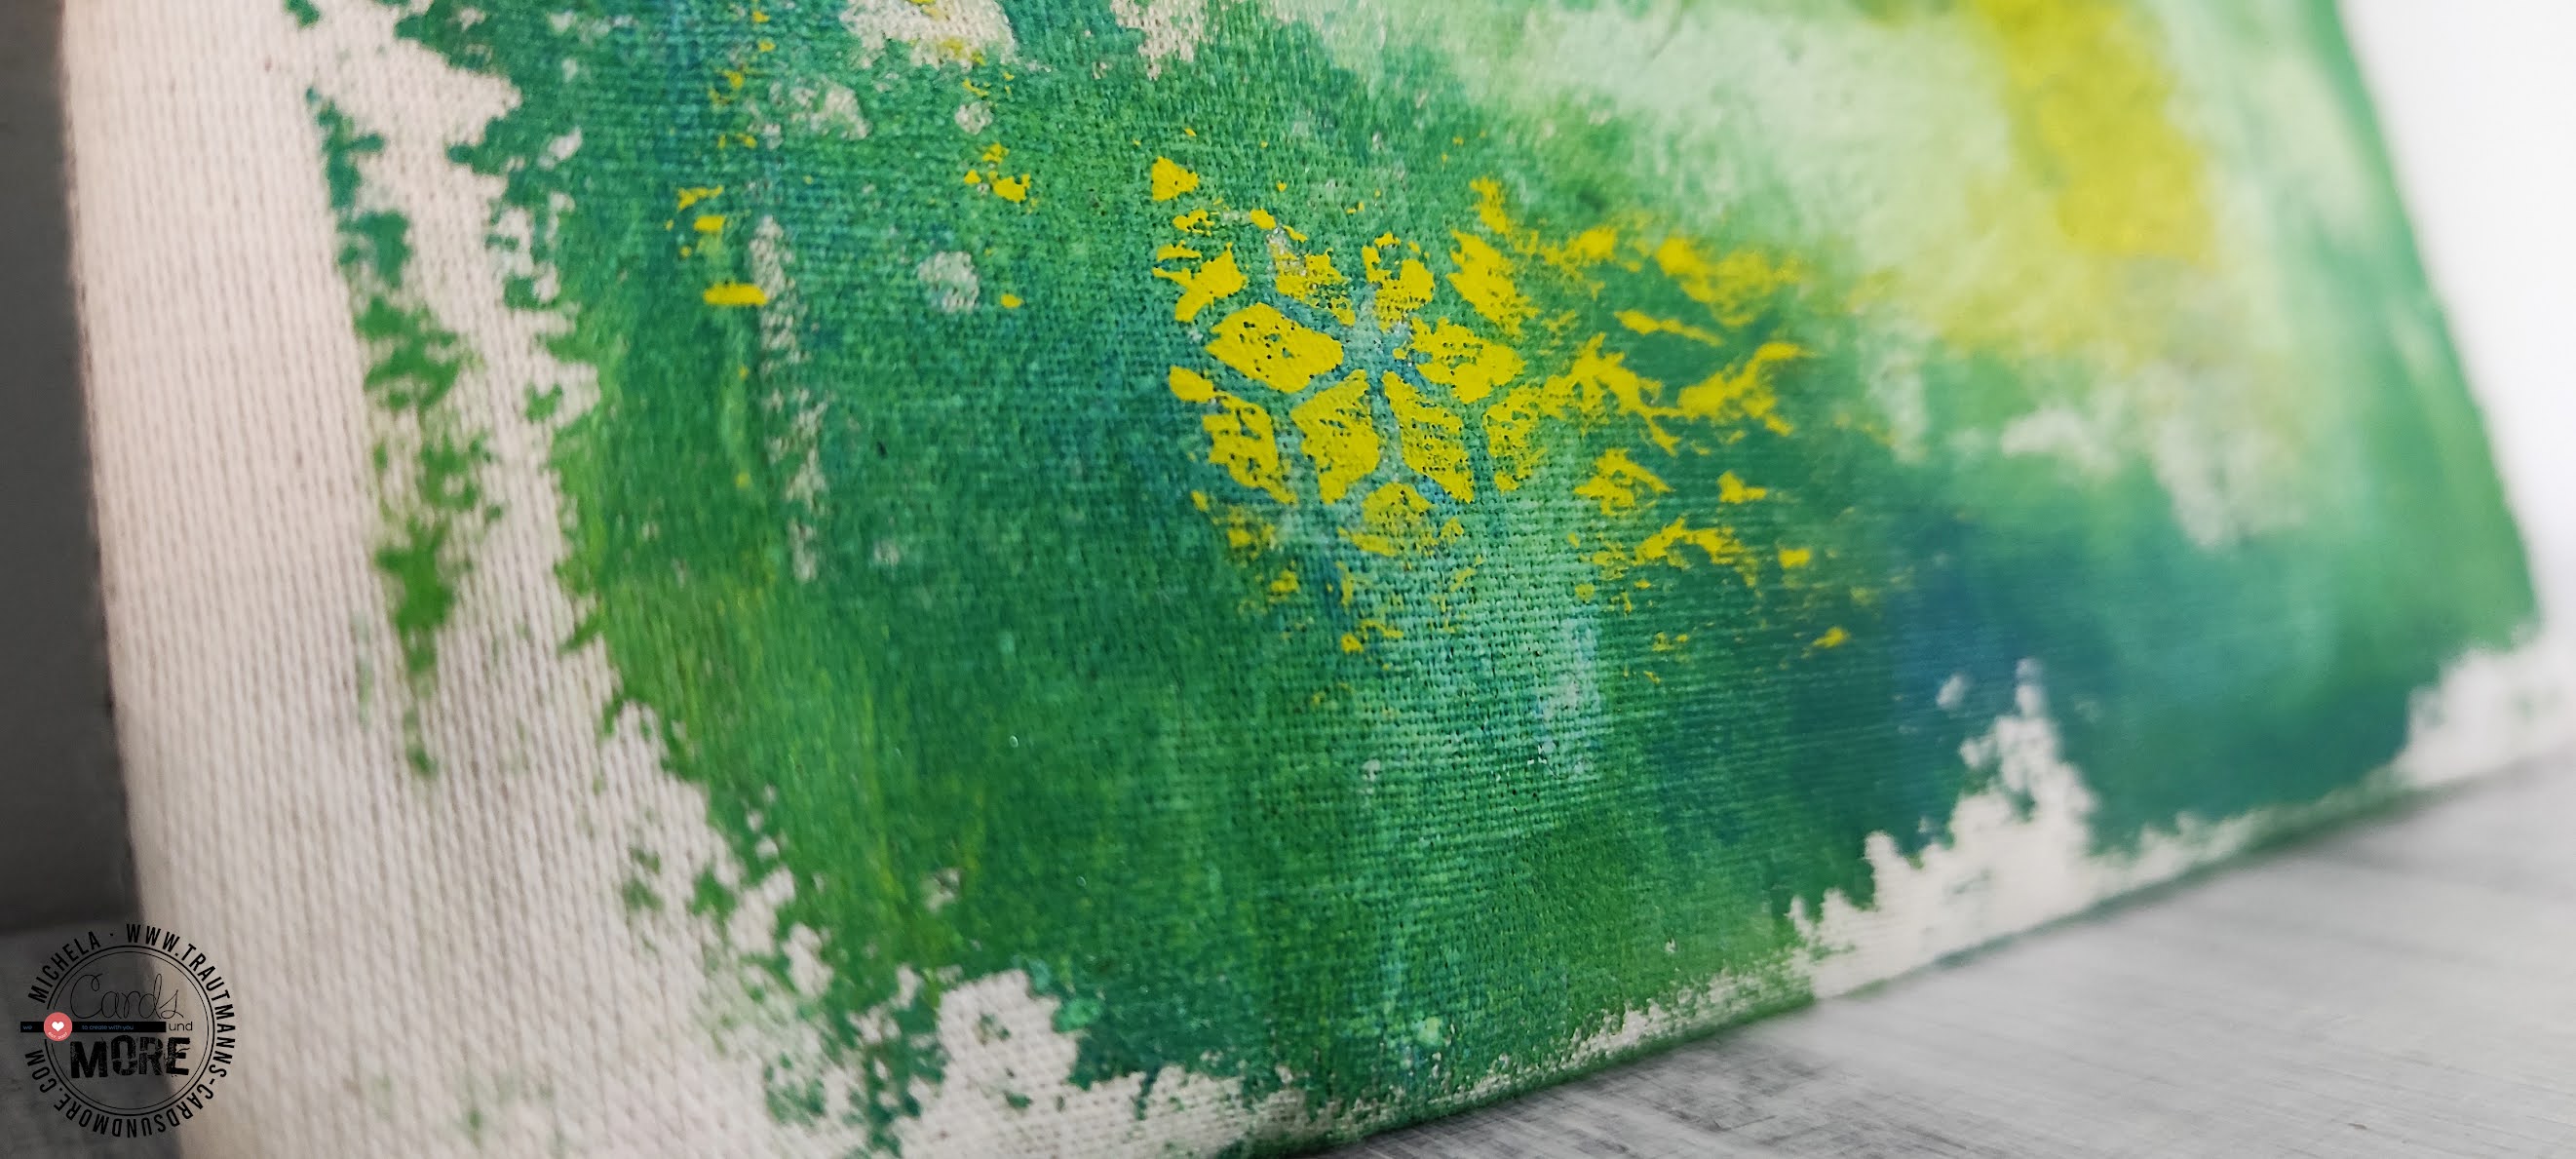
After the first layer has dried, using stencils, I created focal points with the second color.
I also decided to use the leftover of the color that remained in the stencil so, placing it on a new place, I spread the color using the brayer. Same thing for the back of the stencil.
I continued like this, on both sides of the tote bag, until I was satisfied with the texture.
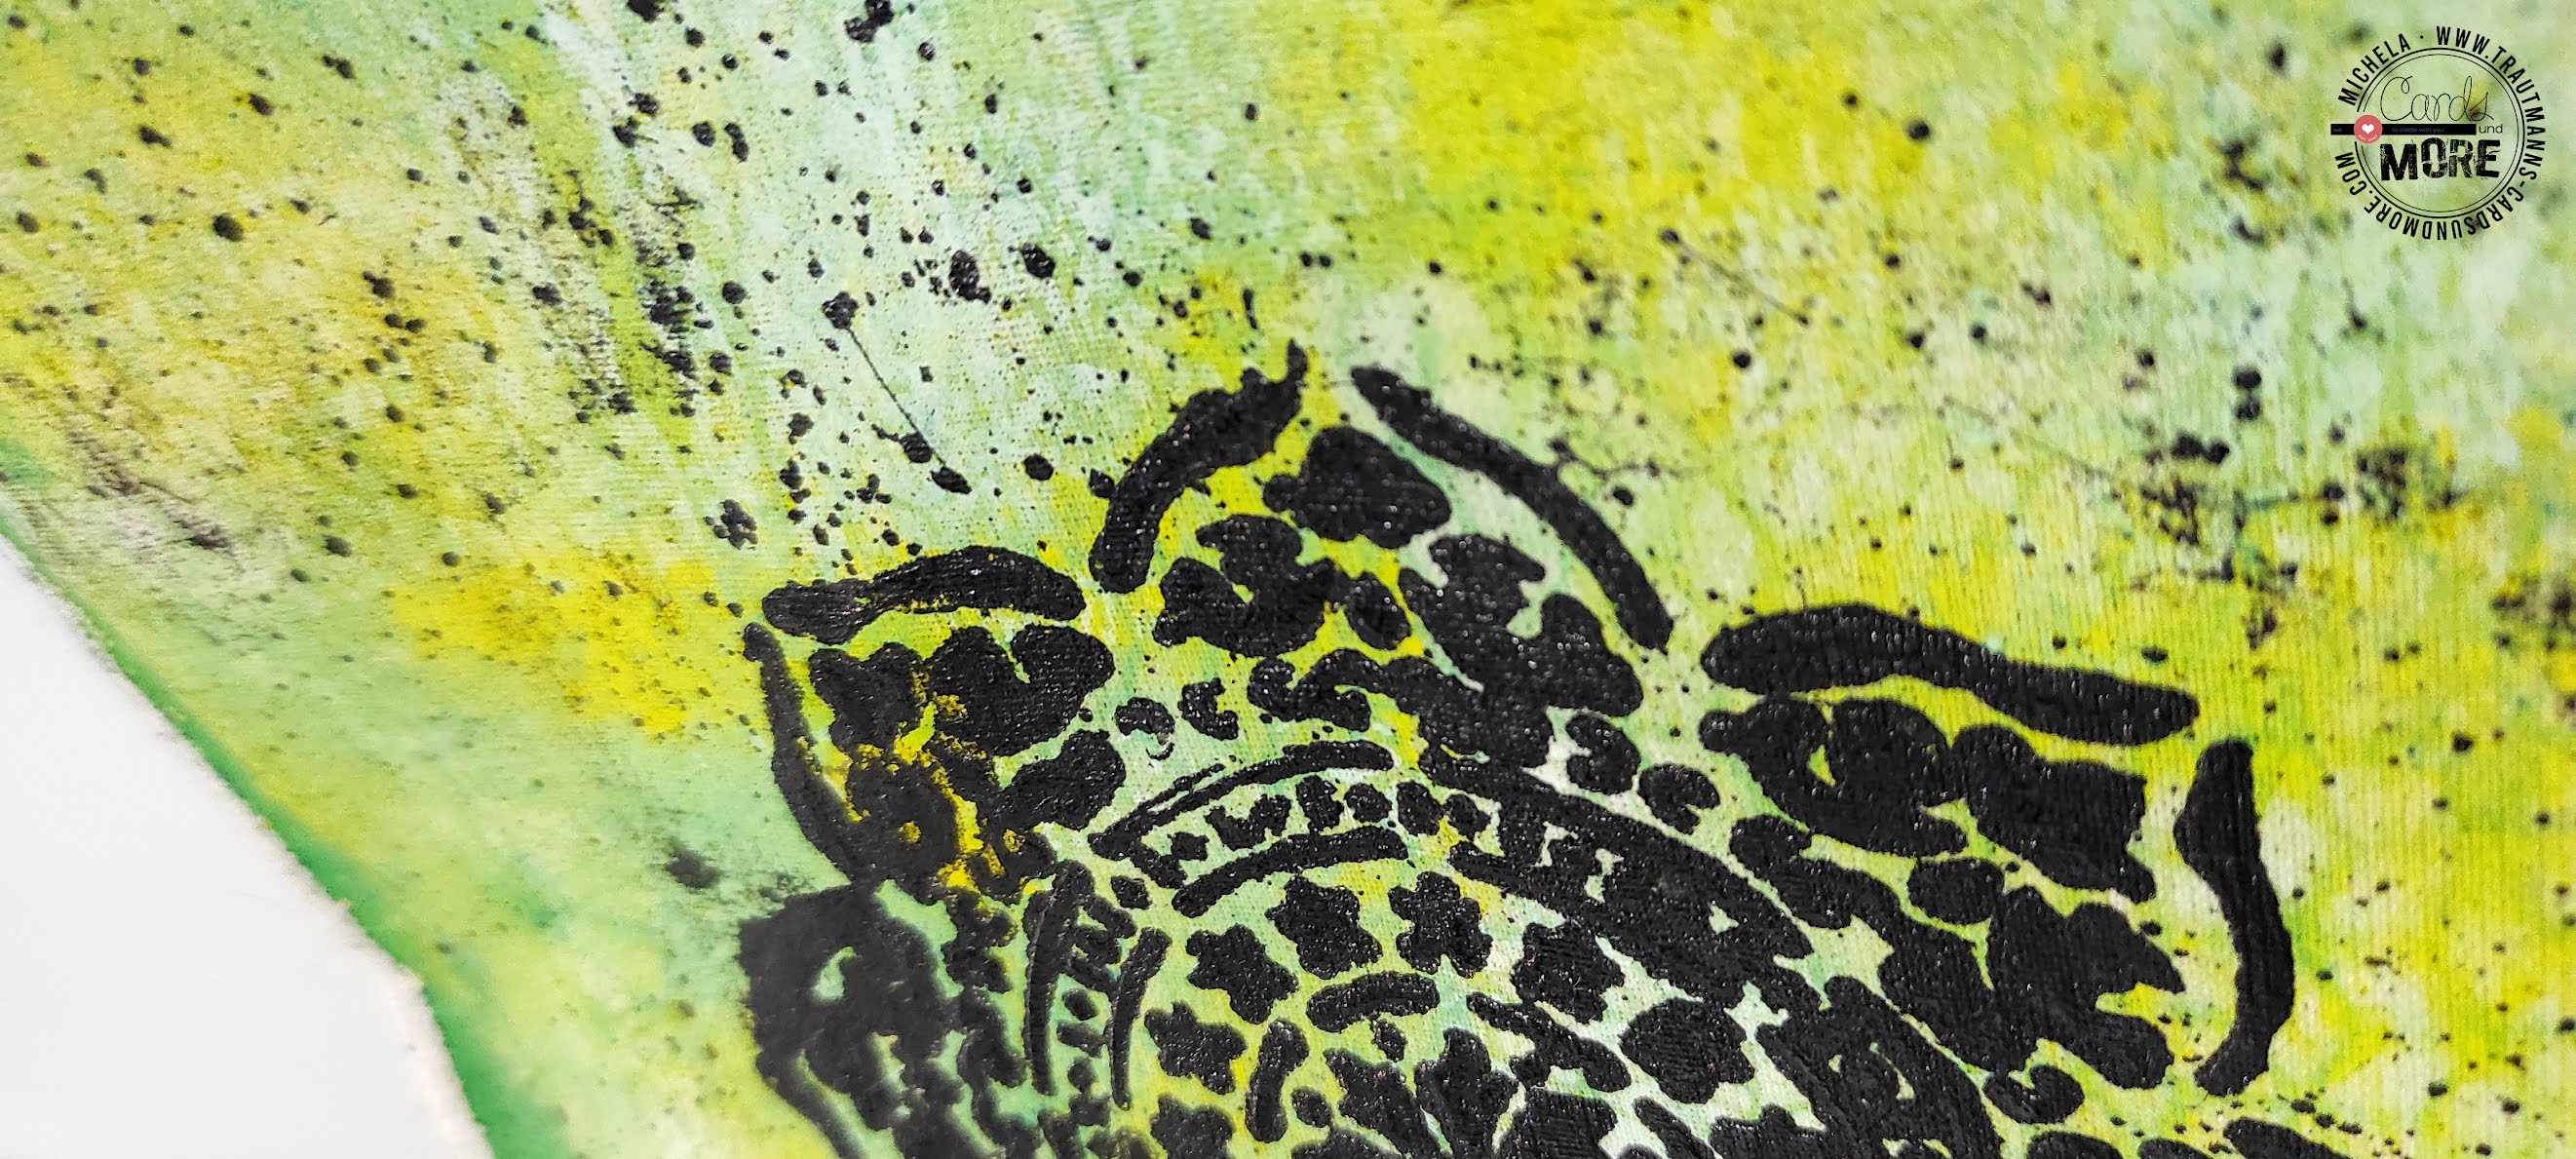
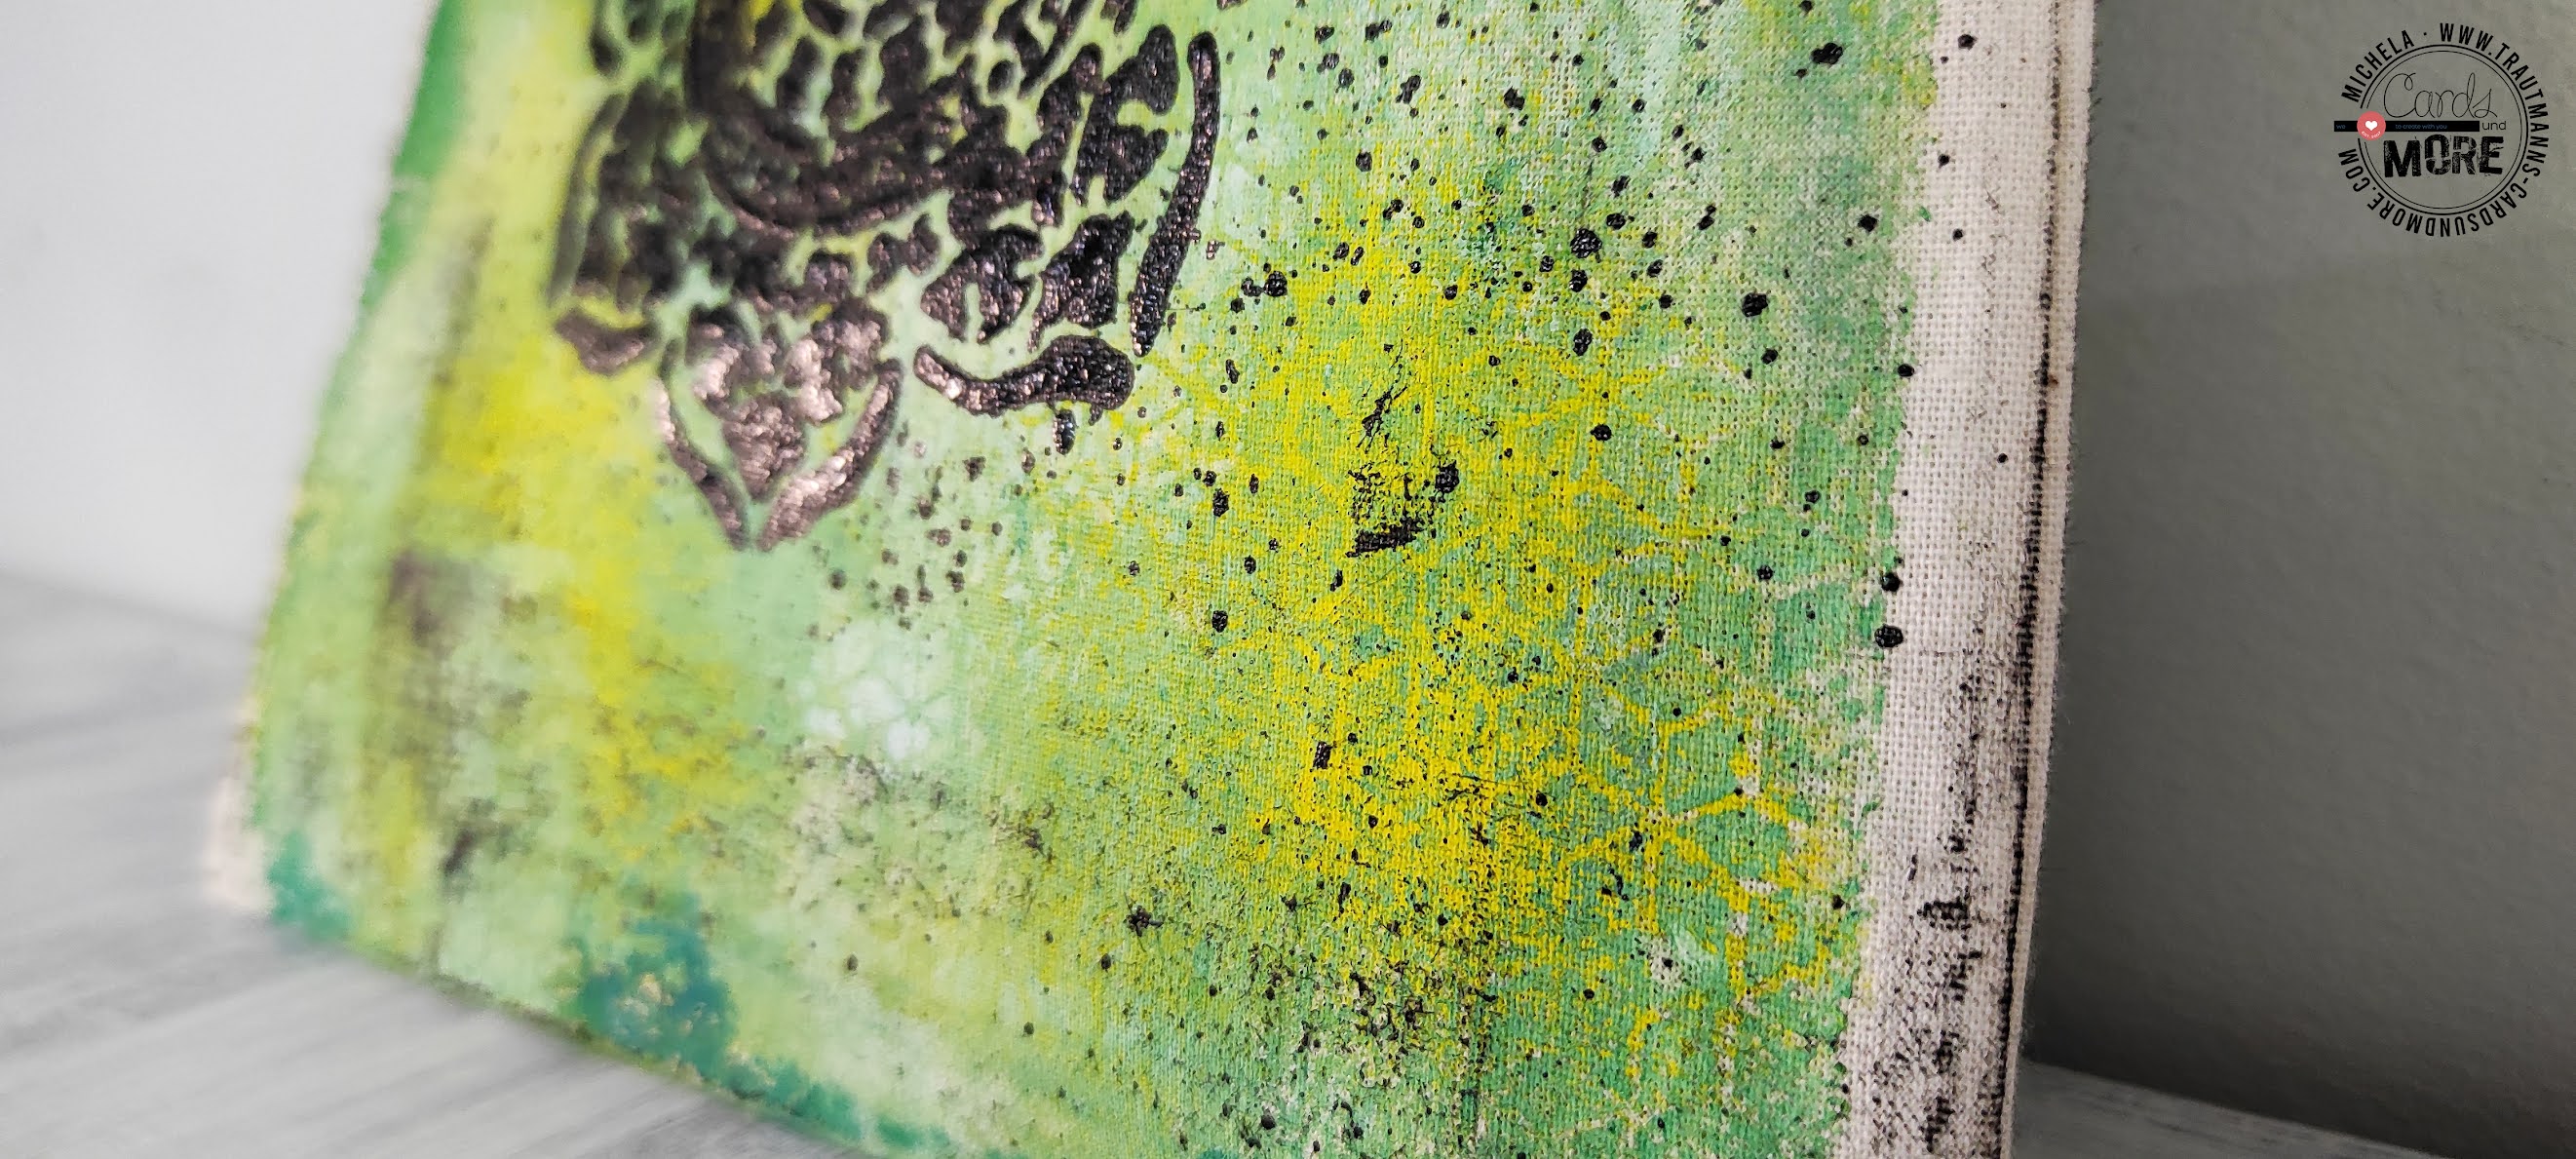
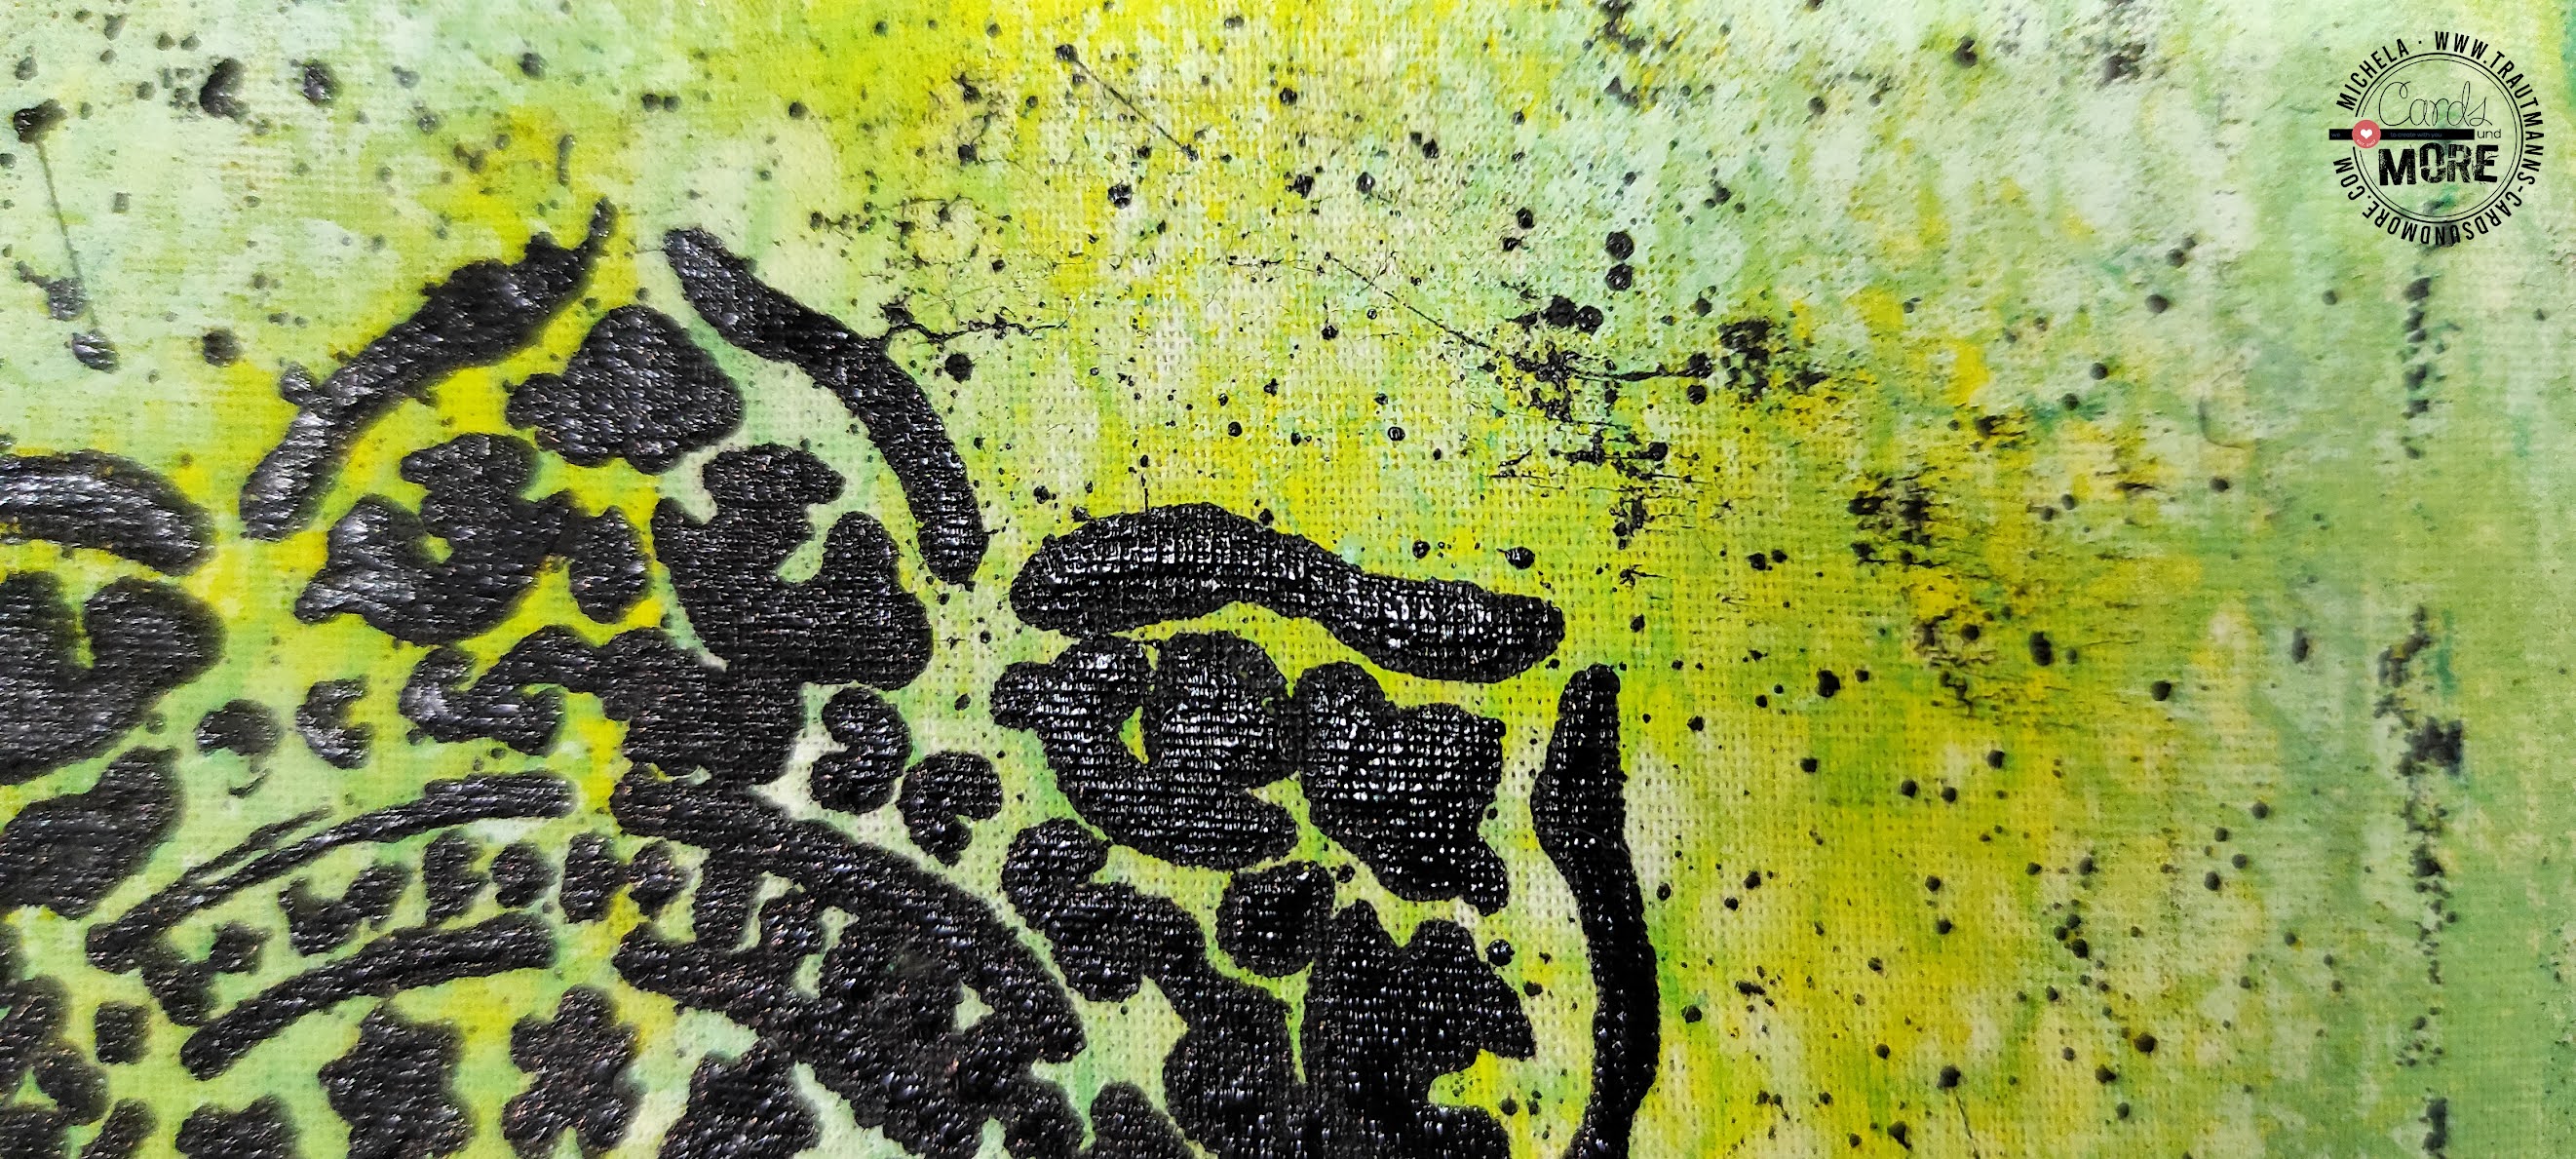
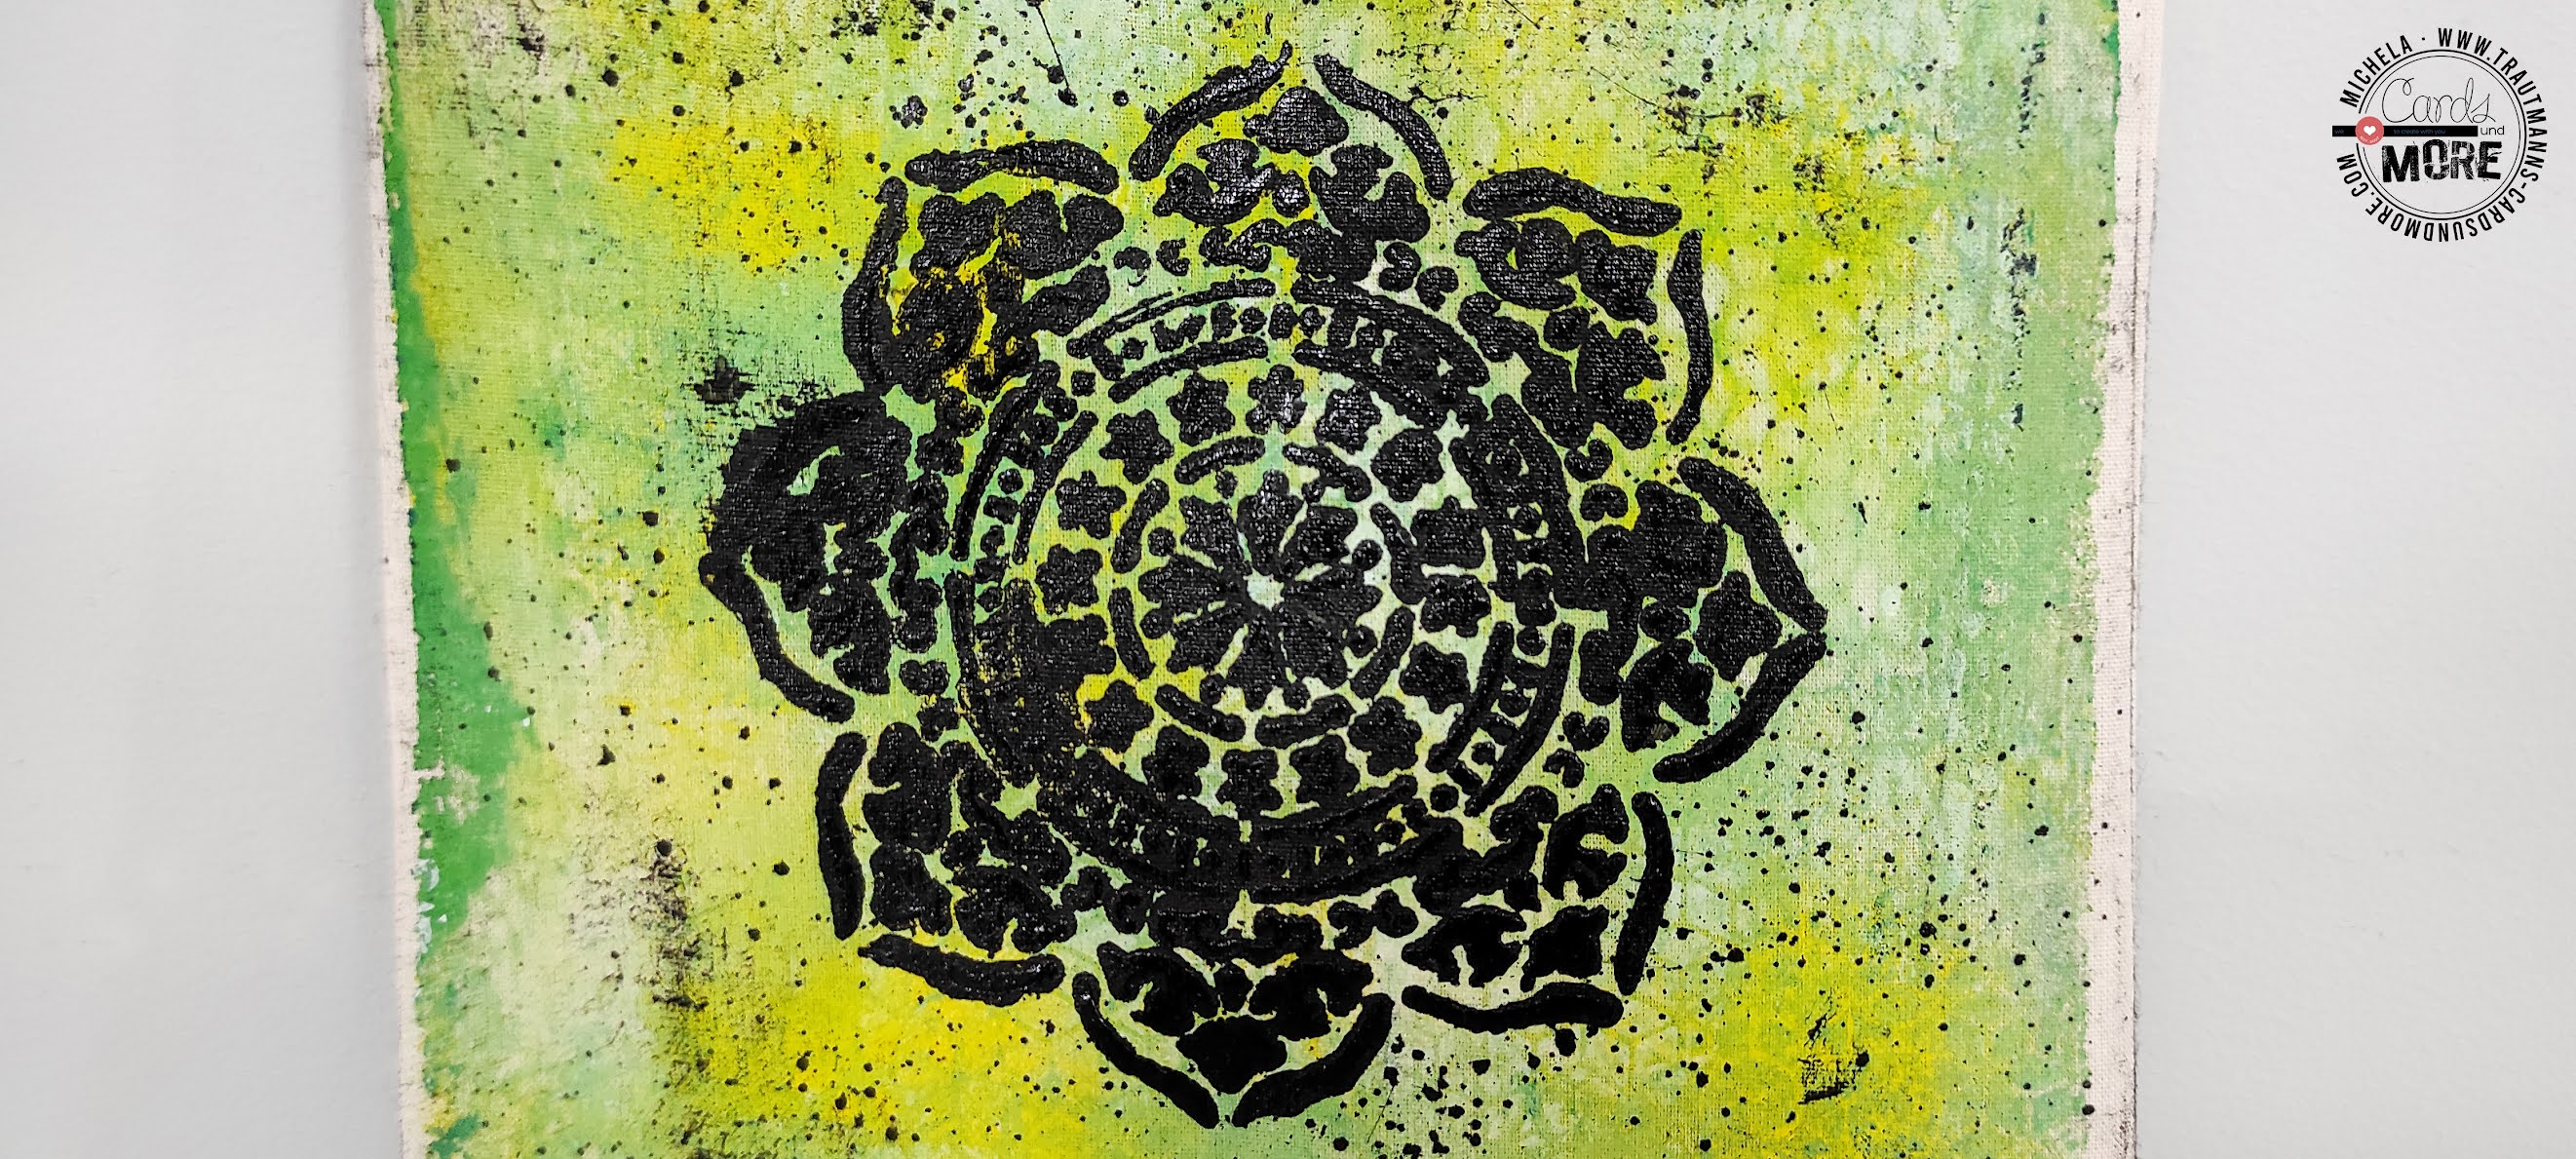
After waiting for everything to dry, I chose the side with less texture and I created a black mandala, using another stencil. At first I tried using stazon ink but the result was too "clean" so I decided to create a more distressed effect by spreading black acrylic with a palette knife and, at the end, making splashes.
Satisfied with the result, I let everything dry... And, then, I hung the bag near my workbench filling it with products to test! :)

Used products:
Hope you liked it and got inspired... See you super soon for a new blog post!
Michela


